Introduction
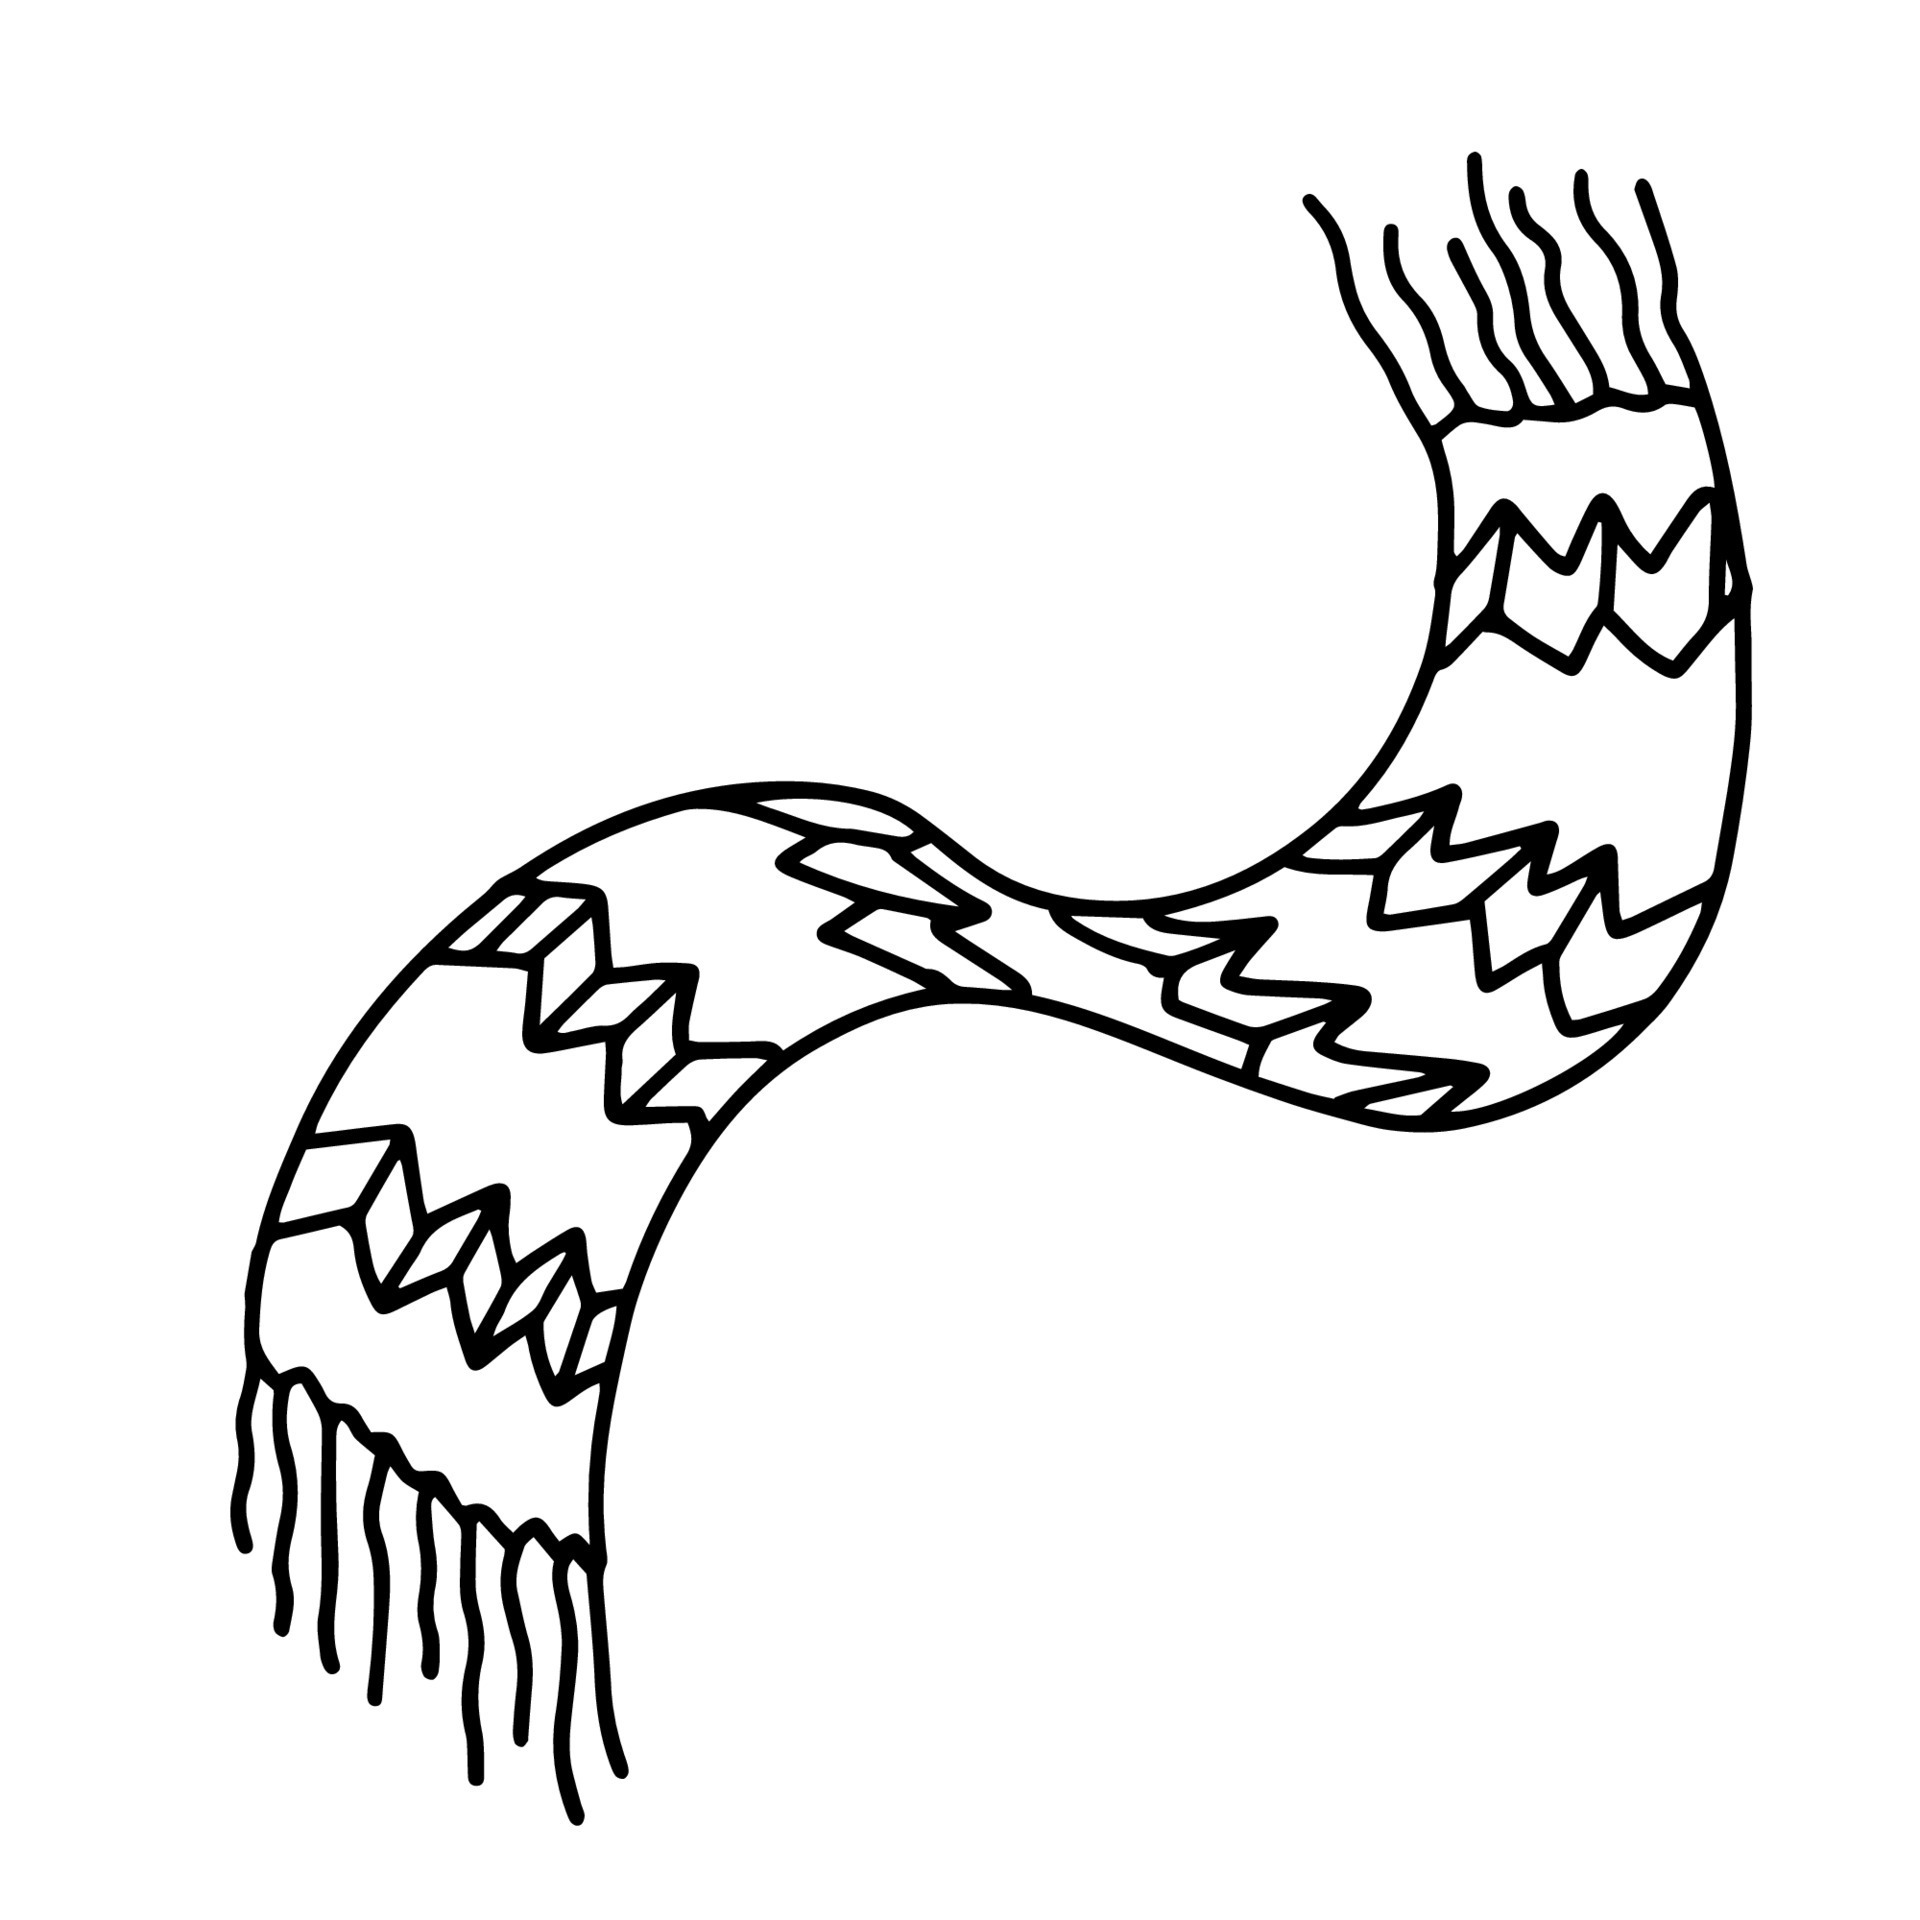
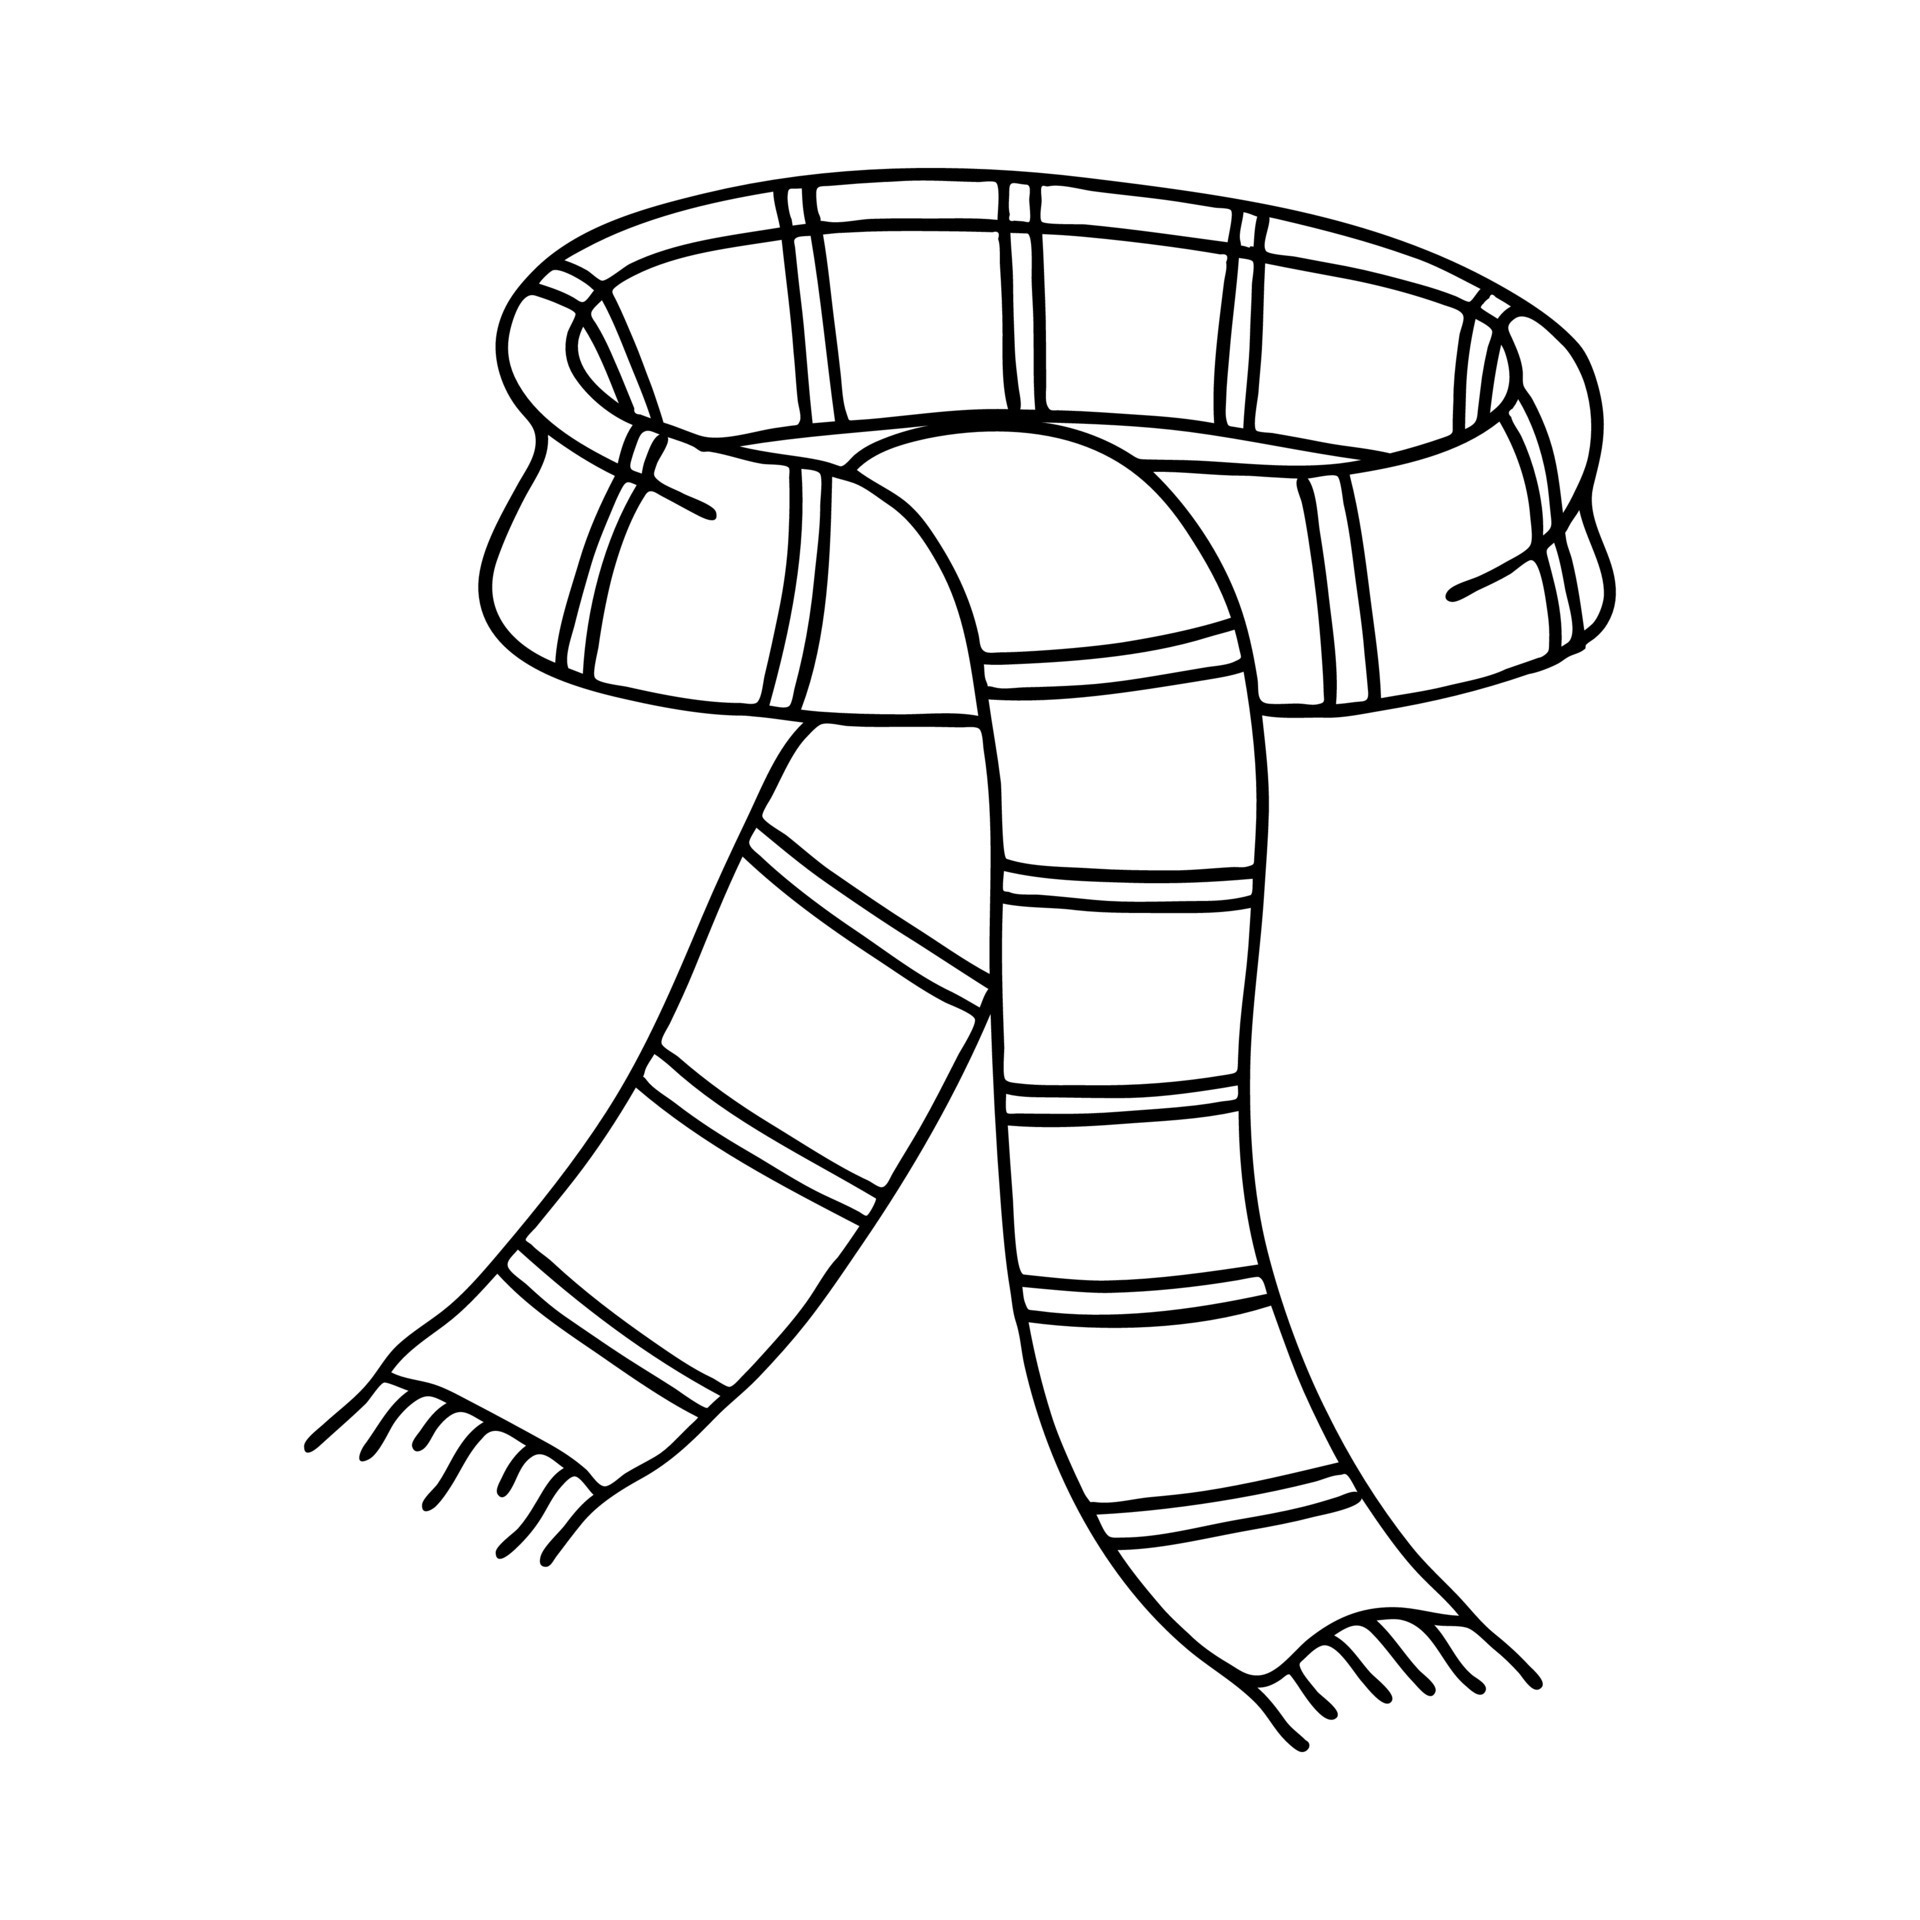
Scarf outline – Crocheting a scarf is not just about creating a practical accessory; it’s an opportunity to craft something unique and personal. Whether you’re new to crochet or looking to expand your skills, this beginner’s guide will take you through the essential steps to crochet a cozy scarf that’s perfect for any season.
Materials Needed:
Before diving into crocheting your scarf, gather the following materials:
- Yarn: Choose a medium-weight yarn (worsted weight) in your preferred color(s). You’ll need approximately 200-300 yards (183-274 meters) for a standard scarf.
- Crochet Hook: Use a hook size that matches your yarn weight. A US H/8 (5.0 mm) hook is typically suitable for worsted weight yarn.
- Scissors: Essential for cutting yarn and finishing your project.
- Yarn Needle: Used for weaving in ends neatly and securely.
Gauge:
While gauge isn’t crucial for this project, adjusting your hook size can help achieve the desired scarf width and drape.
Pattern:
Follow these step-by-step instructions to crochet your scarf:
Step 1: Foundation Chain
- Start with a Foundation Chain: Begin by chaining 30 stitches (or any multiple of 4 stitches, plus 2). This will determine the width of your scarf.
Step 2: Row 1 (Foundation Row)
- Double Crochet (dc): Double crochet into the 4th chain from your hook. Skip the next 2 chains, then work (2 double crochet, chain 2, 2 double crochet) into the next chain (forming a shell). Repeat this sequence across the row, ending with a double crochet in the last chain. Turn your work.
Step 3: Repeat Row 2
- Chain 3: This serves as your first double crochet stitch throughout the pattern. Double crochet in the same stitch. Skip the next 2 double crochet stitches (which form the shell), then work (2 double crochet, chain 2, 2 double crochet) into the chain-2 space of the shell from the previous row. Repeat this sequence across the row, ending with 2 double crochet stitches in the top of the turning chain. Turn your work.
- Continue Row 2: Repeat Row 2 until your scarf reaches the desired length. For a standard scarf, this is typically about 60 inches (152 cm) long.
Step 4: Finishing
- Fasten Off: Once your scarf is the desired length, fasten off the yarn, leaving a long tail for weaving in the ends.
- Weave in Ends: Thread the yarn tail onto a yarn needle and weave it in and out of the stitches along the edge of your scarf. Trim any excess yarn.
Customization Options:
- Color Variations: Experiment with different colors or yarn types to create stripes, color blocks, or a gradient effect.
- Width Adjustments: Add or subtract chains in multiples of 4 to change the width of your scarf.
- Edging Embellishments: Add a simple single crochet edge or a more intricate border for a decorative touch.
- Length Modifications: Adjust the length of your scarf to suit your preference, whether you want a shorter cowl-style scarf or a longer wrap.
Tips for Success:
- Count Stitches: Count your stitches at the end of each row to ensure your scarf maintains an even width.
- Relax and Enjoy: Crochet at a comfortable pace to avoid hand strain and maintain consistent tension.
Advanced Techniques to Enhance Your Crochet Scarf:
Once you’ve mastered the basics, consider incorporating these techniques to add flair to your scarf:
Texture Stitches:
- Bobble Stitch: Create texture by alternating between regular double crochet stitches and bobble stitches (clusters of stitches).
- Basketweave Stitch: This stitch mimics the look of woven fabric, achieved by alternating front and back post double crochets.
Colorwork:
- Fair Isle Crochet: Introduce multiple colors in intricate patterns using stranded colorwork techniques.
- Intarsia Crochet: Ideal for geometric designs, where you change colors within specific sections of your scarf.
Lace Patterns:
- Openwork Stitches: Incorporate lace patterns like shells, fans, or mesh for a lighter, airy scarf suitable for warmer climates.
- Pineapple Stitch: A classic lace pattern featuring intricate clusters and chains that form a pineapple-like motif.
Joining Methods:
- Join-As-You-Go: Connect motifs or squares as you crochet, reducing the need for sewing pieces together afterward.
- Invisible Seams: Use techniques like mattress stitch to seamlessly join panels or pieces.
Edging and Borders:
- Picot Edging: Add small, decorative points along the edge of your scarf for a delicate finish.
- Shell Border: Frame your scarf with a row of shells or scallops to give it a polished look.
Tips for Refining Your Crochet Skills:
- Practice Tension Control: Achieve consistent tension throughout your project for an even, professional finish.
- Block Your Work: After completing your scarf, block it to shape and set the stitches, ensuring it lays flat and enhances the pattern’s definition.
- Experiment with Yarn: Explore different yarn weights and fibers to achieve varied textures and drape.
Creative Inspiration:
Draw inspiration from nature, art, or fashion trends when selecting colors and patterns for your scarf. Pinterest, Ravelry, and crochet blogs are excellent resources for discovering new designs and techniques.
Specialty Yarns:
- Mohair, Alpaca, or Silk Blends: Experiment with luxurious yarns to add warmth and softness to your scarf.
- Variegated Yarns: Use yarns with color changes to create interesting visual effects without switching yarns.
Mixed Media Crochet:
- Incorporate Beads: Add beads to your scarf for subtle sparkle or as focal points within the stitches.
- Attach Fabric: Crochet around strips of fabric to create a textured, mixed-media scarf.
Seasonal Adaptations:
- Summer Scarves: Choose lightweight yarn and openwork stitches for breathability.
- Winter Scarves: Opt for bulky yarn and dense stitches for maximum warmth.
Gender-Neutral Designs:
- Geometric Patterns: Choose designs that appeal to a wide range of tastes, such as stripes, chevrons, or geometric shapes.
- Neutral Colors: Use neutral tones or bold colors depending on the recipient’s preferences.
Customization and Sizing:
- Adjust Length and Width: Customize your scarf’s dimensions to suit personal preference or the intended wearer.
- Make Matching Sets: Create matching scarves for family members or friends using coordinating yarns or patterns.
Layered Scarves:
- Infinity Scarves: Crochet a scarf in a continuous loop for an easy-to-wear accessory.
- Cowl Scarves: Design scarves with extra width for wearing comfortably around the neck without additional wrapping.
Environmental Considerations:
- Upcycled Yarn: Use yarn from repurposed materials such as old sweaters or thrift store finds.
- Natural Fibers: Choose eco-friendly yarn options like organic cotton or bamboo.
Final Thoughts:
Crocheting a scarf is a rewarding project that allows you to express your creativity while producing a practical and stylish accessory. Whether you’re making it for yourself or as a heartfelt gift, embrace the process and enjoy the satisfaction of completing each stitch. With these essential steps and tips, you’re well-equipped to crochet a cozy scarf that will keep you warm and stylish throughout the seasons.
Crocheting a scarf offers not only practical warmth but also a canvas for creativity. Whether you’re a novice or seasoned crocheter, exploring these advanced techniques will expand your skills and allow you to craft scarves that are both functional and fashionable.