Introduction
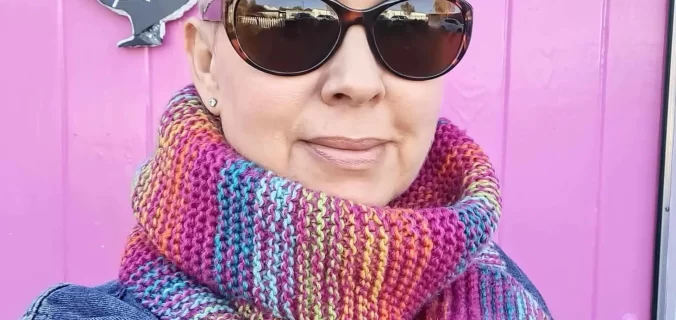
The garter stitch scarf, with its simplicity and timeless appeal, is a beloved project for knitters of all skill levels. This beginner-friendly pattern not only provides a gentle introduction to the world of knitting but also results in a charming accessory that promises warmth and coziness during the chilly winter months. In this guide, we delve into the art of crafting the perfect garter stitch scarf, covering everything from selecting the right yarn and needles to mastering the technique and adding personal touches to your creation.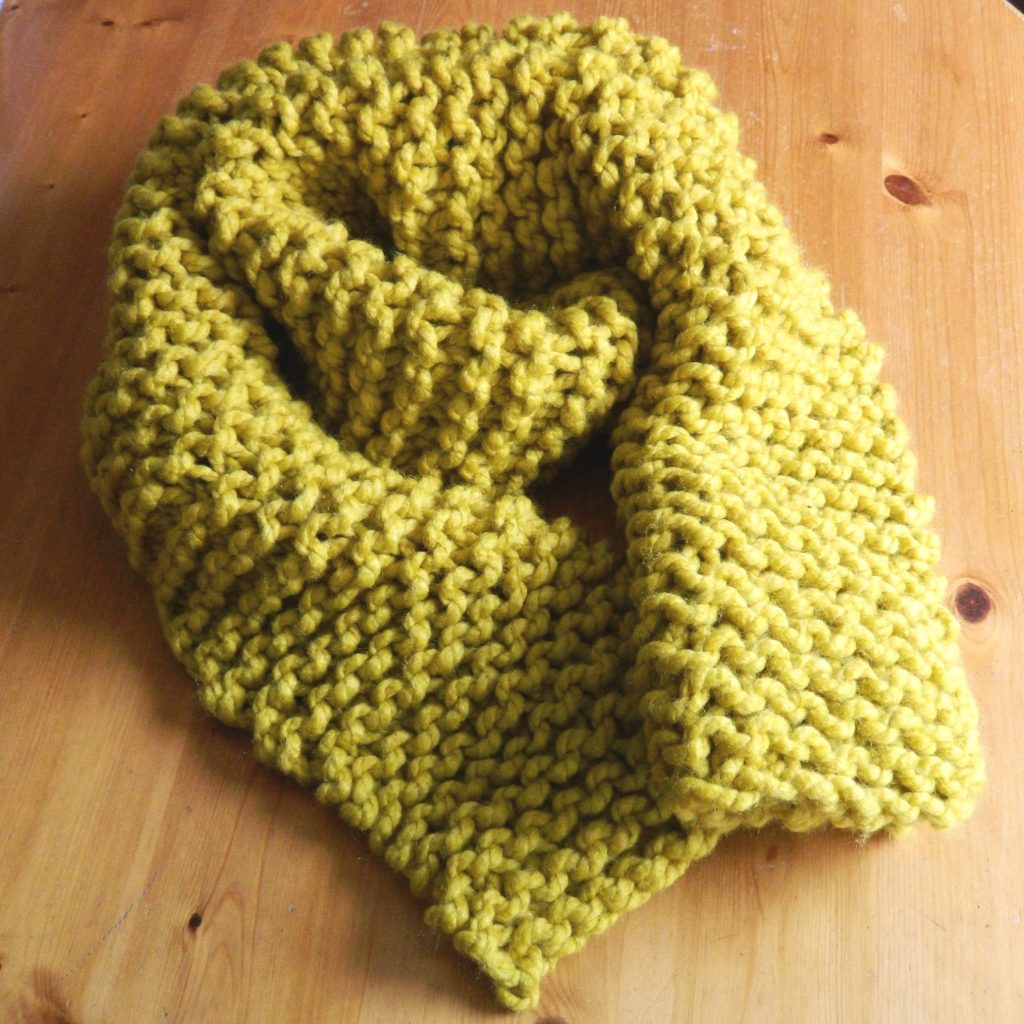
Choosing Your Materials
Yarn Selection
The first step in creating a garter stitch scarf is selecting the ideal yarn. For maximum warmth and softness, consider natural fibers like wool, alpaca, or a wool blend. These materials trap heat effectively and are known for their durability. If you prefer a lighter weight option, cotton or acrylic yarns work well, although they may not offer the same level of insulation. Opt for chunky or bulky yarn for a quick-knit project that will yield a fluffy, cozy scarf, or choose a finer yarn for a delicate, lacy effect.
Needle Size
The size of your knitting needles will largely depend on the yarn you choose. Refer to the ball band of your selected yarn for recommended needle sizes, usually indicated as a range. For a garter stitch scarf, slightly larger needles can create a looser, more flexible fabric that drapes beautifully around the neck. Common sizes for scarves range from US 7 to US 13 (4.5mm to 9mm).
Mastering the Garter Stitch
The beauty of the garter stitch lies in its simplicity – it’s created by knitting every row. This repetitive pattern creates a squishy, textured fabric that is reversible, making it ideal for scarves.
- Casting On: Begin by casting on the desired number of stitches. For a standard scarf, 20 to 30 stitches are common, but this can be adjusted based on the desired width and yarn weight.
- Knit Every Row: Continue to knit across every row, ensuring that your tension remains consistent for an even finish.
- Binding Off: When your scarf reaches the desired length, bind off your stitches loosely to maintain the stretchiness of the garter stitch.
 Adding Personal Touches
While the garter stitch itself is straightforward, there are several ways to personalize your scarf:
- Stripes: Introduce stripes by switching colors every few rows. This adds visual interest without complicating the stitch pattern.
- Fringe or Tassels: Attach fringe or tassels to the ends of your scarf for a playful touch. You can use the same yarn or a complementary color for added flair.
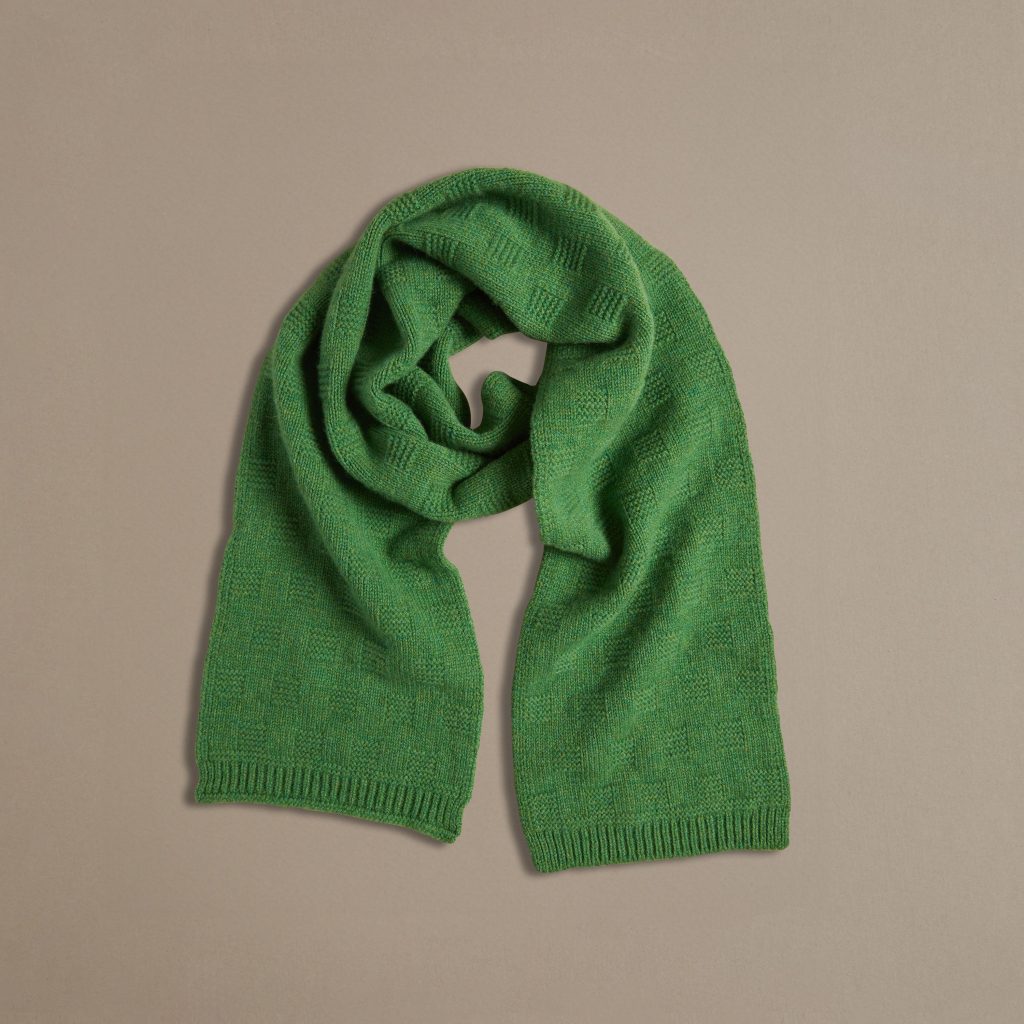
- Texture Variations: Experiment with slipped stitches or adding in a row of purl stitches occasionally to create subtle texture variations within the garter stitch pattern.
- Blocking: Blocking is the process of shaping and setting your finished piece. Wet blocking is particularly effective for garter stitch, as it enhances the fabric’s drape and softens the texture.
Caring for Your Scarf
To ensure your handmade scarf stays in top condition, follow the care instructions for your chosen yarn. Most wool-based items benefit from hand washing in cool water with a gentle detergent, followed by laying flat to dry. Avoid machine washing or tumble drying, as this can damage the fibers and alter the shape of your scarf.
Why Choose the Garter Stitch?
The garter stitch is a fundamental knitting pattern known for its simplicity and versatility. It consists of knitting every row, resulting in a fabric with a textured, squishy appearance that lies flat and is reversible. This stitch pattern is perfect for scarves because it produces a thick, plush fabric that provides excellent insulation against the cold.
Materials You’ll Need
Before you begin, gather the following materials:
- Yarn: Choose a soft, medium-weight yarn suitable for scarves. Wool and wool blends are ideal for their warmth and durability. Consider the color that complements your winter wardrobe or opt for a bold hue to make a statement.
- Knitting Needles: Use needles sized appropriately for your yarn. For medium-weight yarn, needles in sizes US 7 to US 10 (4.5 mm to 6 mm) are commonly used. Circular needles are recommended for convenience, especially if you prefer a longer scarf.
- Scissors: For cutting yarn at the end of your project or to correct mistakes.
- Tapestry Needle: Essential for weaving in loose ends and finishing your scarf neatly.
Step-by-Step Knitting Guide
Follow these steps to knit your garter stitch scarf:
- Cast On: Begin by casting on stitches to create the width of your scarf. The number of stitches depends on your desired scarf width and the gauge of your yarn and needles. For a standard adult scarf, you might cast on 30 to 40 stitches.
- Knit Every Row: Once you’ve cast on, start knitting every row. This simple repetition creates the garter stitch pattern. Hold your needles comfortably and knit across each row, making sure your tension remains consistent for an even texture.
- Continue Knitting: Keep knitting every row until your scarf reaches the desired length. Scarves typically range from 60 to 80 inches (150 to 200 cm) in length, depending on whether you prefer a standard scarf length or desire a longer, wrap-around style.
- Bind Off: When your scarf is the desired length, bind off the stitches to secure your work. There are various methods for binding off, but a basic bind-off will suffice for this project.
- Finishing Touches: Use a tapestry needle to weave in any loose yarn ends and trim excess yarn neatly. Block your scarf if necessary by gently steaming or wet-blocking to shape and flatten the fabric.
 Tips for Success
- Gauge Matters: Pay attention to your gauge (stitches per inch) to ensure your scarf turns out as intended. Adjust needle size if necessary to achieve the desired fabric density.
- Experiment with Color: Garter stitch scarves look stunning in single colors, but you can also incorporate stripes or color blocks for a modern twist.
- Relax and Enjoy: Knitting should be enjoyable and relaxing. Embrace imperfections as part of the charm of handmade items.
Styling Your Garter Stitch Scarf
Once your scarf is complete, it’s time to style and wear it with pride:
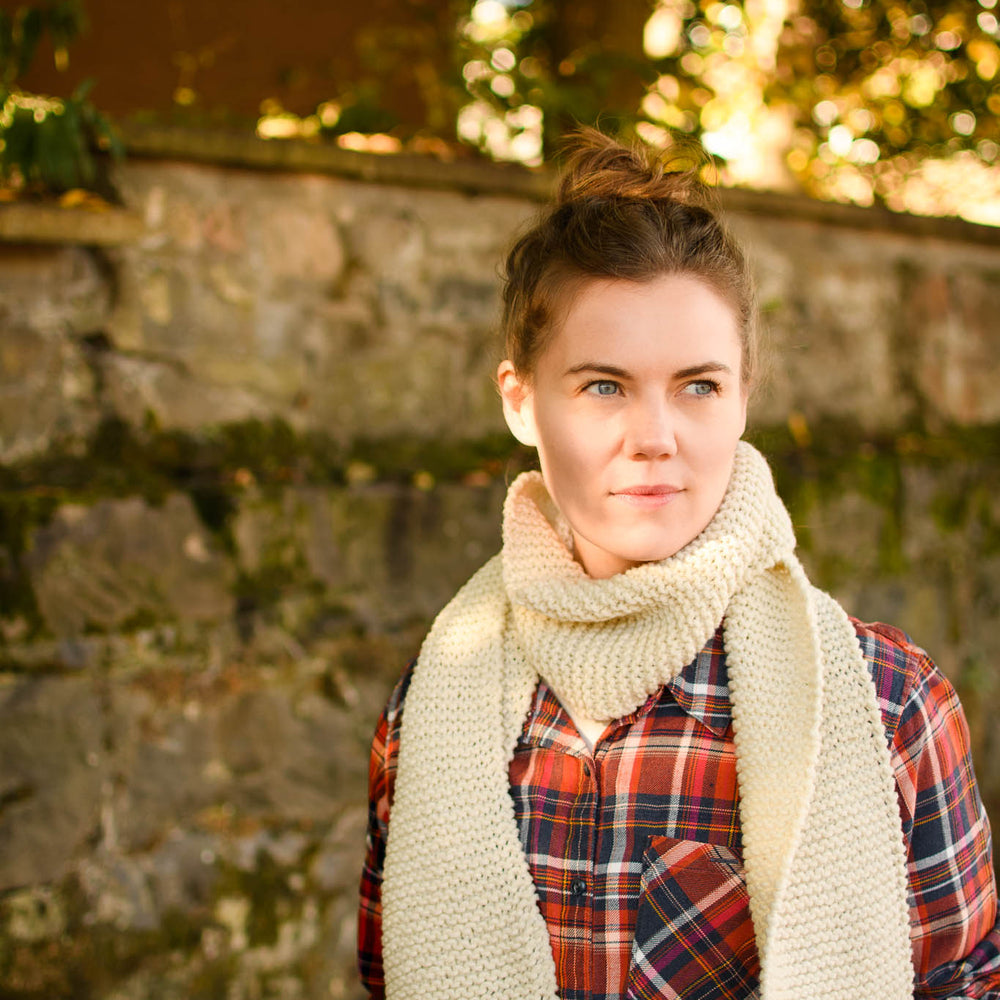
- Classic Drape: Let your scarf hang loosely around your neck for a classic look that complements any winter coat.
- Twist and Loop: Experiment with different ways of wrapping and looping your scarf for added warmth and style.
- Accessorize: Consider adding fringe or tassels to the ends of your scarf for a decorative touch.
Embrace Handcrafted Warmth
Knitting a garter stitch scarf is not just a craft; it’s a labor of love that results in a practical and stylish accessory. Handmade scarves make thoughtful gifts and are cherished for their warmth and the effort put into creating them. Whether you’re knitting for yourself or someone special, the satisfaction of wearing a scarf you’ve made is unparalleled.
Conclusion
Crafting a garter stitch scarf is not only a practical endeavor but also a deeply satisfying creative process. The repetitive motion of the garter stitch provides a meditative quality, making it an excellent project for relaxation and stress relief. Moreover, the end result is a tangible symbol of love and warmth that can be cherished for years or gifted to someone special. Whether you’re a seasoned knitter or just starting out, the garter stitch scarf offers an inviting gateway into the rewarding world of knitting, promising comfort and joy with every stitch.