Choosing the Right Material for Your Scarf
When starting your scarf-making project, the material you choose is crucial. It determines the look, feel, and warmth of your scarf. Here are the main factors you should consider when selecting the perfect material.
x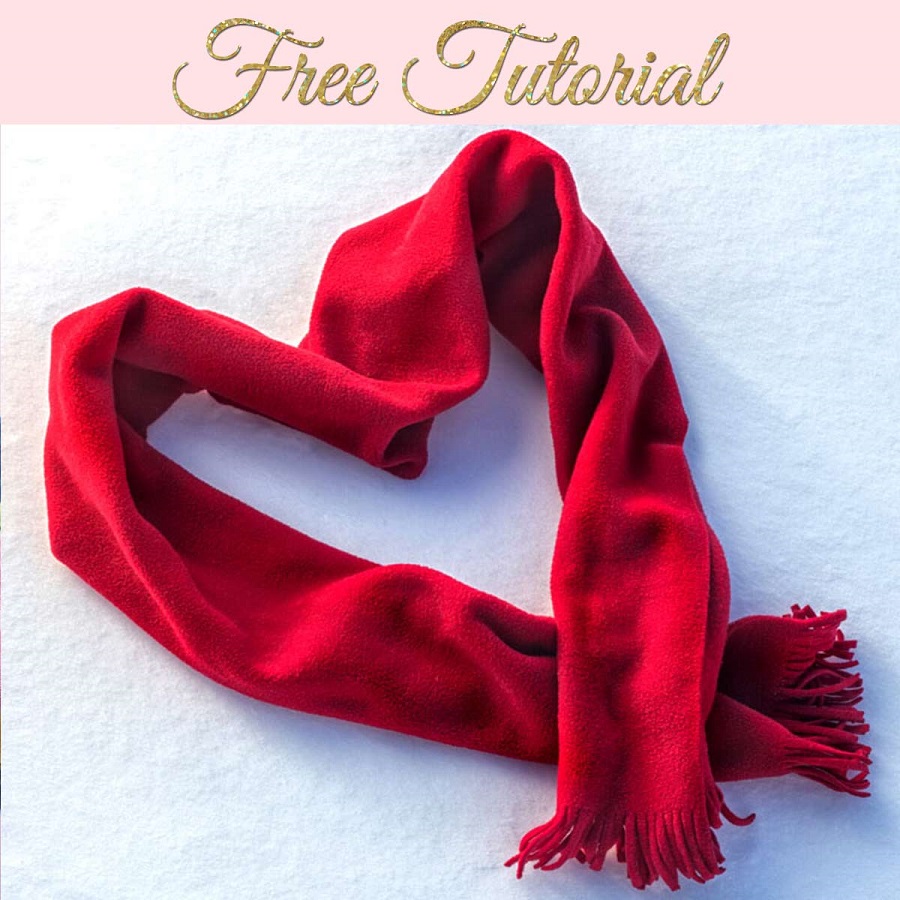
Consider the Weight and Warmth
Think about the season you’ll be wearing your scarf. Lighter materials like cotton or linen are great for spring and autumn. Wool, cashmere, or fleece suit the chilly winter months.
Examine the Fiber Content
Wool is a popular choice for its warmth and durability. Synthetic fibers like acrylic are less costly and easier to wash. Natural fibers, such as silk or bamboo, offer a unique feel but may require more care.
Texture Is Key
Smooth yarns can give a clean, classic look. Fluffy or hairy yarns create a cozy effect. Consider the texture when you’re deciding how to make a scarf that suits your style.
Color and Pattern
Choose colors that complement your wardrobe. Think about whether you want a solid color or a patterned material. Variegated yarns can add a creative twist to your project.
Allergy Considerations
If you’re sensitive to certain materials, like wool, opt for hypoallergenic fibers. Acrylic, bamboo, and hypoallergenic wool are good choices.
Selecting the right material is more than just picking a color; it’s about matching the seasons, considering care requirements, and ensuring comfort. With these points in mind, you’re set to choose the best material for your scarf-making adventure.
Essential Tools for Scarf Making
To create a beautiful, handmade scarf, you need the right tools. Having the essential equipment on hand simplifies the scarf-making process and helps ensure a successful outcome. Here are the key tools to gather before you start your project.
Knitting Needles or Crochet Hooks
Select needles or hooks that are compatible with your yarn’s thickness. Larger needles will produce a looser knit, while smaller needles create a tighter weave.
Yarn Winders
A yarn winder helps you organize your yarn, preventing tangles and knots. It’s a time-saver, particularly when dealing with large quantities of yarn.
Scissors
A sharp pair of scissors is vital for cutting your yarn. Invest in a pair that’s designed for crafting to get clean, precise cuts.
Measuring Tape
Stitch Markers
These small tools are handy for marking specific points in your pattern, such as the end of a row or where to make a particular stitch.
Row Counter
A row counter can help you keep track of the number of rows you’ve completed. This is especially useful when working on more complex patterns.
Tapestry Needle
Once you finish knitting or crocheting, you’ll use a tapestry needle to weave in the ends of the yarn.
Gathering these tools before you learn how to make a scarf can make the process smoother. With the right tools at your disposal, you’re ready to move on to preparing the yarn and knitting or crocheting your scarf.
 Preparing the Yarn: Tips and Techniques
Preparing your yarn is a fundamental step in learning how to make a scarf. Proper preparation ensures a smooth knitting or crocheting experience. Here are some tips and techniques to get you started:
Choose the Right Yarn
Pick a yarn that matches the project. For scarves, softer yarns enhance comfort against the skin.
Winding the Yarn
Wind your yarn into balls or skeins to avoid tangles. A yarn winder can be very helpful.
Checking Yarn Consistency
Examine the yarn for consistency. Knots or variations in thickness can affect the final look.
Making a Gauge Swatch
Knit a small gauge swatch. This will help you determine the right needle size and tension.
Planning Yarn Quantity
Calculate how much yarn you’ll need. Running out mid-project can lead to color mismatches.
Joining Yarn Ends
Learn to join new yarn seamlessly. This technique is crucial when adding more yarn to your project.
With these preparatory steps complete, you’re on your way to a successful scarf-making project. Take the time to prepare your yarn using these tips, and you’ll be rewarded with a smoother process and a beautiful, even scarf.
The Basics of Knitting: Getting Started with Your Scarf
Knitting a scarf is an enjoyable and rewarding project. The process requires a basic understanding of knit stitches and a pattern to follow. Below you’ll find the essential steps to begin knitting your scarf. These steps ensure a solid foundation for beginners. Use these guidelines to start your scarf-making journey.
Select Your Pattern or Design
Before you start, choose a simple pattern. Look for patterns labeled as ‘beginner’ or ‘easy.’ This will help you understand how to make a scarf without overwhelming details.
Cast On Your Stitches Carefully
Start by casting on the required number of stitches. Make sure each stitch is neither too tight nor too loose.
Learn the Basic Knit Stitch
The knit stitch is the building block of any knitting project. Practice this stitch until it feels comfortable and even.
Keep a Steady Tension
Maintain an even tension as you knit. This consistency is key for a scarf that looks smooth and professional.
Check Your Work Regularly
As you knit, frequently check your work. Look for dropped stitches or any uneven areas.
Don’t Rush Your Knitting
Take your time to knit. Rushing can lead to mistakes, so enjoy the process as you learn.
By following these steps, you’ll create a solid foundation for your scarf. As you gain confidence with the basics, you can explore more complex designs and techniques.
Advanced Scarf Patterns for Experienced Knitters
For knitters who have mastered the basics, advanced scarf patterns can be an exciting challenge. Such patterns offer a chance to improve your skills and create intricate, beautiful pieces. Here’s how seasoned knitters can expand their craft:
Experiment with Complex Stitches
Try lace knitting, cables, or brioche stitches to add texture and depth to your scarves. These advanced techniques can transform a simple scarf into a work of art.
Incorporate Colorwork
Colorwork, like intarsia or Fair Isle, allows for stunning, multicolored designs. Be ready to handle multiple yarns and keep an eye on your tension.
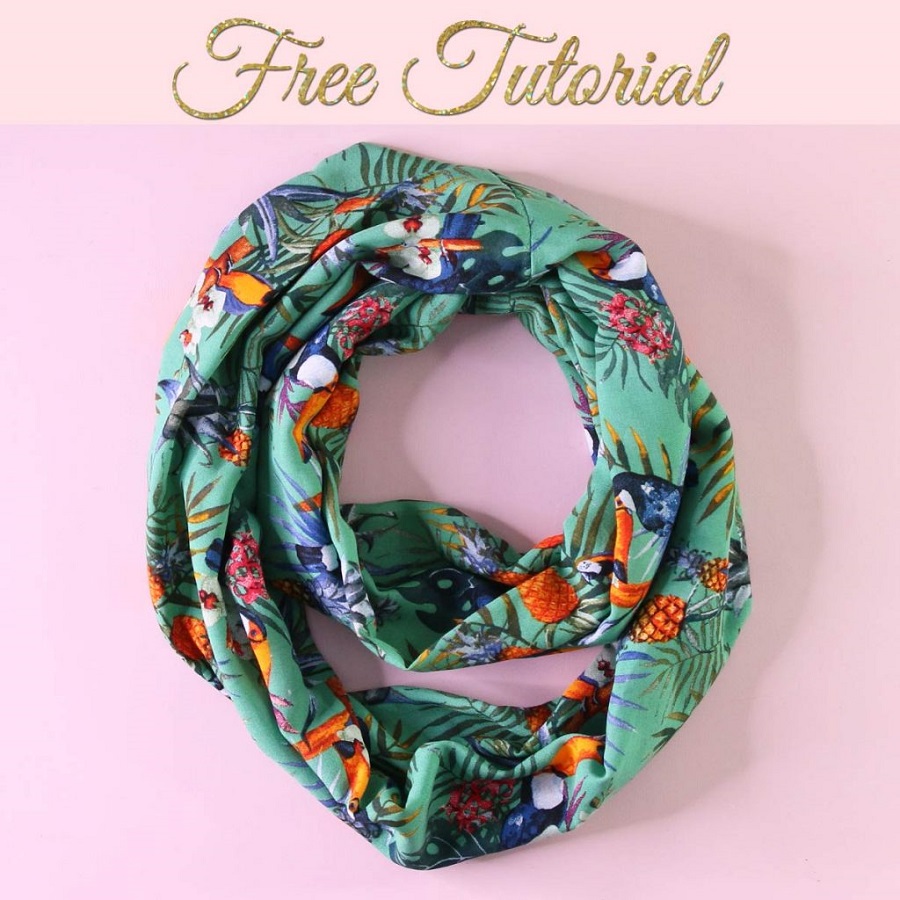
Explore Different Shapes and Sizes
Move beyond the classic rectangle. Try knitting infinity scarves, cowls, or even triangular shawls. Each shape offers unique stitching challenges and stylish results.
Follow Charts for Patterns
Many complex patterns use charts rather than written instructions. Practice reading charts for a smoother knitting experience.
Knit with Beads or Sequins
For a dazzling effect, learn how to incorporate beads or sequins into your knitting. Doing this takes patience but adds sparkle to any scarf.
Advanced scarf patterns push your skills and creativity. As you work on these challenging projects, remember to embrace the learning process. Each complex pattern will contribute to your development as a knitter and the unique beauty of your scarves.
 Finishing Touches: Adding Fringe and Other Decorative Elements
Once you have completed the main knitwork of your scarf, it’s time to add some personality with finishing touches. Fringe is a popular choice that can enhance the look and feel of your scarf. Here are steps to add some stylish flair to your creation.
Cutting and Attaching Fringe
Start by cutting strands of yarn twice the length of your desired fringe. Fold them in half, and use a crochet hook to pull the folded loop through the scarf’s edge. Then, pull the loose ends through the loop and tighten. Repeat this along the edges for consistent fringe.
Knotting Fringe for Durability
For extra security, knot the top of each fringe close to the scarf’s edge. This step prevents the fringe from unraveling during wear and care.
Adding Beads or Other Embellishments
Consider sliding beads onto the fringe for a bit of sparkle. Tie a knot under each bead to keep them in place. You can also add other decorative elements, like tassels or pom-poms, at the corners of the scarf.
Blocking Your Scarf
After adding decorative elements, lay your scarf flat to shape it. Pin it down on a blocking mat, and use a gentle steamer or damp cloth to set the shape. Blocking ensures that your scarf lies nicely when worn.
Adding fringe and other decorative elements is a chance to show off your creativity. Play with colors, textures, and materials to make your scarf unique. With these final embellishments, your scarf will not only be warm but also a stylish accessory that showcases your knitting talents.
Caring for Your Handmade Scarf
Caring for your handmade scarf ensures it stays beautiful for years. Here are key care tips:
Washing Your Scarf
Check the yarn label for washing instructions. Hand wash softly if unsure. Use cool water and a gentle detergent. Rinse well and avoid twisting or wringing the scarf.
Drying Your Scarf
Lay the scarf flat on a towel to dry. Roll the towel to remove excess water. Reshape your scarf and leave it to air dry. Avoid using hangers or clothespins.
Storing Your Scarf
Store in a dry, clean place. Fold gently, do not hang, to prevent stretching. Use a breathable container or a cotton bag.
Dealing with Pilling
If pilling occurs, use a fabric shaver or scissors carefully. Remove pills to maintain a smooth texture.
Fixing Snags
Pull snags through to the scarf’s back side with a crochet hook. Do not cut them. This keeps the knit intact.
By following these simple care steps for your scarf, you’ll ensure its longevity and lasting appeal.
 Common Mistakes to Avoid in Scarf Making
When learning how to make a scarf, common mistakes can hinder your project. To enhance your crafting experience, avoid these pitfalls:
Choosing the Wrong Yarn Weight
Matching yarn weight to your project is crucial. Too heavy or light yarn can alter your scarf’s feel and drape.
Ignoring Washing Instructions
Check yarn labels before washing. Improper care can damage your handmade creation.
Incorrect Stitch Count
Maintain accurate stitch counts. This ensures your scarf’s edges remain straight and even.
Inconsistent Tension
Even tension is vital. It prevents your scarf from having tight or loose spots.
Forgetting to Check Gauge
Always knit a gauge swatch. It guarantees your scarf will be the right size.
Underestimating Yarn Quantity
Calculate how much yarn you need beforehand. This avoids running out mid-project.
Using Poor Quality Needles or Hooks
Invest in good tools. Quality needles and hooks make a big difference.
Skipping Blocking
Blocking shapes your scarf. It’s an important final step for a professional look.
By keeping these tips in mind, you’ll avoid common mistakes and create a scarf you can be proud of.