Introduction
Scarf are more than just pieces of fabric; they are versatile accessories that can transform any outfit, enhance your personal style, and provide comfort in varying weather conditions. Their history spans cultures and centuries, and their endless adaptability to different occasions makes them a staple in wardrobes around the globe. This extensive guide will explore the myriad ways you can elevate your style with scarves throughout the year, along with tips on selecting, styling, and caring for these multifaceted accessories.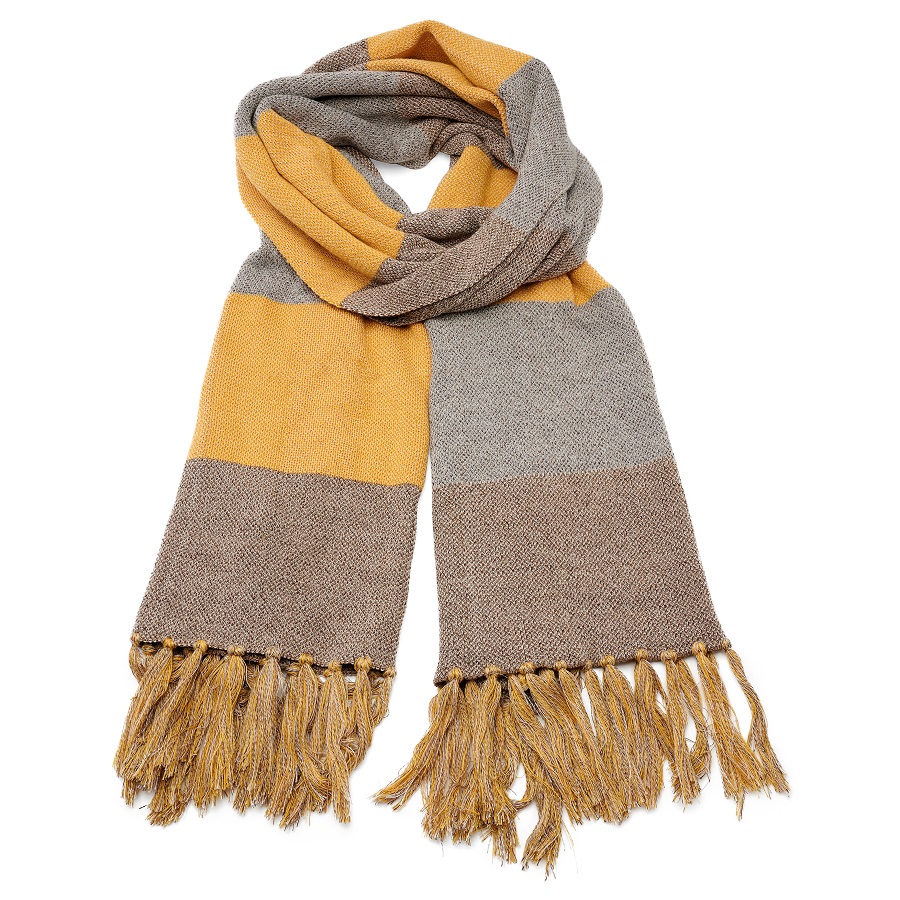
The Historical Significance of Scarves
Scarves have been used for thousands of years, originating as simple pieces of cloth for practical purposes such as warmth and protection from the elements. Ancient Roman soldiers wore them as part of their uniforms, while the Chinese used them to symbolize status and wealth. Over time, scarves have evolved into fashion statements, with different styles emerging globally. Today, they are embraced across various cultures, with each region adding its unique twist to the art of scarf-wearing.
Types of Scarves
To fully appreciate the versatility of scarves, let’s explore the different types you can find:
- Fashion Scarves: Often made from light materials, these scarves are more about style than warmth. They can be printed or solid-colored and are perfect for draping over outfits or tying in creative ways.
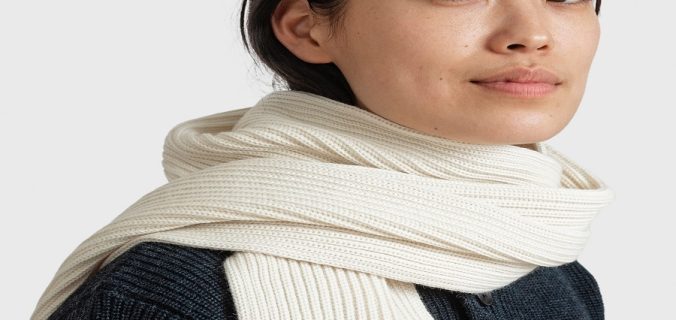
- Winter Scarves: Typically made from wool or knit materials, these scarves are designed to keep you warm in colder months. They come in various lengths and thicknesses, providing both comfort and style.
- Silk Scarves: Known for their luxurious texture and high-quality appearance, silk scarves can add a touch of elegance to any outfit. They can be tied around the neck, wrist, or even attached to handbags to enhance your look.
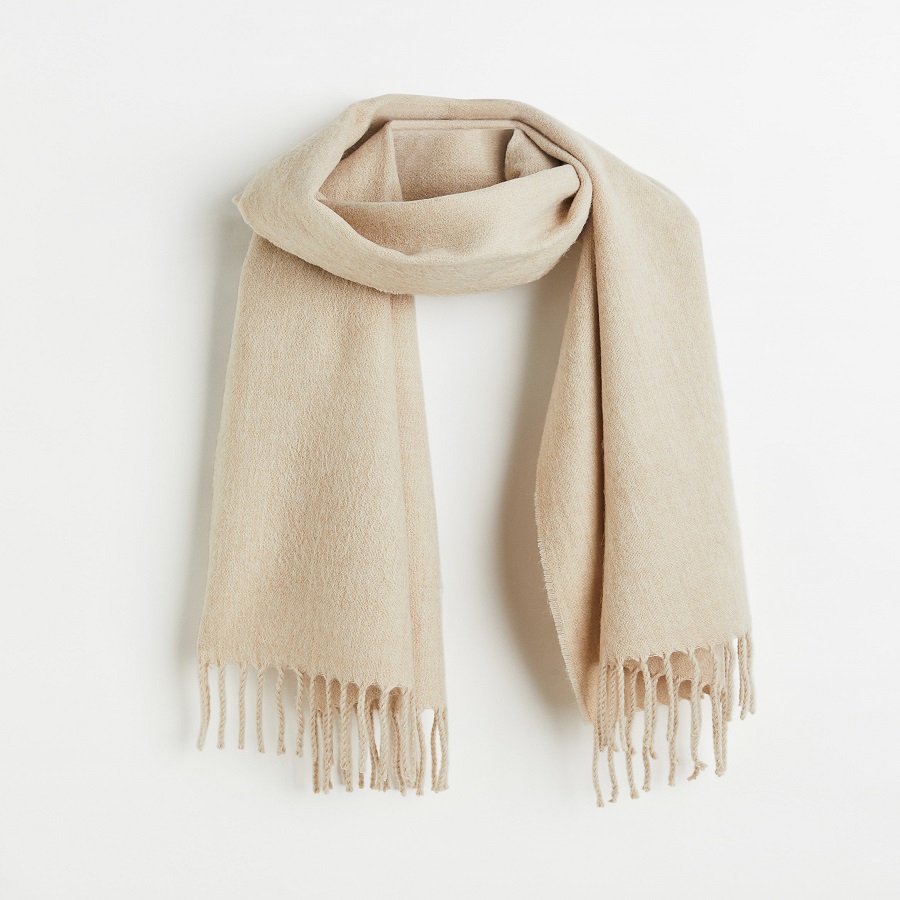
- Pashmina Scarves: Made from the fine cashmere wool of Himalayan goats, pashminas are soft, lightweight, and can be worn in multiple ways. They are ideal for transitioning between seasons.
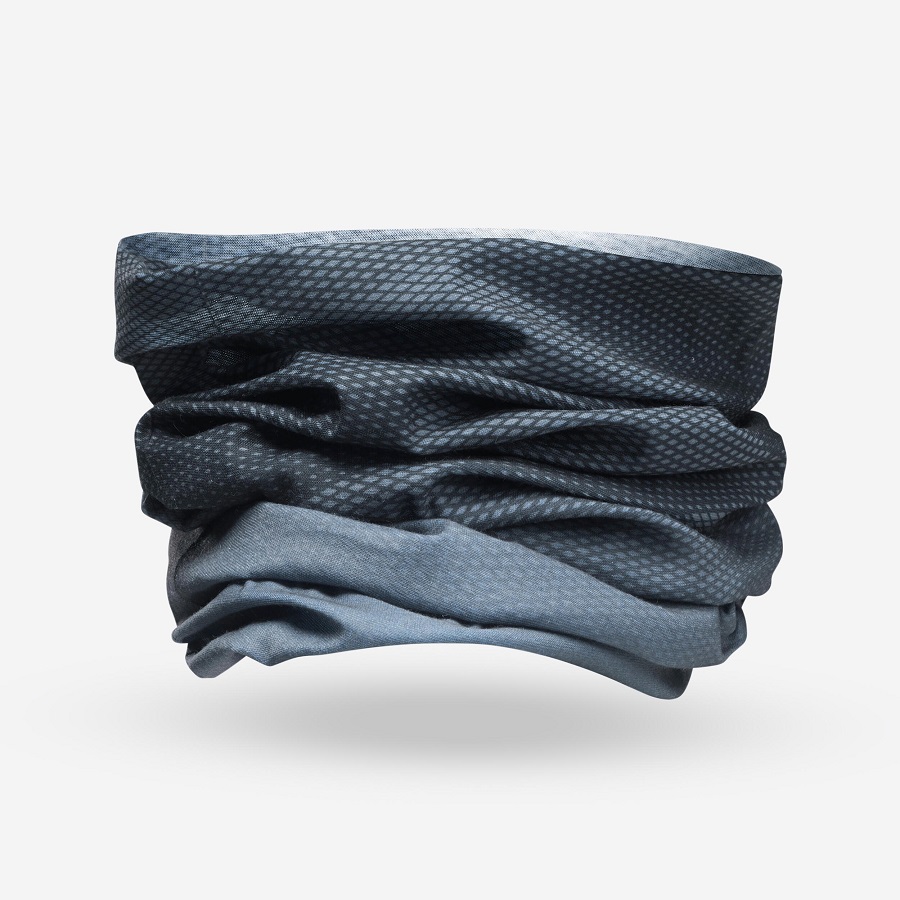
- Infinity Scarves: These are loops of fabric that you can simply slip over your head. They offer a modern twist and can be styled in various ways, typically serving as both a decorative and warm accessory.
- Wraps and Shawls: Larger than standard scarves, wraps and shawls can cover your shoulders and upper body. They are excellent for layering or to add an element of warmth and style to evening wear.
Seasons and Scarves: Styling Guide
- Spring: As temperatures rise, lightweight cotton or silk scarves are ideal for adding a pop of color to your outfit. Drape a floral scarf around your neck, or use a light scarf as a belt over a sundress. Knotted styles or simple draping are perfect for achieving a fresh spring look.
- Summer: Scarves can also serve functional purposes during the summer. Use them as headbands to keep hair off your face or tie them around your waist as a sarong by the beach. A light, breathable scarf can also protect your skin from the sun without being too hot.
- Autumn: This transitional season is perfect for thicker scarves. Opt for pashmina or wool varieties in autumnal colors. Drape them over a casual outfit, or let them hang softly from your shoulders for a cozy, chic look. Layering a scarf with a leather jacket can create an effortlessly stylish vibe.
- Winter: To combat the cold, heavy knit or wool scarves are essential. Wrap them snugly around your neck or let them hang down for a chic, layered look. Experiment with different wrapping techniques, such as the Parisian knot or the double loop, to create volume and warmth.
How to Style a Scarf: Tips & Tricks
- Knotting Techniques: Learn various knots that can accentuate your scarf’s style. Popular techniques include the French twist, the knot, and the loop. Each style can give your outfit a fresh, distinctive look.
- Mix and Match: Combine different patterns and colors when wearing scarves. Pair floral prints with stripes or polka dots for a fun appeal. Just ensure there’s a common color that ties them together.
- Accessorize: Scarves can be more than neckwear. Use them as hair accessories, belt replacements, or handbag embellishments. Tying a scarf around the handle of a bag can create an entirely new look for your favorite accessory.
- Layer Wisely: Different lengths and textures can create intriguing layers. Understated scarves can be layered with larger or bolder pieces to create depth.
- Play with Proportions: Long, flowing scarves can create an illusion of height, while bulky ones can offer a cozy appearance. Use this knowledge to balance your overall look.
Caring for Your Scarves
To maintain the beauty and longevity of your scarves, follow these care tips:
- Washing: Always check the label for care instructions. Wool and silk scarves generally require gentle hand washing or dry cleaning, while cotton can often be machine washed on a delicate cycle.
- Storage: Store scarves rolled up or hanging to prevent creases. Avoid folding them sharply, as this can lead to permanent creases.
- Prevent Damage: Keep scarves away from strong sunlight to prevent fading. If storing for longer periods, consider placing them in a cloth bag to protect them from dust and moisture.
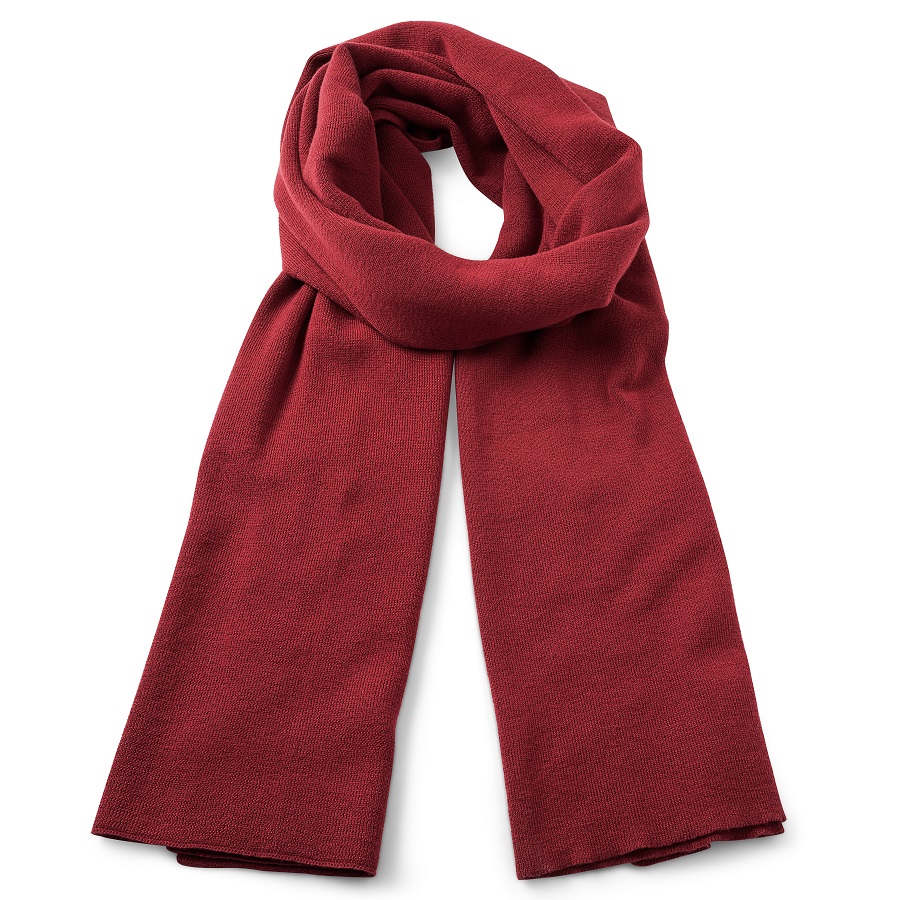
Basic Knitted Scarf
Materials Needed:
- Yarn (worsted weight is best for beginners)
- Knitting needles (size 8 or 9)
- Scissors
- Tapestry needle for weaving in ends
Instructions:
- Cast On: Start by casting on 30 stitches (you can adjust the number depending on how wide you want your scarf).
- Knit the Scarf: For a basic garter stitch scarf, simply knit every row until your scarf reaches your desired length, typically around 60 inches.
- Bind Off: Once you have reached the desired length, bind off your stitches to keep your scarf from unraveling.
- Weave in Ends: Use a tapestry needle to weave in any loose ends.
Tips:
- Experiment with different yarn colors and textures to create a unique look.
- You can also incorporate patterns, such as ribbing or stripes, for visual interest.
No-Sew Fleece Scarf
Materials Needed:
- Fleece fabric (1 yard)
- Scissors
- Ruler or measuring tape
Instructions:
- Cut the Fabric: Measure out 1 yard of fleece and cut it into a rectangle about 10 inches wide and 60 inches long.
- Fringe Edges: On both ends of the fabric, cut strips about 5 inches long and 1 inch wide to create fringe.
- Tie Knots: Take the top and bottom strips of fringe and tie them in knots to secure. Repeat for all strips on both ends.
Tips:
- Use two contrasting colors for a double-sided scarf. Simply layer the two pieces of fleece together and follow the same procedure.
- Consider adding embellishments like fabric paint, patches, or even beads to personalize your scarf further.
Infinity Scarf from a T-Shirt
Materials Needed:
- An old T-shirt
- Scissors
- Sewing machine or needle and thread
Instructions:
- Prepare the Shirt: Lay the T-shirt flat and cut just beneath the arms and across the neckline to create a tube of fabric.
- Cut Strips: Cut the remaining fabric into horizontal strips about 2 inches wide.
- Sew Together: Pin the strips together (if desired) and sew them into one continuous strip.
- Form the Infinity Loop: Depending on your desired thickness, you can loop the fabric once or twice and sew the ends together.
Tips:
- This project is perfect for reclaiming T-shirts that have sentimental value or interesting graphics.
- Add embellishments like fabric paint or appliqué for a unique touch.
Crochet Scarf with Fringe
Materials Needed:
- Crochet hook (size H/8 recommended)
- Yarn (bulky yarn works great)
- Scissors
- Tapestry needle
Instructions:
- Start with a Foundation Chain: Chain 25 (or your desired width).
- Half Double Crochet Rows: In each subsequent row, work half double crochets until you reach your desired length (about 60 inches is typical).
- Create Fringe: Cut strands of yarn about 12 inches long. Fold each strand in half and pull it through the end stitches of your scarf, creating a fringe.
- Weave in Ends: Trim any excess yarn and weave in the loose ends with a tapestry needle.
Tips:
- Try different crochet stitches (like shell or V-stitch) for varied textures.
- Use variegated yarn for an exciting color pattern.
Tie-Dye Scarf
Materials Needed:
- Cotton fabric (1 yard)
- Tie-dye kit or fabric dye
- Rubber bands
- Plastic gloves
- Plastic wrap or plastic sheet
Instructions:
- Prepare Fabric: Pre-wash your cotton fabric to remove sizing. After it dries, lay it flat to work on your designs.
- Tie with Rubber Bands: Create sections in the fabric by gathering and tying rubber bands around areas to create distinct patterns.
- Apply Dye: Wearing plastic gloves, apply dye to different sections using squeeze bottles. Each design can have a different color theme.
- Set the Dye: Wrap your tied fabric in plastic and let it sit for at least 6-8 hours, or as instructed by the dye kit.
- Rinse and Dry: After the dye has set, rinse the fabric until the water runs clear, remove the rubber bands, and let the fabric dry completely.
Tips:
- Experiment with various tie-dye techniques (spirals, stripes, or bullseyes) to create different effects.
- Once dry, sew the fabric into a simple scarf shape, finishing the edges by sewing or serging.
Conclusion
Scarves are an invaluable addition to any wardrobe, offering countless opportunities for creativity in styling and accessorizing. Their ability to adapt across seasons, occasions, and personal styles makes them a must-have item for men and women alike. By understanding the different types of scarves, mastering various styling techniques, and creating a care routine, you can ensure that your scarves remain a fashionable and functional part of your outfits year-round. So, don’t hesitate to explore this incredible accessory, and let your scarves take your style to new heights!
