Introduction
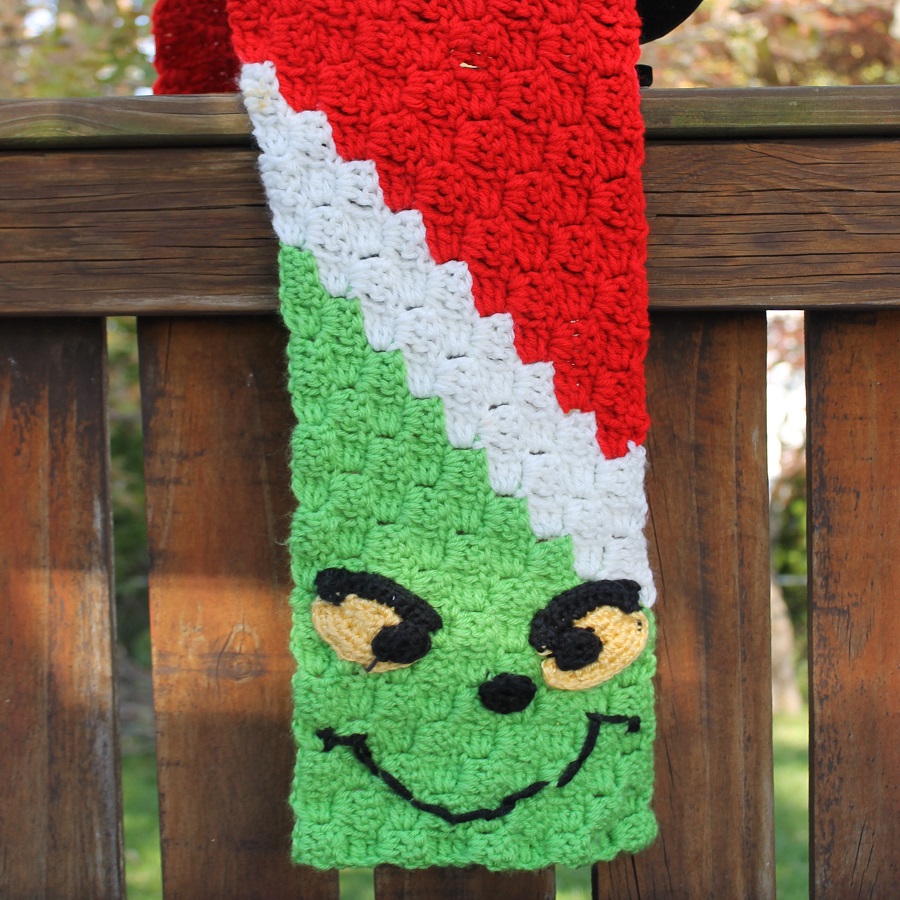
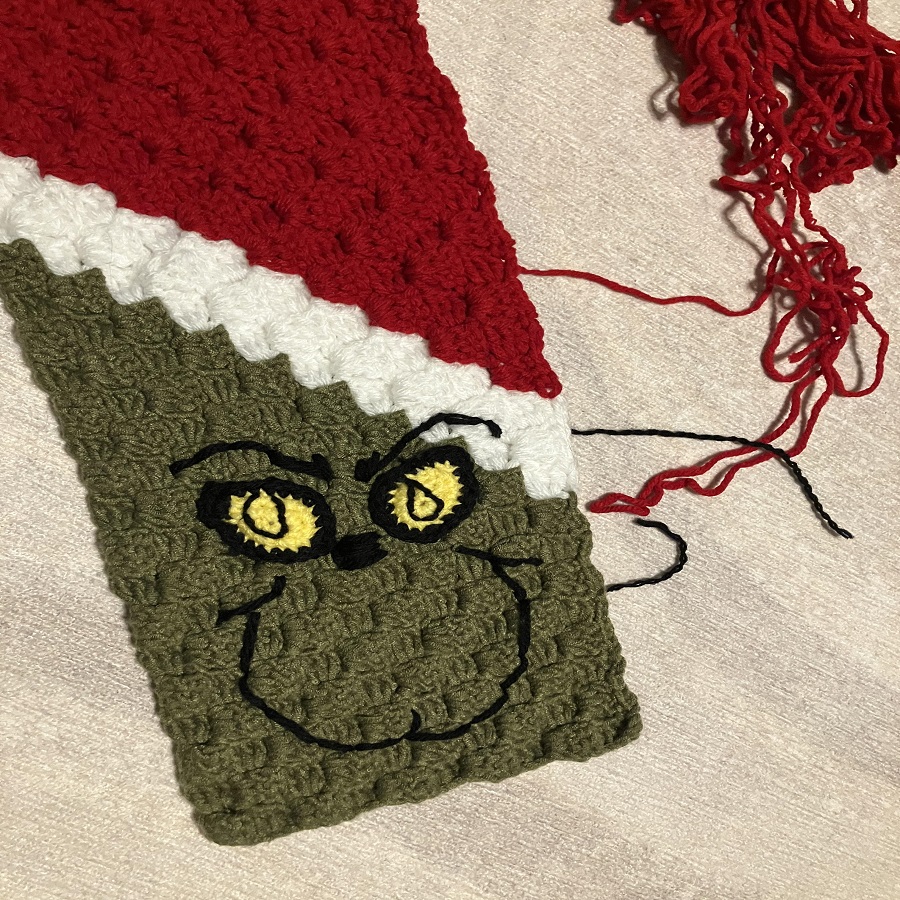
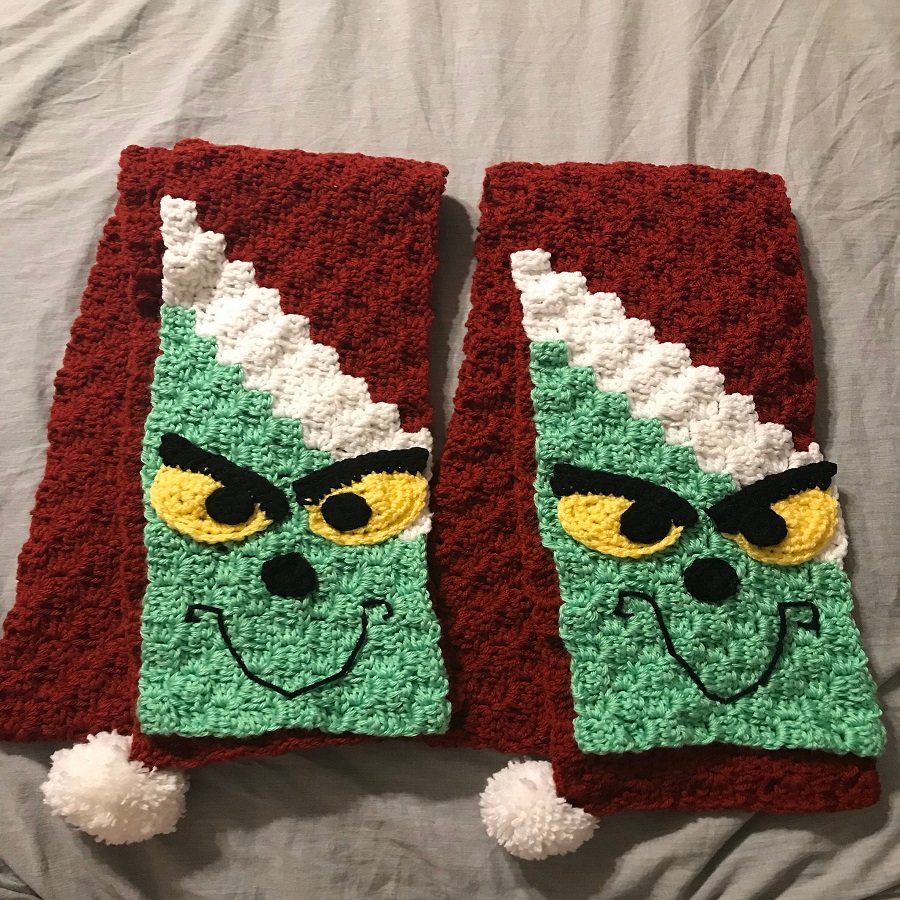
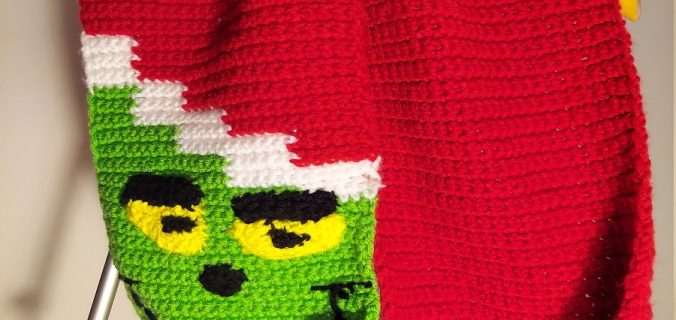
Grinch scarf crochet pattern – Are you ready to add a touch of whimsy and festive cheer to your winter wardrobe? If you’re a crochet enthusiast or someone looking to dip your toes into the world of yarn and thread, then crafting a Grinch scarf is the perfect project for you. Inspired by Dr. Seuss’s beloved character, this scarf is not only functional but also a fun and playful accessory to showcase your crochet skills. Whether you consider yourself a beginner or an experienced crocheter, this guide will walk you through the process, step by step.
Materials Needed
Before we dive into the steps, ensure you have the following materials on hand:
- Yarn:
- Green yarn (main color for the Grinch’s body)
- Red yarn (for accents, resembling Santa Claus)
- White yarn (for fluffy trim, resembling the Grinch’s fur)
- Optional: Black or yellow yarn (for added details or embellishments)
- Crochet Hook:
- Size G (4.0 mm) or size H (5.0 mm), depending on your yarn choice and tension.
- Scissors:
- For cutting your yarn.
- Tapestry Needle:
- For weaving in loose ends.
- Measuring Tape:
- To achieve your desired length and width.
- Optional:
- Pom-poms or bells for a playful touch.
Gauge
Before starting, it’s wise to check your gauge to ensure your scarf ends up the right size. Create a small swatch (about 4 inches by 4 inches) to ensure your stitches match the intended tension. This can vary depending on your crochet style and yarn choice.
Create the Foundation Chain
- Choose the Length:
- Decide how long you want your scarf to be. A good standard length is between 60-70 inches for an adult scarf.
- Crochet the Chain:
- Create a foundation chain by chaining (ch) a length that fits your desired size. For example, make a chain of 200 for a standard width.
The Body of the Scarf
- Row 1:
- Start with the green yarn. In the second chain from the hook, single crochet (sc) across the entire chain.
- Row 2:
- Chain 1, turn your work, and sc in each stitch across.
- Repeat Rows:
- Continue repeating Row 2 until the scarf reaches your desired width (approximately 6-8 inches). Feel free to make your scarf wider for a cozier look!
Adding the Santa Fur Trim
- Change Color:
- When you reach the desired width, switch to the white yarn.
- Adding Fur:
- Chain 1, and sc in each stitch across for the next row. Depending on your preference, you can use a “fluffy” yarn to give the impression of fur. Alternatively, you can use a regular white yarn and do a bulky stitch, like a bobble stitch, to create a fluffier look.
- Repeat:
- Continue with the white yarn for 2-4 rows, or more, depending on how much trim you want to add.
 Adding Red Accents
- Change Color Again:
- Now it’s time to add the festive red accents! Switch to your red yarn.
- Crochet a Stripe:
- Chain 1, turn, and sc across for 2 rows to create a striking red stripe.
- Repeat with Green:
- After your red stripe, switch back to green and repeat the process. This alternating pattern can create a festive striped appearance.
Finishing the Scarf
- Add the Final Fur Trim:
- Consider finishing with one last row of the white yarn to solidify the fluffy look of your scarf.
- Weave in Loose Ends:
- Use your tapestry needle to weave in all remaining yarn ends. Ensure there are no loose ends sticking out, as this could detract from the look of your finished project.
- Optional Embellishments:
- For an extra touch of whimsy, attach small pom-poms, bells, or even crochet small characters that represent the Grinch, Max the dog, or Whoville citizens.
Enjoy Your Creation!
Congratulations! You’ve completed your whimsical Grinch scarf. Now it’s time to wear it proudly or gift it to someone you love. Pair your scarf with a cozy sweater or jacket as you spread holiday cheer.
Care Instructions
To keep your scarf looking fresh throughout the season, hand wash it in cold water and lay it flat to dry. This will help preserve the integrity of your stitches and the vibrant colors of your yarn.
Why Crochet a Grinch Scarf?
The Grinch, created by Dr. Seuss, is a character that resonates with so many during the holiday season. He embodies the transformation of spirit—from a grumpy, green creature to the quintessential representation of holiday cheer. Crocheting a Grinch scarf is not just a creative outlet; it also serves as a reminder of the joy and warmth that can be found in giving, kindness, and love. Whether you’re looking to keep yourself warm or create a thoughtful gift for a friend or family member, this scarf is the perfect project.
Materials Needed
Before diving into the magic of crochet, it’s essential to gather your materials. Here’s a list of what you’ll need for this Grinch scarf:
- Yarn:
- Green yarn (for the body of the scarf)
- Red yarn (for accents, like a border or embellishments)
- White yarn (for the fluffy trim)
Choose a soft yarn that has a bit of elasticity; acrylic blends are excellent for this project as they’re warm, durable, and easy to wash.
- Crochet Hook:
- A size H/8 (5.00 mm) hook will work well for most worsted weight yarns.
- Tapestry Needle:
- For weaving in ends and sewing any embellishments.
- Scissors:
- To cut yarn.
- Measuring Tape:
- To ensure your scarf reaches the desired length.
The Crocheting Process
Create a Foundation Chain
Start your project by creating a foundation chain. For a basic scarf, you might consider chaining about 25-30 stitches, depending on your desired width. Remember, you can always adjust this based on your preferences.
Crocheting the Body of the Scarf
After your foundation chain, you’ll want to single crochet (SC) across each row until you’ve reached the desired length for the scarf. A scarf is usually about 6 to 8 inches in width and can be anywhere from 60 to 70 inches long, but feel free to customize this!
To give your Grinch scarf a bit more character, consider incorporating a ribbing or a puff stitch pattern. This will add texture and keep the scarf cozy.
Adding the Fluffy Trim
Once you have the body of your scarf completed, it’s time to create that iconic fluffy trim! You can achieve this look by using white yarn and either a series of double crochets or a shell stitch along the ends of your scarf. This will mimic the Grinch’s furry appearance and add a whimsical touch.
Embellishments
For those extra festive vibes, consider adding a few embellishments! With your red yarn, you could create playful accents, such as small red hearts or ornaments that symbolize the holiday spirit. You might even crochet a small Santa hat or a Grinch face to attach to the scarf for a fun and playful effect.
Finishing Touches
After you’ve sewn on any embellishments and finished off your scarf, take a moment to weave in any loose ends using a tapestry needle. This will give your scarf a polished look and ensure that it’s ready for gifting or wearing.
Styling Your Grinch Scarf
Now that you have created your adorable Grinch scarf, think about the ways you can style it! Pair your scarf with a chunky sweater and jeans for a casual holiday gathering, or drape it over a cute winter coat when venturing out into the snow. The playful and vibrant colors of the scarf will surely attract compliments and spread holiday cheer wherever you go.
Gift It Forward
One of the best aspects of crafting is sharing your handmade creations with others. Consider making additional Grinch scarves for friends and family, hosting a crochet night where everyone can create their own version, or donating a few scarves to local shelters during the holiday season. Every stitch will bring warmth and kindness to those who receive your handiwork.
 Final Thoughts
Crocheting your own whimsical Grinch scarf is a delightful project that allows you to express your creativity and bring a smile to those around you. Not only do you end up with a lovely scarf, but you also embrace the spirit of crafting and the joy of the holiday season. Whether for yourself or as a gift, this scarf is sure to become a treasured item in your winter wardrobe. So grab your crochet hook, select your colors, and let your imagination run wild as you bring the Grinch to life in yarn! Happy crocheting!
