Introduction
Crocheting is a beautiful and fulfilling craft that allows you to create various handmade items, from cozy scarves to intricate blankets. Whether you’re new to stitching or are looking to enhance your skills, this comprehensive guide will walk you through the steps you need to create a cozy scarf from start to finish. With a few supplies, some patience, and a bit of practice, you’ll find it to be a rewarding experience.
Table of Contents
- Why Crochet a Scarf?
- Materials You’ll Need
- Understanding Basic Crochet Techniques
- Step-by-Step Instructions for Crocheting a Scarf
- Tips for Success
- Common Mistakes to Avoid
- Ways to Customize Your Scarf
- Conclusion
Why Crochet a Scarf?
Crocheting a scarf is an excellent project for beginners because it allows you to practice basic stitches while creating something useful and stylish. Scarves are versatile accessories that can be tailored to suit different styles, seasons, and skill levels. Plus, they make great gifts for friends and family!
Materials Needed
Yarn
Choosing the right yarn is crucial for your scarf. Here’s what to consider:
- Type of Yarn: For scarves, worsted weight or bulky yarn is recommended as they provide warmth and are easy to work with. Look for soft, cozy fibers like acrylic, wool, or a wool blend for extra warmth.
- Color: Decide on a color or pattern. You might want to pick a solid color that complements your winter coat or go for a variegated yarn that adds visual interest.
Crochet Hook
- Size: The size of your crochet hook will depend on the yarn you select. For worsted weight yarn, a size H (5 mm) or I (5.5 mm) hook is often ideal. Always check the yarn label for recommendations.
- Material: Crochet hooks come in different materials like aluminum, plastic, and wood. Choose one that feels comfortable in your hand.
Other Supplies
- Scissors: For cutting yarn.
- Tapestry Needle: For weaving in ends once you finish your scarf.
- Measuring Tape: To measure the length of your scarf.
- Stitch Marker: Optional; these can help you keep track of your rows or stitches if you’re using a complex pattern.
Understanding Basic Crochet Techniques
Before diving into the pattern, familiarize yourself with the following basic crochet stitches:
- Chain Stitch (ch): The foundation of most crochet projects.
- Single Crochet (sc): A simple stitch that’s great for beginners.
- Double Crochet (dc): A taller stitch that creates a more open fabric.
You can find numerous online video tutorials that demonstrate how to create these stitches, which can be incredibly helpful for visual learners.
Step-by-Step Instructions for Crocheting a Scarf
Now that you have your materials ready and understand the basic stitches, let’s get started on your scarf! For this project, we will make a basic single crochet scarf.
Make a Foundation Chain
- Make a slip knot and place it on your hook.
- Chain 22 (or a multiple of 2 for a wider or narrower scarf).
- The length of your chain will determine the width of your scarf; adjust as desired.
Start Crocheting
- Turn your work.
- Insert your hook into the second chain from the hook and yarn over.
- Pull up a loop (you should have two loops on your hook).
- Yarn over again and pull through both loops on your hook.
- Continue this process across the row until you reach the end.
Create Additional Rows
- Chain 1 and turn your work.
- Repeat the single crochet stitch across the row.
- Continue crocheting rows until your scarf reaches your desired length, typically around 60–70 inches long.
Finishing the Scarf
- When you’ve reached your preferred length, cut the yarn, leaving a 6-inch tail.
- Pull the yarn through the last loop to secure it.
- Use your tapestry needle to weave in the ends of your yarn where you started and finished.
Tips for Success
- Practice Patience: Crocheting can be challenging at first but keep practicing! Your skills will improve over time.
- Maintain Consistent Tension: Try to keep your stitches even in tension, which will affect the overall appearance of your scarf.
- Take Breaks: Avoid cramps or fatigue by taking breaks, especially when you’re just starting.
Common Mistakes to Avoid
- Skipping Chains: Double-check that you’re not skipping chains; it’s a common mistake that can lead to uneven edges.
- Incorrect Stitch Count: Always count your stitches, especially after turning your work.
- Not Checking Gauge: Although it’s less critical for scarves, checking your gauge can help ensure your finished piece meets the intended measurements.
Ways to Customize Your Scarf
Once you’ve mastered the basics, consider these tips for customizing your scarf:
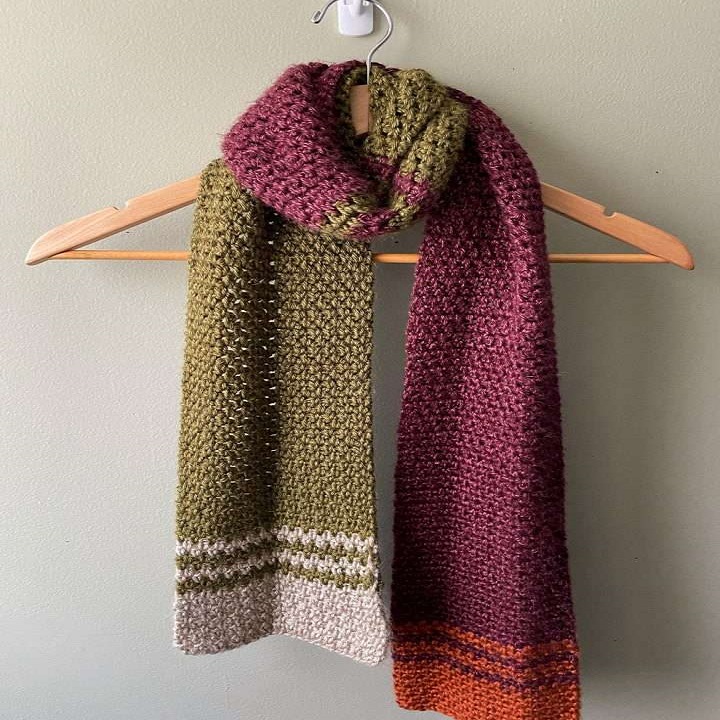
- Color Changes: Experiment with different colors. You can change yarn colors every few rows for a striped effect.
- Stitch Variations: Incorporate different stitches like half-double or double crochet to create texture.
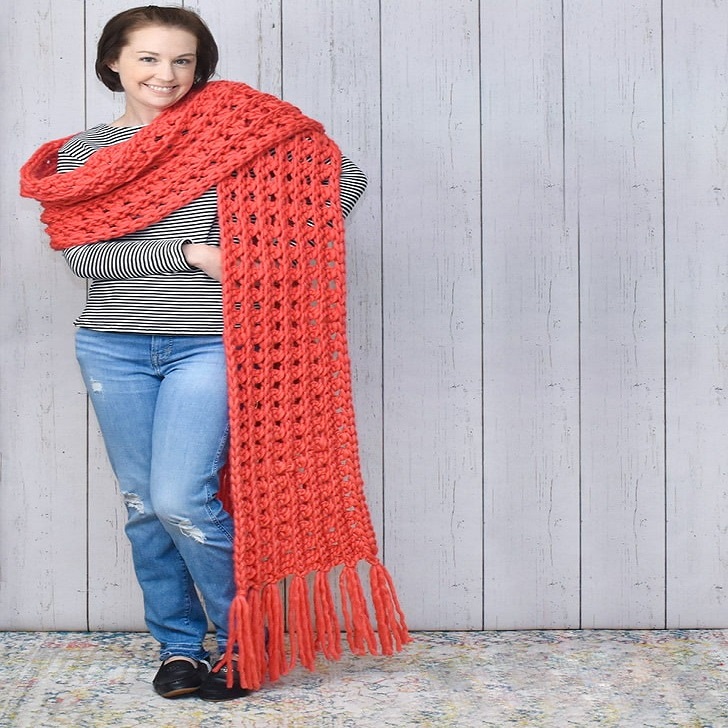
- Fringe: Add fringe or tassels at the ends of your scarf for a fun flair.
- Personalization: Consider adding gifts or charms sewn onto the scarf or using yarns with variations in texture or sparkle.

Start Crocheting Rows
Option A: Single Crochet Scarf
- Turn Your Work: After completing the chain, turn your work.
- Single Crochet in Each Stitch: Insert your hook into the second chain from the hook, yarn over, pull up a loop (two loops on hook), yarn over again and pull through both loops. Repeat this across the row.
- Chain One and Turn: After reaching the end, chain one, turn your work, and repeat this row until you reach your desired length.
Option B: Double Crochet Scarf
- Turn Your Work: Turn your work at the end of your chain.
- Yarn Over and Start in the Third Chain: Yarn over and insert your hook into the third chain from the hook. Yarn over, pull up a loop (three loops on your hook), yarn over, pull through the first two loops (two left), yarn over again and pull through the remaining two loops. Continue this till the end of the row.
- Chain Two and Turn: chain two for your next row (this counts as your first double crochet), and repeat until you reach the desired length.
Finishing the Scarf
- Check the Length: A standard scarf is about 60-70 inches long, but it can be shorter or longer based on preference.
- Fasten Off: Cut the yarn, leaving a long tail. Pull the tail through the last loop on your hook, and pull tight.
- Weave in Ends: Using your tapestry needle, weave in the loose ends along the edges of your scarf to secure them. This keeps your scarf looking neat and professional.
Optional Finishing Touches
Once your scarf is complete, consider adding embellishments:
- Fringe: Cut several pieces of yarn to your desired length. Attach them to the ends of your scarf for a fun detail.
- Border: Consider adding a contrasting border by single crocheting around the edges of your scarf. This adds a polished look.

Conclusion
Crocheting a cozy scarf is a fantastic way to start your crochet journey. Not only do you gain practical skills and enjoy a creative outlet, but you also produce a beautiful item that you can keep or gift. With practice, you’ll learn to make this piece uniquely yours. So, grab your materials, find a comfortable spot, and enjoy the relaxing art of crocheting!
Congratulations! You have successfully crocheted your very own scarf. Each stitch is a labor of love, bringing warmth not just to your body but to your spirit as well. This project can be a wonderful introduction to the world of crochet, and once you have mastered it, the possibilities are endless!
