Introduction to Sideways Crochet Scarves
How to crochet scarf – Crocheting scarves sideways offers a fresh take on classic accessories. Unlike traditional methods, this approach involves crocheting the full length of the scarf first. It allows crocheters to focus on the width later. This technique suits different stitches and serves practical purposes too. From a sleek look to easier stripe management, sideways crocheting might become your go-to. Whether you are a beginner or experienced, this method can be a game-changer. Let’s explore the benefits and design possibilities of sideways crochet scarves.
 Benefits of Crocheting Scarves Sideways
Choosing to crochet scarves sideways brings several benefits that improve both the process and the final product.
Visual Appeal of Vertically Oriented Stitch Patterns
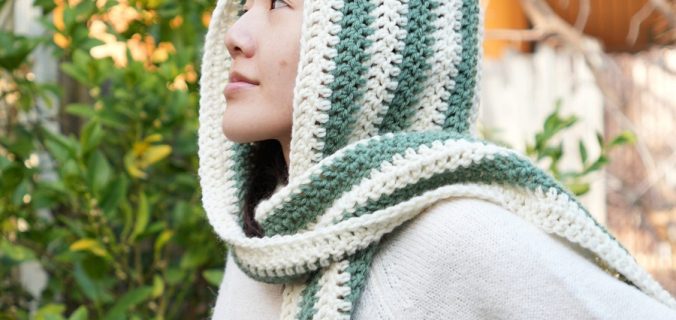
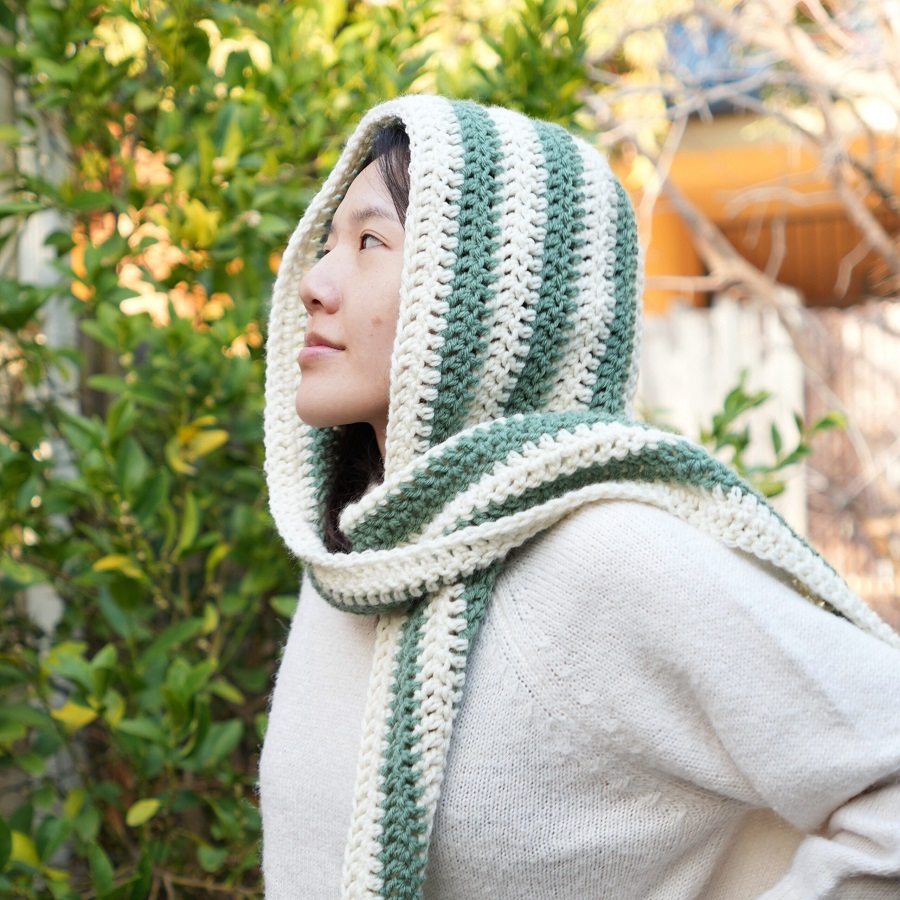
When you crochet scarves sideways, the stitch patterns run vertically. This gives the scarf an elegant, elongated look. Patterns like ribbed and textured stitches stand out, enhancing the scarf’s aesthetic appeal.
Ease of Adding Stripes and Managing Yarn Tails
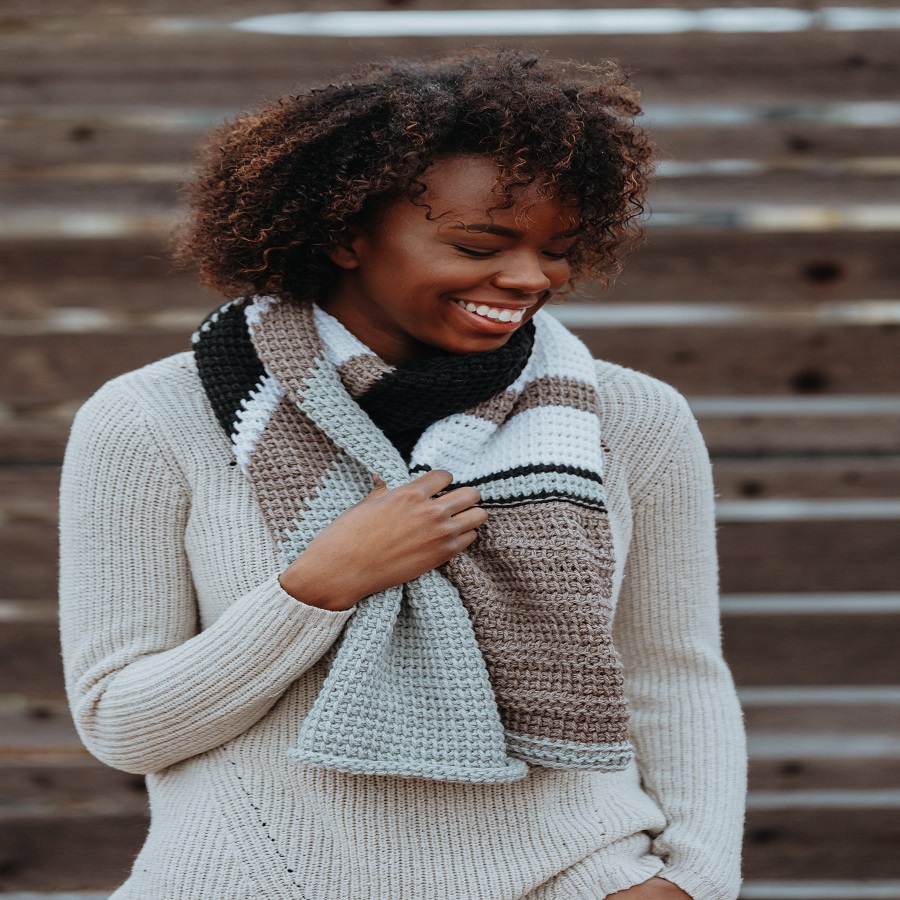
Sideways crochet makes adding stripes simple. You just change colors at the end of rows, blending them seamlessly. This method avoids numerous yarn tails, as they become part of the scarf’s fringe, reducing the need for weaving in ends.
Clean and Tidy Edges with No Fringe Necessary
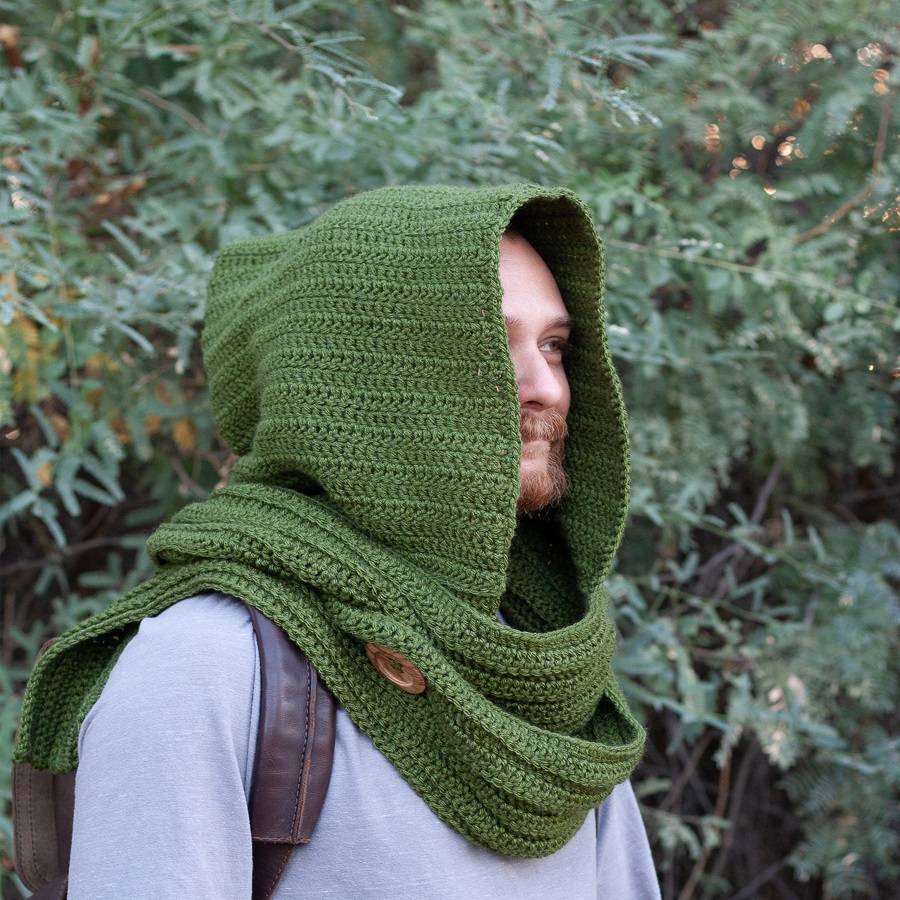
Crocheting sideways yields tidy, smooth edges along the scarf’s length. This method ensures a professional finish on both sides. You can skip adding a fringe, as the edges themselves are neat and require no extra detailing.
Determining the Length of Your Scarf
When creating a scarf using the sideways technique, one key aspect is deciding on the scarf’s length. This initial step is crucial as it impacts the overall fit and style of your finished accessory. By choosing the length first, you can subsequently determine the width based on the amount of yarn available or your design preferences. Let’s delve into how you can make smart choices about the length of your crochet scarf.
Using Your Stash Yarn Efficiently
Maximizing your yarn stash is one of the perks of sideways scarf crochet. Begin by measuring out the yarn needed for the length you desire. With no strict size requirements, you can create longer or shorter scarfs based on the yarn quantity at hand. If you’re concerned about running low on yarn, start with a foundation chain that’s as long as you’re comfortable with, ensuring your scarf will wrap snugly around your neck. Then, continue crocheting back and forth until your yarn is nearly finished. This strategy allows you to use your stash yarn to its full potential without the worry of falling short.
Guidelines for Comfortable Scarf Lengths
A well-sized scarf is both stylish and functional. Typically, scarves should be about as long as your height. This means that most scarves range between 60-80 inches long. For a snug fit, aim for a length that allows wrapping the scarf at least once around your neck. Shorter scarves might be around 50 inches, suitable for simple drape without wrapping. Conversely, extra-long scarves can go beyond 70 inches, providing ample length for wrapping or styling in different ways. When deciding on the length, consider who will wear the scarf. Children and petite individuals may need shorter lengths, while taller adults might prefer longer ones.
Design Tips for Your Own Sideways Scarf
Starting a crochet project right sets the stage for a satisfying result. When designing a sideways scarf, a few key tips can make the process easier and lead to a beautifully finished piece.
Importance of Swatching
Always start with a swatch. This simple step can save you hours of work. It ensures you have the right hook size for a nice drape. Swatches reveal if you need to adjust your foundation chain. They help you get the texture and tension just right.
Calculating Foundation Chain Length
To determine the foundation chain length, use your swatch. Measure its width and note the stitch count. Calculate the number of chains by dividing the desired scarf length by your swatch width. Then multiply this by the stitch count. For example, a 60-inch scarf and a 4-inch wide swatch with 14 stitches will need 210 chains.
Managing a Large Number of Foundation Chains
Dealing with many chains can be overwhelming. To keep track, place a stitch marker every 20 chains. This way, you won’t lose count. If you’re unsure about the count, add extra chains. You can undo them later if they are too many. This trick prevents having to restart due to a shortage in chain count.
The Art of Working into the Bottom of the Foundation Chain
When crocheting a scarf sideways, starting correctly is essential. One specific technique is working into the bottom of the foundation chain. This method creates a neat and uniform edge on your scarf. It mirrors the top edge of your final row, giving your scarf symmetry. Imagine your chain as the backbone of your scarf. By placing stitches into the bottom ‘spine’, you enhance the edge’s appearance.
This approach isn’t just about looks. It also strengthens the foundation of your scarf. The bottom loop of the chain tends to be tighter. This adds to the scarf’s stability. Beginners may find this a bit tricky at first. But with practice, it becomes second nature. Here’s how to master it:
- Start the first row by turning the foundation chain over. You’ll see a series of dashes along the bottom.
- Insert your hook under these dashes instead of the top loops.
- Work your stitches as the pattern dictates. Each stitch will line up perfectly, creating that clean edge.
Remember, this method is not only for aesthetics. It ensures your scarf looks polished without the need for fringe. Plus, it offers a reliable edge if you decide to add other border designs later. Stick with this technique, and your sideways crochet projects will display craftsmanship and care.
Ideas for Reversible Scarf Designs
Creating reversible scarf designs adds versatility and style to your crochet projects. When both sides look equally stunning, your scarf can be worn any way without worrying about the ‘wrong’ side showing. Here are some ideas for making reversible scarves that are as functional as they are fashionable.
Choose Stitch Patterns Wisely
Select stitch patterns that look the same on both sides. Some good options include the single crochet, half double crochet, and slip stitch. These stitches create a uniform fabric that’s reversible.
Play with Color
Use two contrasting yarn colors. Crochet two rows with one color, then switch to the other. This creates a two-tone effect that looks great on both sides.
Incorporate Textures
Consider texture for your reversible scarf. Using bobbles, popcorn stitches, or post stitches can create interesting, tactile designs. These techniques add dimension and keep both sides visually appealing.
Use Reversible Motifs
Create with motifs that have no front or back, like granny squares. Assemble them in a manner where either side can be the front. This technique is perfect for scarves with a patchwork look.
These ideas will transform a simple scarf into a statement accessory. With reversible designs, you double the wearability of each scarf you make—perfect for gifts or expanding your wardrobe.
Customizing the Size of Your Scarf
Crafting the perfect crochet scarf involves more than following a pattern. It’s about making it fit your style and needs. Here, we focus on how you can adjust the width and length for ideal bulk and fit.
Width and Length Adjustments for Bulk and Fit
For a great fitting scarf, you need to think about width and length. A wide scarf keeps you warm in colder weather. A narrow one suits milder days or indoor style. Remember, wide scarves may also need more length to wrap comfortably.
Here’s how you can adjust:
- For a wider scarf, add more rows. This increases the scarf’s bulk and warmth.
- For a narrower scarf, reduce the rows. This will make it lighter and less bulky.
- Adding to the length is easy. Just make a longer foundation chain at the start.
- A shorter length works for kids or petite sizes. Just chain less at the beginning.
The beauty of crocheting scarves sideways is flexibility. You decide the size that’s right for you or the person you’re making it for. Use your stash yarn wisely. Try different stitches and see how the scarf’s dimensions change. And always, make it match your comfort and style.
Patterns to Get You Started
Crocheting a scarf sideways comes with a unique set of patterns. Let’s start with the Moss-Stitch pattern, then visit a classic ribbed look, and finally, explore the knotted double crochet scarf. Each pattern is simple, creates a beautiful scarf, and gives you a practical way to use the sideways technique.
The Moss-Stitch Scarf
This pattern is easy and fast, perfect for beginners. It uses a super bulky yarn. It shows off the stitch texture well. You’ll need about 220 yards of yarn, a large hook, and a yarn needle. You can work it in flat rows. Just chain 85, then alternate half double crochet and slip stitches. Finish off with fringe, and you have a stylish, textured scarf.
The Classic Ribbed Scarf
Ribbed stitches give scarves a classic look. This pattern uses the yarn-over slip stitch. It requires about 436 yards of worsted yarn. You need a medium-sized hook. Begin by chaining 221, then use the special stitch for neat, stacked Vs. Add fringe for extra flair, and enjoy a scarf that drapes beautifully.
The Knotted Double Crochet Scarf
The knotted double crochet stitch makes a dense, wind-blocking fabric. It’s great for chilly days. You’ll need 400 yards of bulky yarn and a hook that gives you the right gauge. Start by chaining 201, then work in knotted double crochet for a flat, elegant finish. Complete with fringe, this scarf is both warm and attractive.
Jump in and try these patterns! Each brings its own charm. They’re a fun way to refresh your wardrobe. Play with colors, textures, and lengths. Enjoy creating a cozy, custom accessory. Happy crocheting!
Conclusion: Expressing Creativity Through Scarf Designs
In conclusion, crocheting scarves sideways unlocks a world of creativity. It offers a new perspective on scarf-making. With this technique, you define scarf lengths and make unique patterns. Your designs can feature vertical stitch patterns for a refined look. Additionally, adding stripes becomes a breeze, enhancing visual interest. You also ensure clean, tidy edges that make your work stand out.
Sideways scarves are about personal expression and functionality. They allow you to use yarn efficiently and to customize sizing. Whether you craft them for warmth or as a fashion statement, they meet your needs. They can be reversible, showcasing craftsmanship from every angle. Remember to start with a good foundation chain and to swatch for the perfect fit.
Embrace the flexibility of this method and let your imagination guide you. Use color, texture, and length to bring your vision to life. Try the patterns mentioned in this blog, like the Moss-Stitch, Classic Ribbed, and Knotted Double Crochet Scarves. Each pattern gives you hands-on experience with sideways crocheting. Start small or go big. But above all, enjoy the crocheting journey.
Craft your scarves with love and watch as they transform your wardrobe. Each stitch adds character and each row, a story. Crocheting scarves sideways is not just a hobby; it’s a form of art. Share this art with others or treasure it for yourself. Happy crocheting!