
Introduction: Embarking on the Crocheting Journey
Crocheting is a popular and rewarding craft that allows you to create beautiful and functional items. One of the most beloved projects for beginners is crocheting a stylish scarf. With just a few basic stitches and some yarn, you can create a cozy accessory that adds a touch of warmth and flair to any outfit. In this beginner’s guide, we will take you through the step-by-step process of crocheting a scarf, providing you with the knowledge and inspiration to master this art form.

Materials Needed: Gathering Your Supplies
Before we dive into the crocheting process, let’s make sure you have all the necessary supplies:
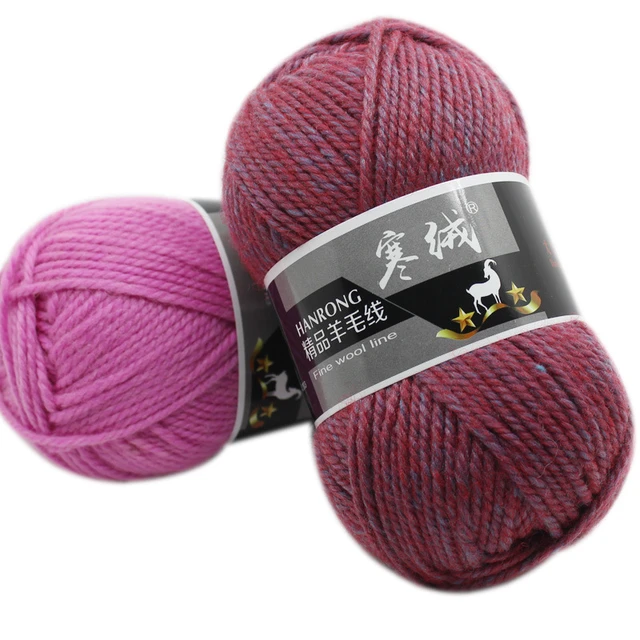
- Yarn: Choose a yarn that suits your preference and the desired characteristics of your scarf. Worsted weight yarn is a popular choice for scarves as it offers a good balance between warmth and drape. Select colors and textures that complement your personal style.
- Crochet Hook: The size of your crochet hook will depend on the yarn weight you’ve chosen. Consult the yarn label or a crochet hook size chart to determine the appropriate hook size. A larger hook creates looser stitches, while a smaller hook produces tighter stitches.
- Scissors: A pair of sharp scissors will come in handy for cutting yarn and tidying up loose ends.
- Tapestry Needle: A tapestry needle with a large eye is essential for weaving in loose ends and finishing touches.
- Measuring Tape: To ensure consistent sizing, use a measuring tape to check the width and length of your scarf as you progress.
Step 1: Start with a Foundation Chain
The foundation chain is the base of your scarf. Follow these steps to create it:
- Make a slipknot by creating a loop with the yarn, passing the end through the loop, and pulling it tight.
- Hold the slipknot with your non-dominant hand and insert the hook into the loop.
- Yarn over by wrapping the yarn around the hook from back to front.
- Pull the yarn through the slipknot loop, creating a new loop on the hook.
- Repeat steps 3 and 4 until you have the desired number of stitches in your foundation chain. Remember to count your stitches periodically to ensure consistency.
Step 2: Work Rows with Basic Stitches
Now that you have your foundation chain, it’s time to start working rows of basic stitches. The most common stitches used for scarves are the single crochet (sc) and double crochet (dc). Here’s how to work these stitches:
- Single Crochet (sc):
- Insert the hook into the second chain from the hook.
- Yarn over and pull up a loop, creating two loops on the hook.
- Yarn over again and pull through both loops on the hook.
- Continue working single crochet stitches into each chain across the row.
- Double Crochet (dc):
- Yarn over and insert the hook into the next chain.
- Yarn over and pull up a loop, creating three loops on the hook.
- Yarn over again and pull through the first two loops on the hook.
- Yarn over once more and pull through the remaining two loops on the hook.
- Continue working double crochet stitches into each chain across the row.
Step 3: Choosing and Changing Colors
To add visual interest and personalize your scarf, consider incorporating color changes. Here’s how to do it:
- When you reach the end of a row and want to change colors, complete the last stitch of the row until two loops remain on the hook.
- Drop the current yarn color and pick up the new color.
- Yarn over with the new color and pull through the remaining two loops on the hook, securing the color change.
- Start the next row using the new color, following the stitch instructions as before.
Step 4: Creating Pattern and Texture
Once you have mastered the basic stitches and color changes, you can explore different patterns and textures to enhance your scarf. Some popular options include:
- Ribbing: Add ribbing by alternating rows of front post double crochet (FPdc) and back post double crochet (BPdc). This creates a raised texture that adds depth and elasticity to the scarf.
- Lacework: Incorporate lacework patterns to create an airy and delicate feel. This involves using chains and various combinations of stitches to form intricate designs.
- Stripes or Color Blocks: Experiment with stripes or color blocks by changing yarn colors after a certain number of rows. This allows you to create visually appealing patterns and customize the look of your scarf.
Step 5: Finishing Touches and Blocking
Once you’ve completed the desired length of your scarf, it’s time for the finishing touches:
- Fasten Off: To secure your work, cut the yarn, leaving a tail. Yarn over and pull the tail through the loop on the hook, tightening it. Use a tapestry needle to weave in any loose ends, ensuring they are securely hidden within the stitches.
- Blocking: Depending on the yarn you’ve used, blocking may be necessary to shape and even out your scarf. Follow the yarn manufacturer’s recommendations for blocking, whether it’s wet blocking, steam blocking, or simply gently stretching the scarf into shape.
Adding Fringe:
To give your scarf a playful and bohemian touch, consider adding fringe along the edges. Cut lengths of yarn and attach them evenly spaced along the ends of the scarf. Trim the fringe to your desired length for a polished finish.
Experimenting with Yarn Texture:
Explore different yarn textures to create unique effects in your scarf. Mix and match yarns with varying thickness, fuzziness, or sheen to add depth and dimension to your project.
Embellishments:
Get creative with embellishments such as buttons, beads, or appliques to personalize your scarf further. Sew on decorative elements or crochet them directly into your project for added flair.
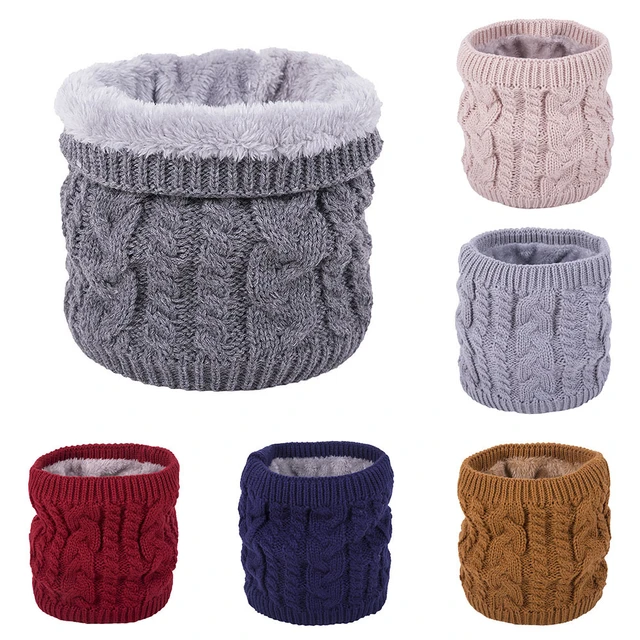
Customizing Length and Width:
Scarves come in all shapes and sizes, so feel free to adjust the length and width to suit your preferences. Crochet a shorter scarf for a trendy cowl-style accessory or widen it for extra warmth and coverage.
Blocking Techniques:
Experiment with different blocking techniques to achieve the desired shape and drape for your scarf. For example, steam blocking can help smooth out stitches and relax the fabric, while wet blocking can stretch and reshape your project.
Stitch Markers:
Use stitch markers to keep track of pattern repeats or color changes, especially in more intricate designs. Place a marker at the beginning of each row or use removable markers to highlight specific stitches.
Pattern Inspiration:
Explore crochet pattern books, websites, and social media platforms for inspiration and ideas. Join online communities or local crochet groups to connect with fellow enthusiasts and share your projects.
Gift Giving:
Handcrafted scarves make thoughtful and heartfelt gifts for friends and family. Consider crocheting scarves in their favorite colors or incorporating meaningful motifs to create personalized gifts they’ll cherish.

Conclusion: The Joy of a Handcrafted Scarf
You have successfully crocheted a stylish and crocheting a scarf. Through learning the foundational stitches, experimenting with color changes and patterns, and adding your personal touch, you’ve created a wearable piece of art. Crochet a scarf not only provides warmth but also allows you to express your creativity and enjoy the satisfaction of handmade craftsmanship. So wrap yourself in your creation, showcase your newfound skills, and embrace the joy of wearing a handcrafted scarf that reflects your style and personality.
