Introduction
As the temperatures drop and the air turns crisp, there’s nothing quite like the satisfaction of creating your own warm and stylish accessory to combat the chill. A single crochet scarf is the perfect project for beginners looking to dip their toes into the world of crochet while also adding a touch of personalized flair to their winter wardrobe. This beginner-friendly guide will walk you through the essential steps, tips, and tricks to help you successfully craft a cozy, fashionable single crochet scarf from start to finish.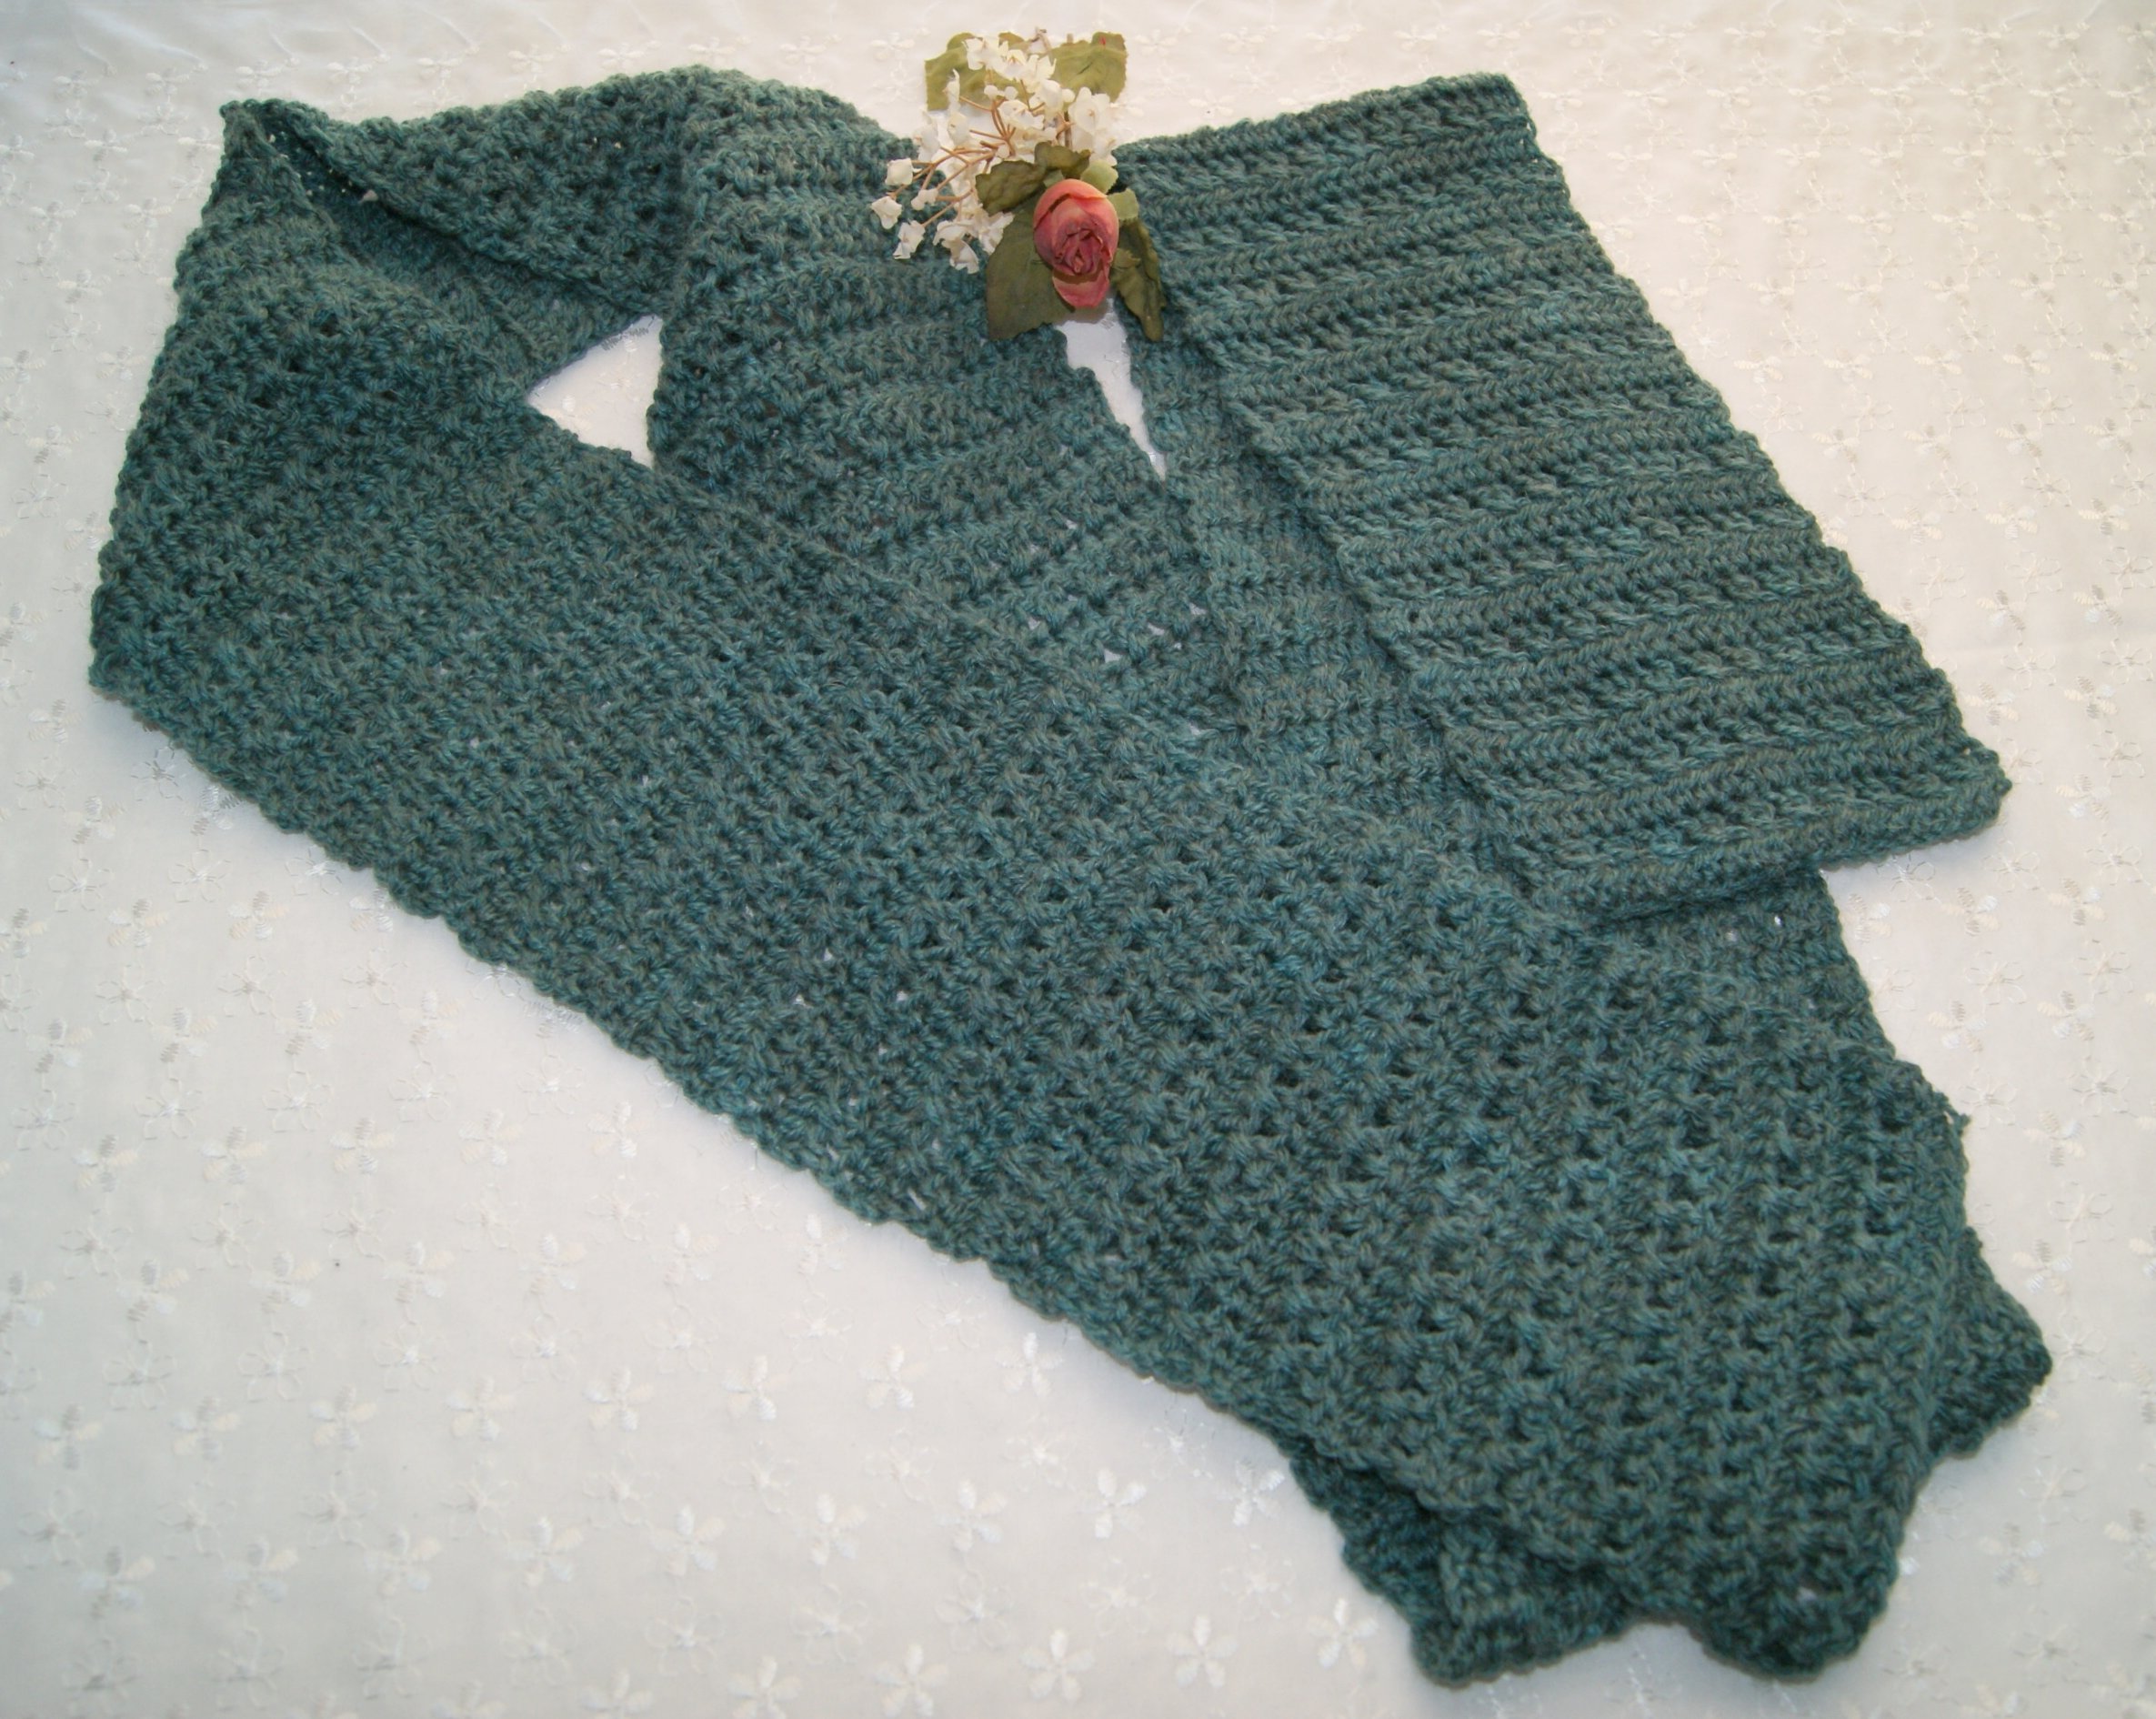
Materials and Tools You’ll Need
Before diving into the crochet process, gather the following materials and tools:
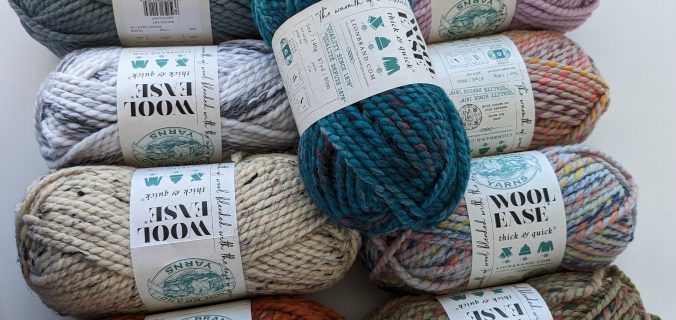
- Yarn: Choose a soft, warm yarn suitable for scarves, such as acrylic, wool, or a wool blend. Consider the weight (e.g., worsted weight or bulky) and color to match your desired look and level of warmth.
- Crochet Hook: Select a hook size that corresponds to the recommended gauge on your yarn label or pattern. Generally, a size H/8 (5mm) or I/9 (5.5mm) hook works well for most medium-weight yarns used in scarf projects.
- Tapestry Needle: For weaving in ends and finishing touches.
- Scissors: To cut the yarn when you’re finished.
Choosing Your Pattern and Gauge
While a simple single crochet scarf can be made without a formal pattern, having a basic plan will ensure consistency and help you achieve the desired length and width. Decide on the number of foundation chains and the desired width of your scarf. As a general guideline, a chain of around 20-30 stitches should yield a comfortable width for an adult scarf when worked in single crochet.
Tip: Make a small swatch using your chosen yarn and hook to establish your gauge (the number of stitches and rows per inch). This will help you adjust the number of foundation chains and overall length if needed to achieve the perfect fit.
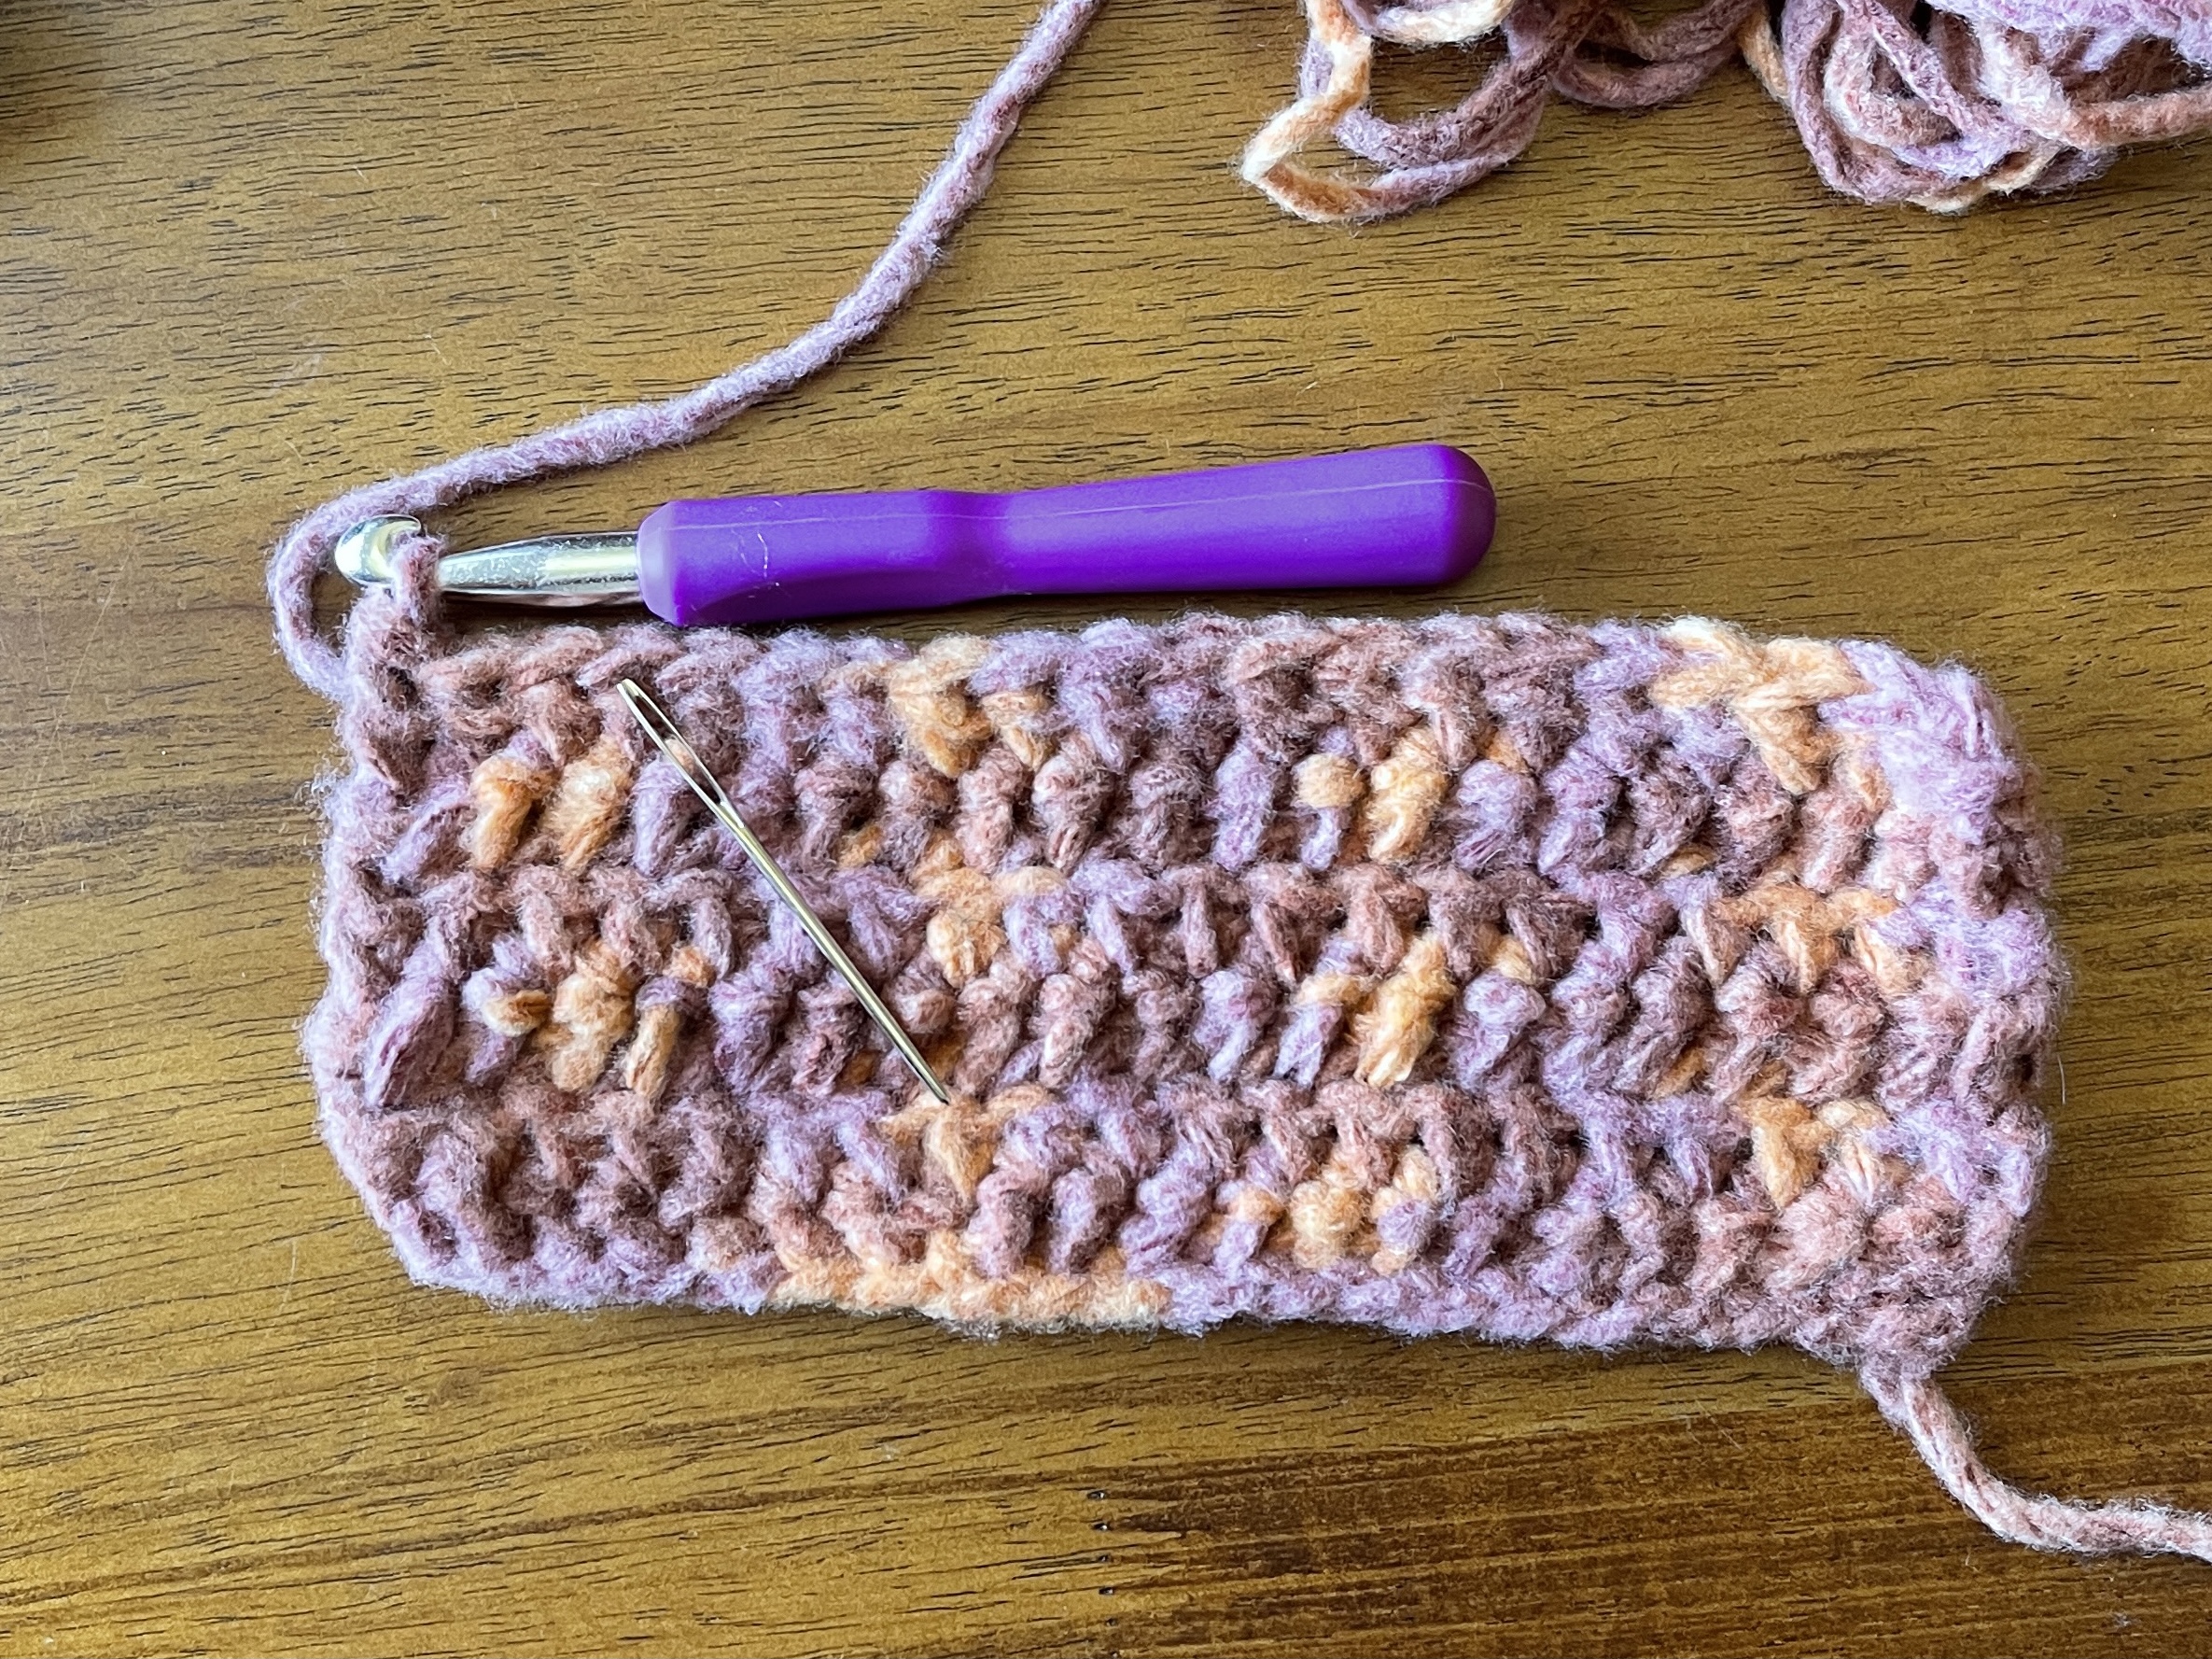
Step 1: Foundation Chain
Create a slipknot and place it on your crochet hook. Then, make the desired number of chain stitches, keeping the tension consistent throughout. This will serve as the foundation for your scarf.
Step 2: First Row of Single Crochet
- Turning Chain: Chain 1 (this counts as the first single crochet stitch).
- Single Crochet (sc): Insert your hook into the second chain from the hook, yarn over, and pull up a loop (you should now have two loops on your hook). Yarn over again and draw through both loops on the hook. One sc completed.
- Repeat Step 2 across the entire row, working one sc into each chain until you reach the end. Chain 1 and turn your work.
Step 3: Continuing the Single Crochet Rows
For subsequent rows, repeat Step 2, working one sc into each sc of the previous row, and always starting with a turning chain of 1. Remember to keep your tension consistent throughout the project to ensure a neat, even appearance.
Finishing Touches
When your scarf reaches the desired length, fasten off by cutting the yarn, leaving a tail of at least 6 inches. Thread the tail onto the tapestry needle and weave it securely into the back loops of several stitches along the edge of the scarf. Repeat this process for the starting tail, if applicable.
Optional: Adding Fringes or Border
To give your scarf a polished look, consider adding fringe or a decorative border. Fringe can be created by cutting multiple lengths of yarn and attaching them evenly along the scarf’s ends using a simple knotting technique. For a border, work a few rounds of a contrasting color or a simple edging pattern, such as single crochet or crab stitch, around the edges of the scarf.
Caring for Your Handmade Scarf
To ensure the longevity of your handmade creation, follow the care instructions on your yarn label. Most crochet scarves can be gently machine washed in cold water on a delicate cycle and laid flat to dry. Avoid using bleach or fabric softeners, which can damage the fibers.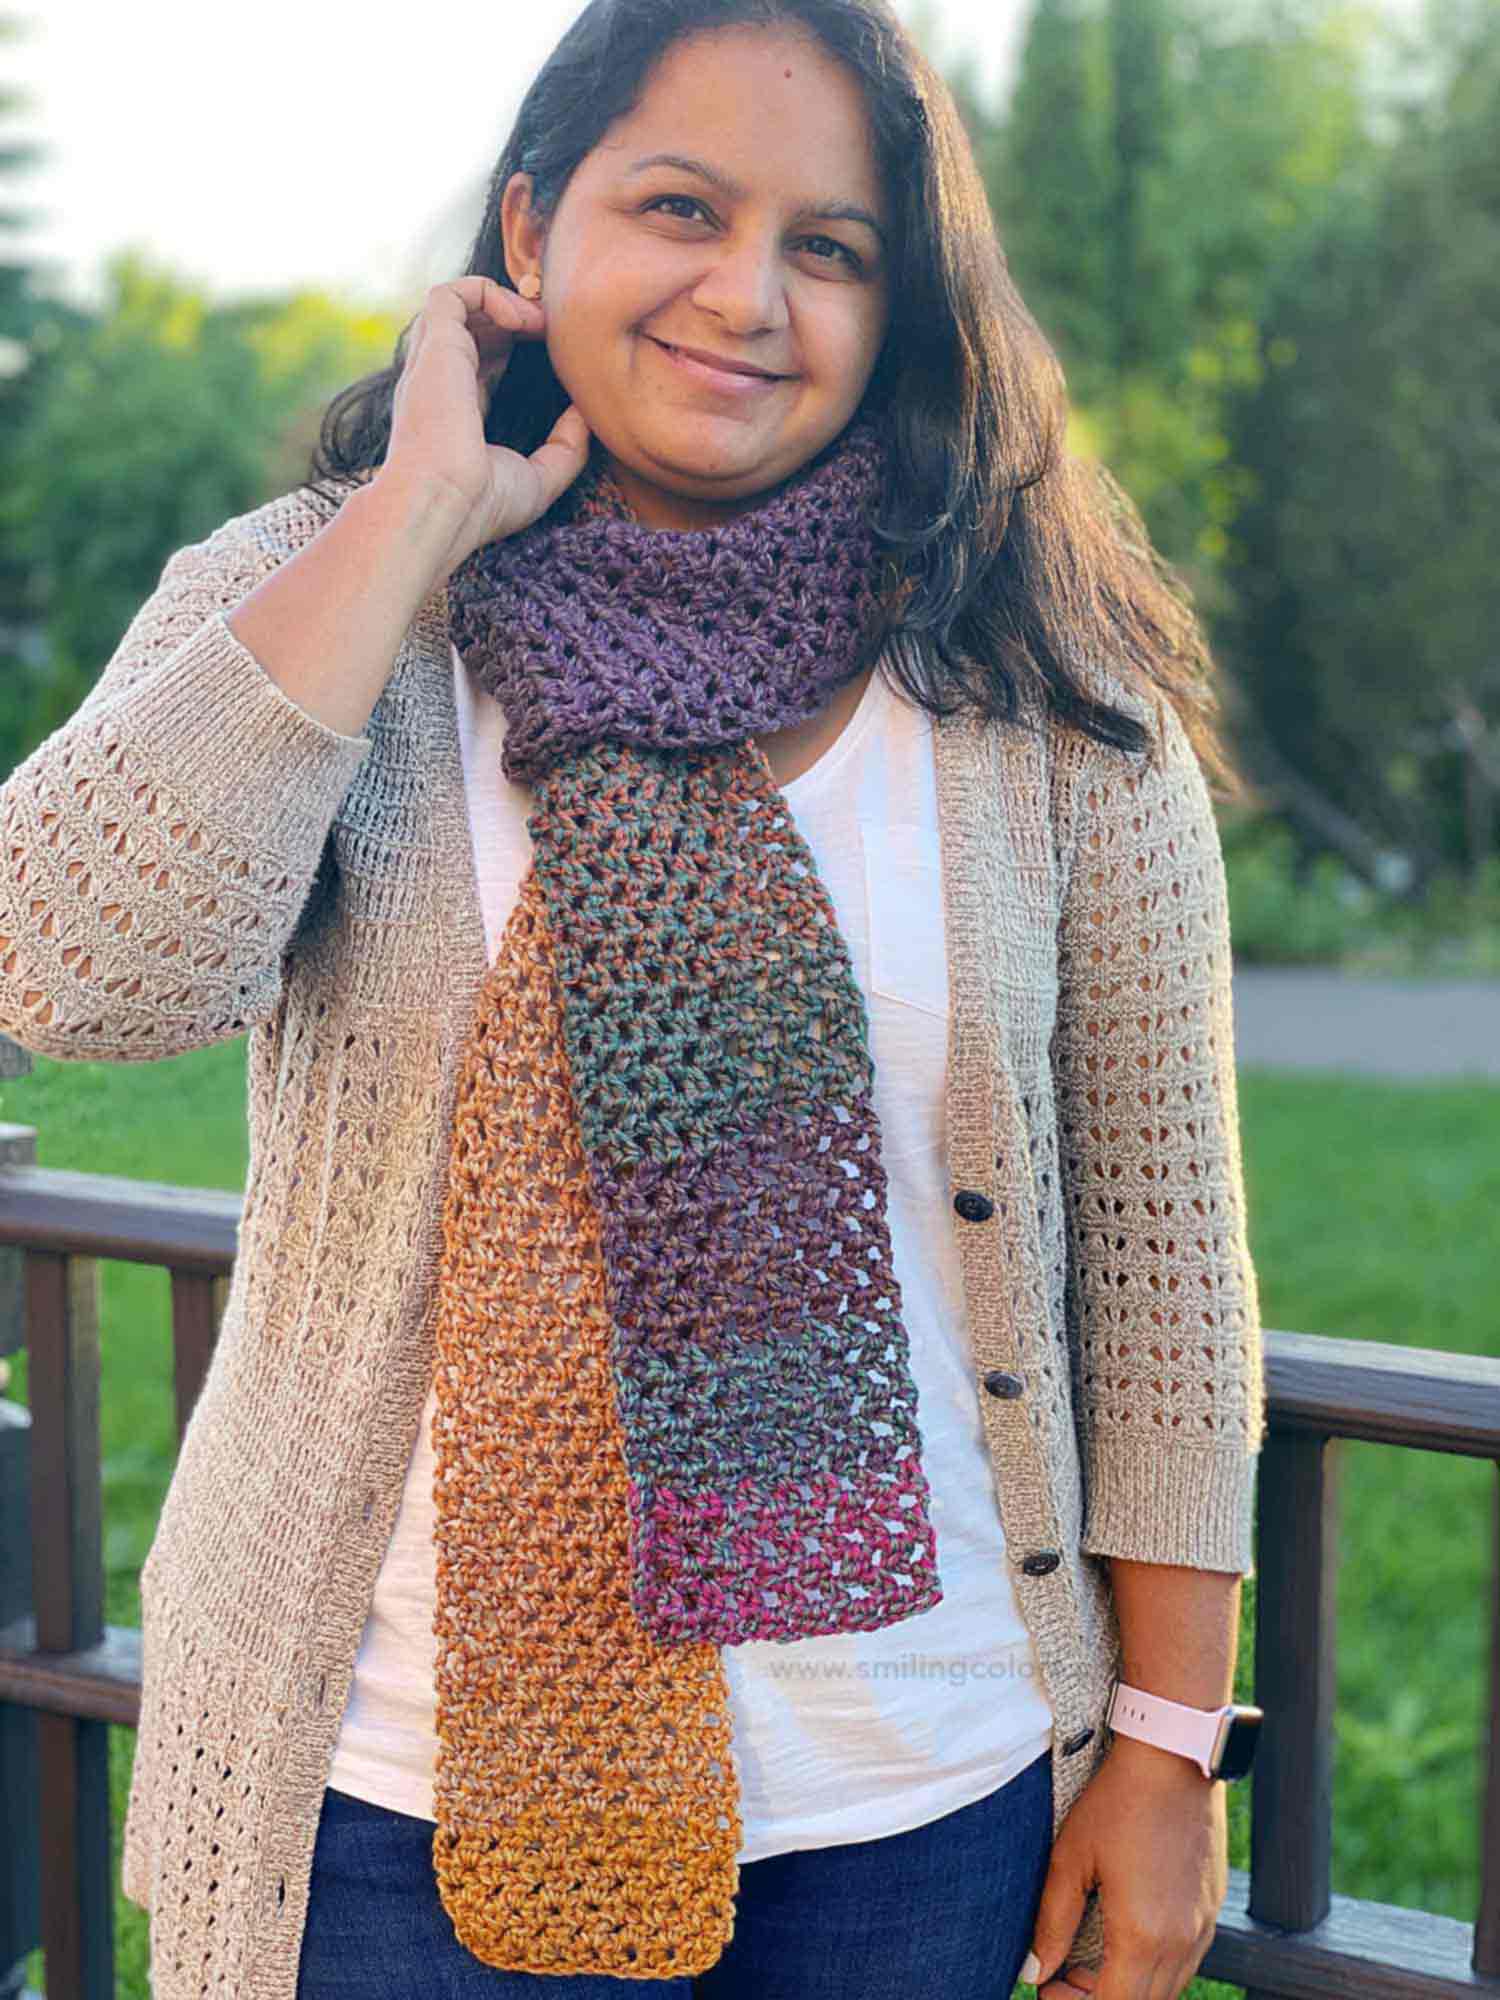
Texture and Stitch Patterns
- Alternating Colors: Work your scarf in stripes by changing colors every few rows or after a specific pattern (e.g., 2 rows of one color, 2 rows of another). This simple addition can create a striking visual effect.
- Textured Stitches: Experiment with different single crochet variations, such as the popcorn stitch, spike stitch, or front post/back post single crochet, to add depth and interest to your scarf. These stitches can be incorporated in a repeating pattern or used sparingly as accents.
- Lace Edging: For a delicate touch, add a lacy border to your scarf using stitches like the shell stitch, fan stitch, or V-stitch. This will not only enhance the scarf’s femininity but also provide a lighter, more breathable feel if desired.
Shape and Construction
- Infinity Scarf: Instead of making a traditional straight scarf, join the ends together to create an infinity scarf, which can be worn looped once or twice around the neck for added warmth and versatility.
- Ruffled or Fringed Ends: Instead of a straight edge, create a playful ruffle by working additional rows of single crochet with a larger hook or by adding clusters of double or triple crochet stitches along the final row. Alternatively, attach long, flowing fringes for a bohemian vibe.
Advanced Techniques
- Crochet Cable Stitch: If you’re ready for a more advanced challenge, incorporate cable stitches into your scarf design. These intricate patterns create beautiful, dimensional braids that add a sophisticated touch to your accessory.
- Colorwork Techniques: Delve into the world of tapestry crochet, intarsia, or fair isle crochet to create stunning, multicolored motifs and designs within your single crochet scarf.
Accessories and Embellishments
- Buttons, Beads, or Charms: Sew on decorative buttons, attach beads or charms, or even crochet small appliques to personalize your scarf and make it truly one-of-a-kind.
- Embroidery or Surface Crochet: Use embroidery floss or a contrasting yarn color to add simple stitches, initials, or small motifs directly onto the surface of your completed scarf.
Caring for Your Customized Scarf
Remember that any special techniques, textures, or materials used in your customized scarf may require specific care instructions. Always consult the yarn labels and test wash a small swatch if necessary to ensure your masterpiece remains in pristine condition for years to come.
By incorporating these variations and techniques into your single crochet scarf projects, you’ll not only expand your crochet skills but also create a diverse collection of unique, stylish accessories that reflect your personal style and creativity. Embrace the endless possibilities and have fun exploring the world of crochet beyond the basics!
In conclusion
Crafting a single crochet scarf is not only a practical way to keep warm during colder months but also an enjoyable and rewarding creative endeavor. By following this beginner’s guide and personalizing your project with your choice of yarn, color, and optional embellishments, you’ll soon be sporting a cozy, stylish accessory that reflects your unique taste and showcases your newfound crochet skills. Happy crocheting!