Introduction
Knitting is a timeless craft that allows you to create beautiful and functional items with just yarn and needles. One of the most popular projects for beginners is knitting a scarf—a cozy and versatile accessory that can be customized in endless ways to suit your style and preferences. Whether you’re completely new to knitting or looking to refresh your skills, this step-by-step guide will help you embark on your knitting journey and create your first scarf.
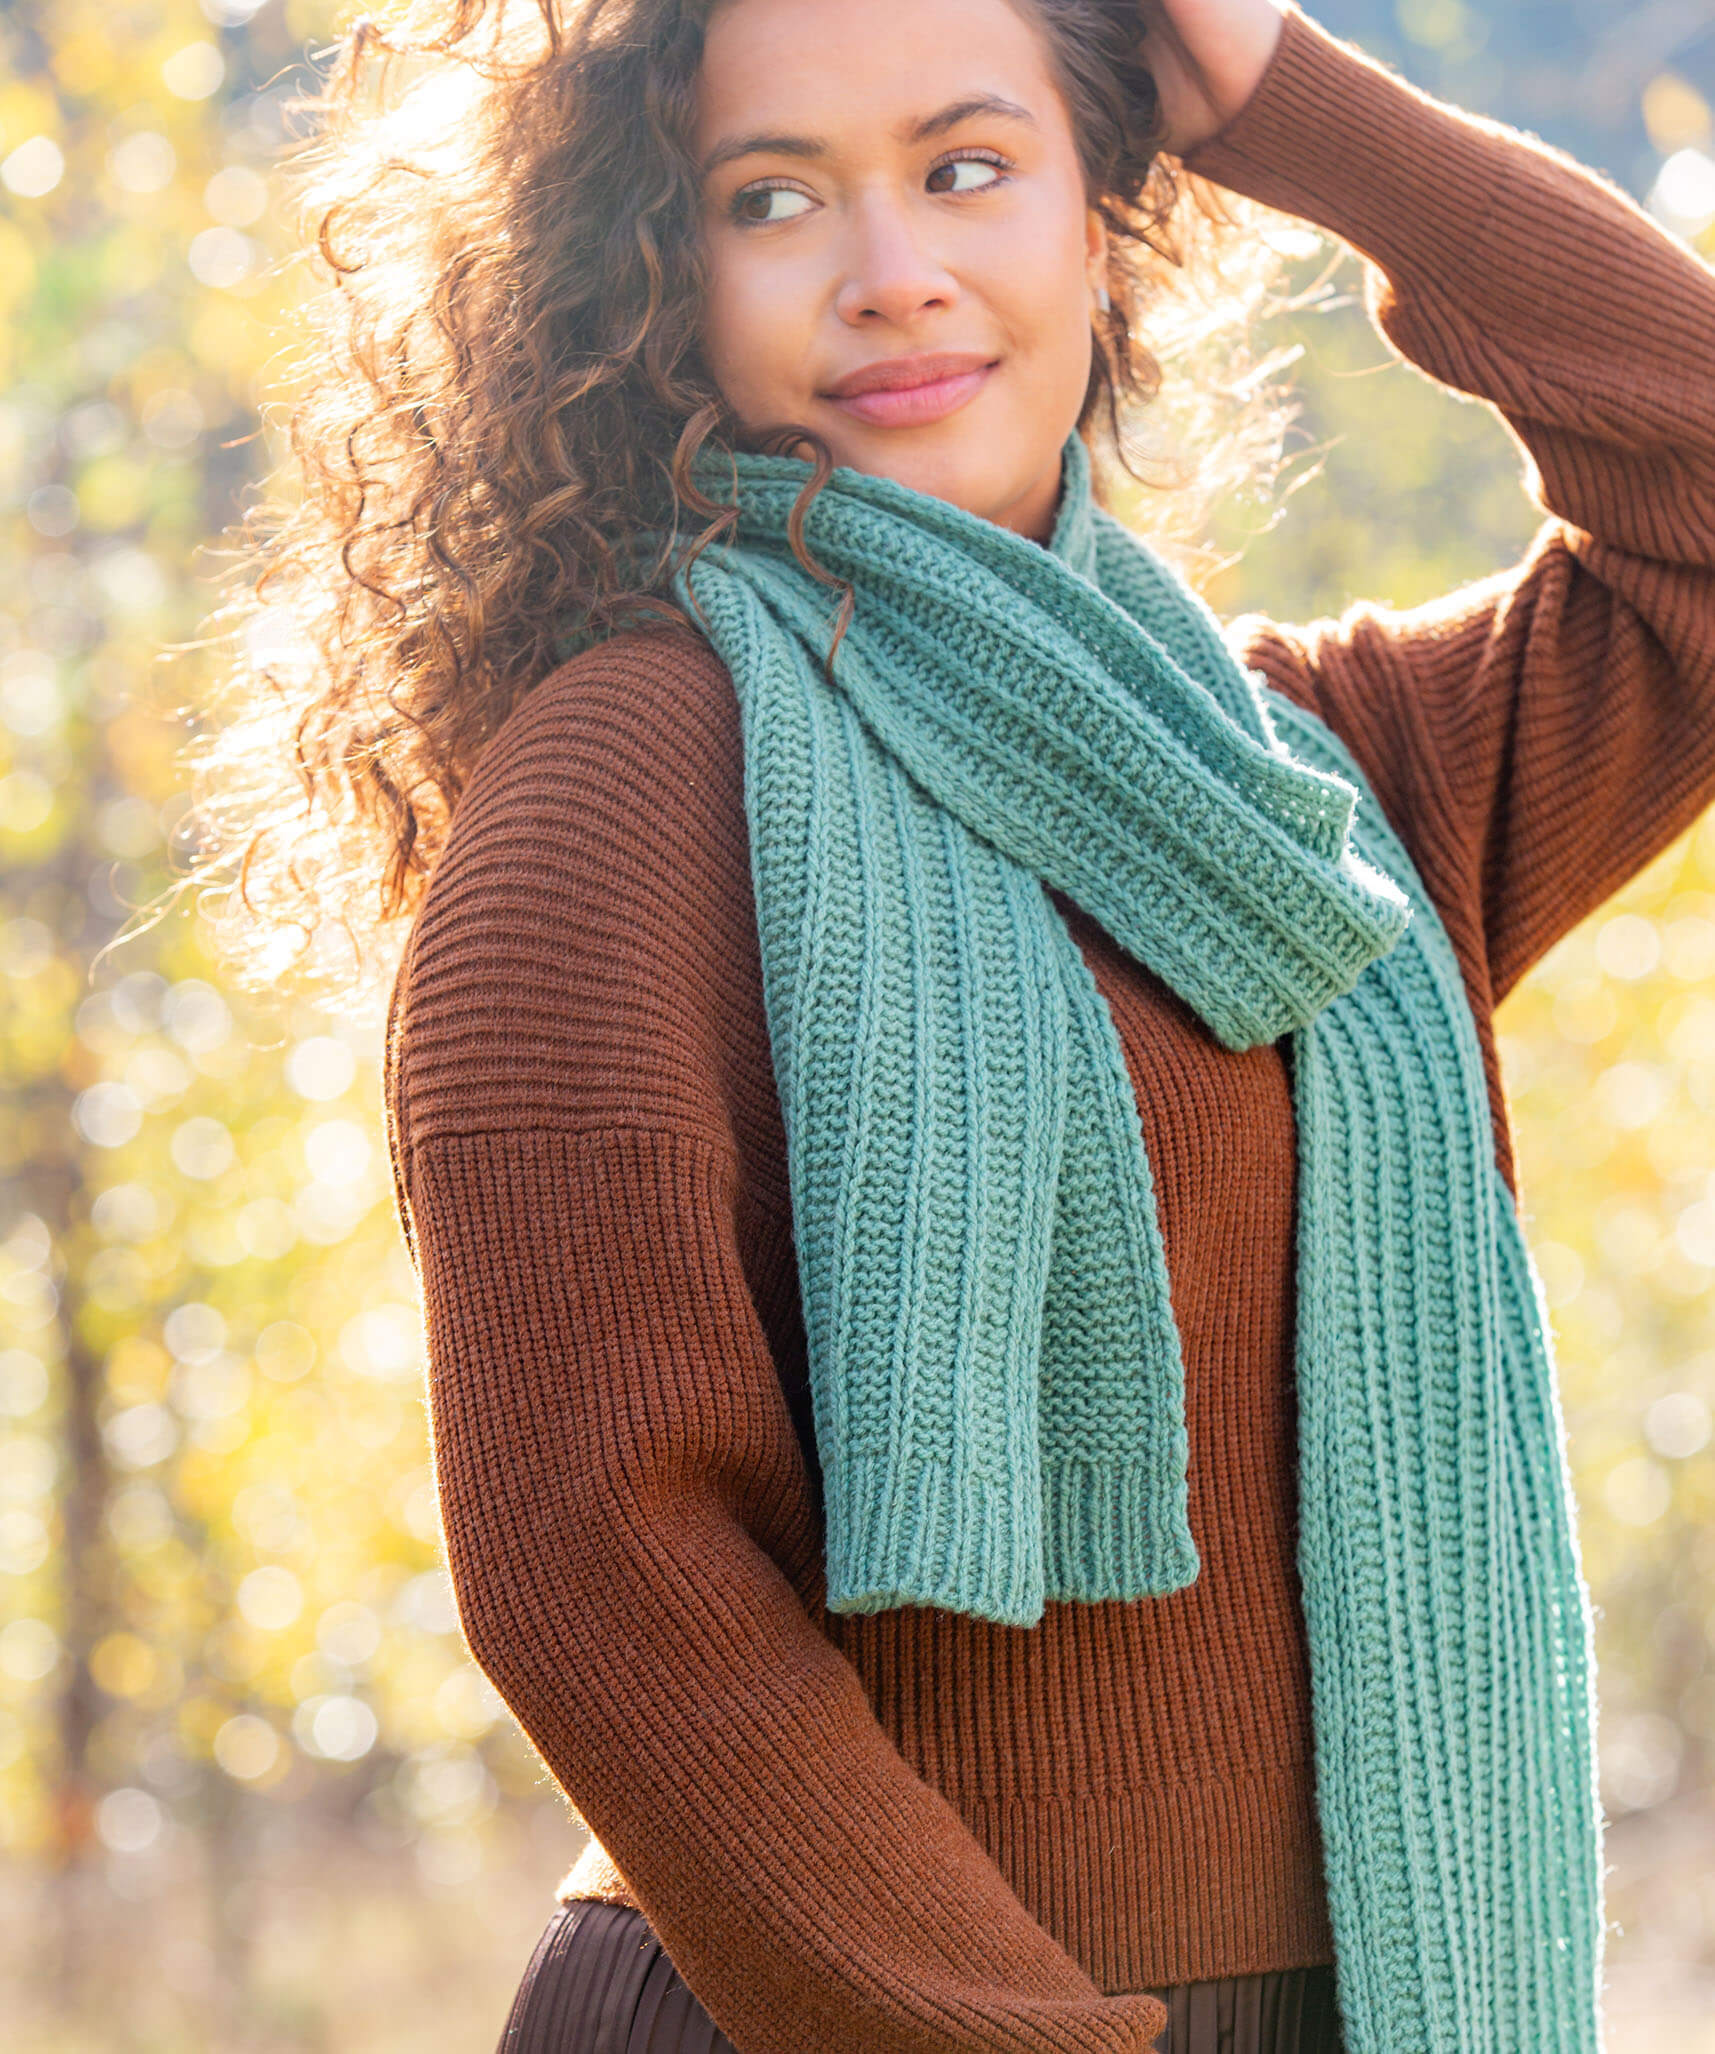
Getting Started
- Gathering Supplies: Before you begin, you’ll need a few essential supplies:
- Knitting Needles: Choose needles that match the yarn weight you plan to use. For beginners, medium-sized needles (US size 8 or 9) are often recommended.
- Yarn: Select a soft, medium-weight yarn in a color and texture you love. Acrylic or wool blends are good choices for beginners.
- Scissors: For cutting yarn.
- Tapestry Needle: Used for weaving in ends.
- Measuring Tape: Helpful for checking your progress.
- Choosing Your Yarn and Needles: If you’re unsure which yarn and needles to use, look for guidance on the yarn label. It will typically suggest compatible needle sizes and gauge (stitch tension).
Learning the Basics
- Casting On: This is the first step in starting your knitting project.
- Make a slip knot: Create a loop with the yarn and pull the working end through to form a knot.
- Place the loop on one needle and tighten gently.
- Cast on stitches: Use your preferred method (e.g., long-tail cast on) to add stitches to the needle until you have the desired width for your scarf. A common width is about 20-30 stitches for a beginner’s scarf.
- Knitting the First Row (Knit Stitch):
- Hold the needle with your cast-on stitches in your dominant hand and the empty needle in your non-dominant hand.
- Insert the empty needle through the first stitch on the left needle, from front to back.
- Wrap the yarn around the needle in your non-dominant hand (working yarn).
- Pull the needle with the yarn through the stitch on the left needle, slipping the old stitch off the left needle.
- Repeat across the row until all stitches are on the right needle.
- Purl Stitch (Optional): If you want to add texture to your scarf, learn the purl stitch.
- Hold the needle with stitches in your non-dominant hand.
- Insert the empty needle from back to front through the first stitch on the left needle.
- Wrap the yarn around the needle in front.
- Pull the needle with the yarn through the stitch on the left needle, slipping the old stitch off.
Creating Your Scarf
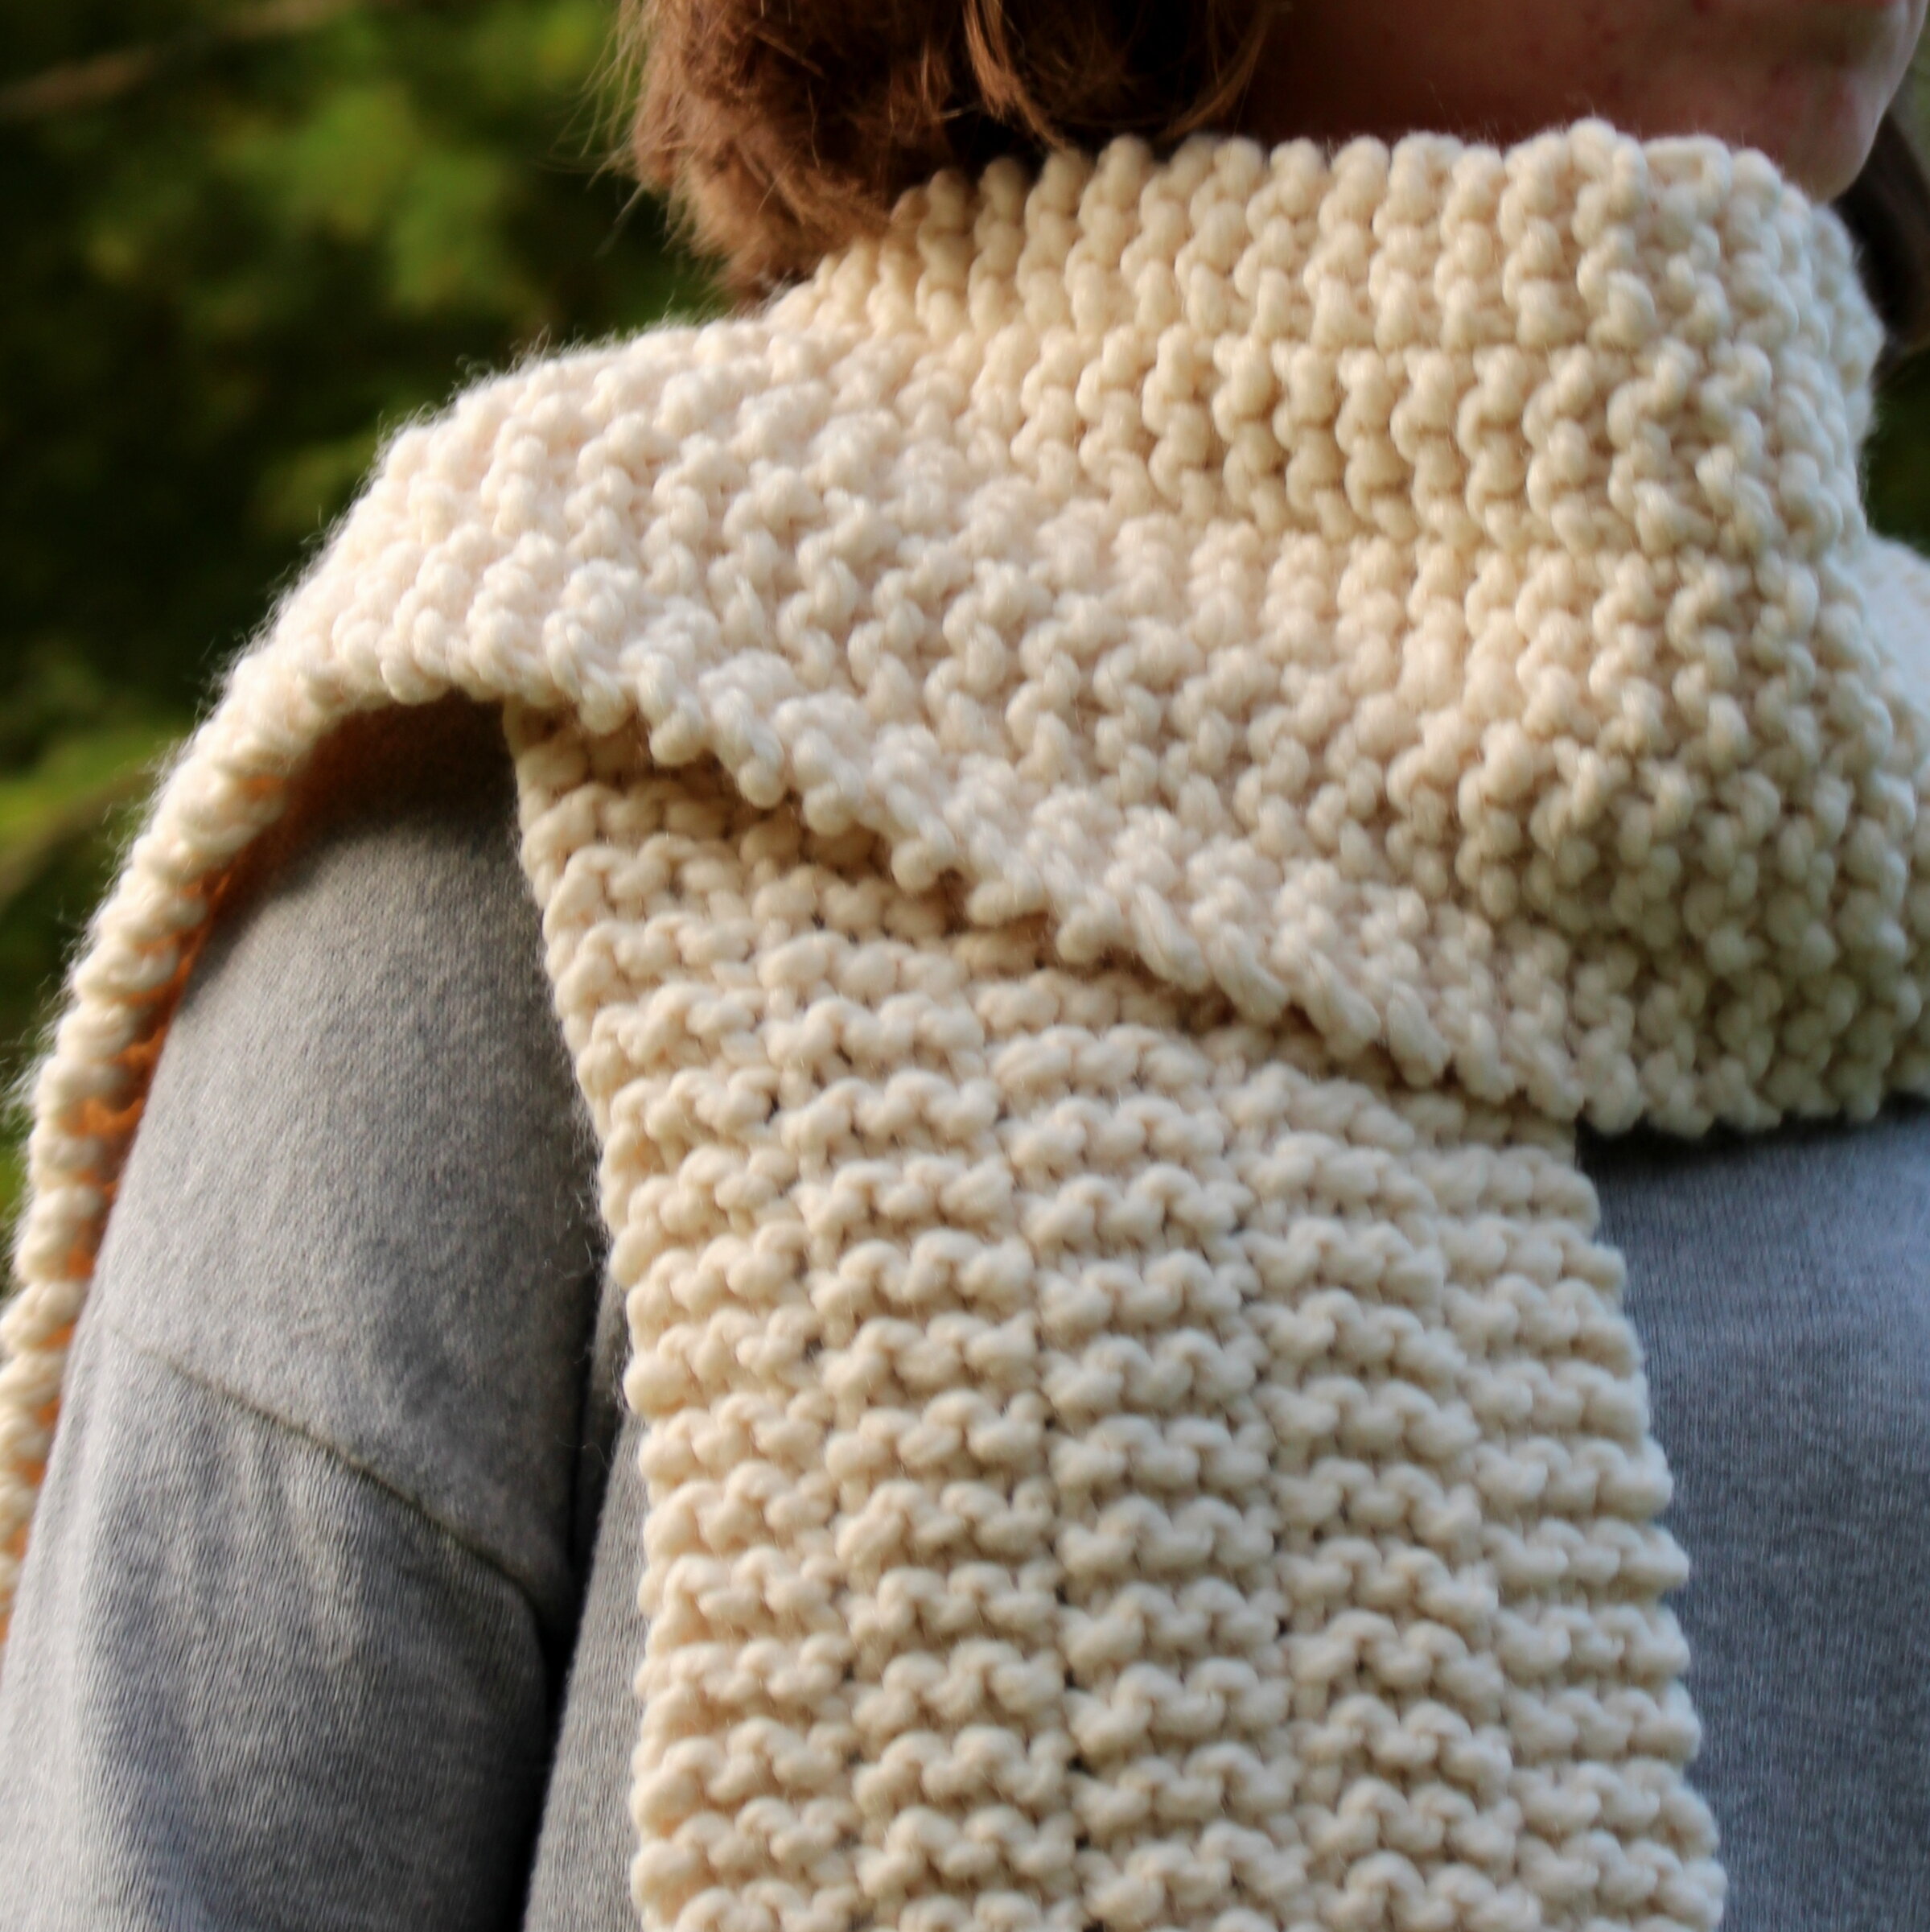
- Knitting Rows: Continue knitting each row until your scarf reaches the desired length. Remember to knit all stitches on every row for a garter stitch pattern (simple and reversible).
- Measuring Your Progress: Use a measuring tape to check the length of your scarf periodically. Scarf lengths vary based on personal preference, but a standard length is around 60-70 inches.
- Binding Off: Once your scarf is the desired length, you’ll bind off (cast off) to secure your stitches.
- Knit the first two stitches on the left needle.
- Lift the first stitch over the second stitch and off the needle.
- Knit one more stitch, then lift the previous stitch over the last stitch.
- Repeat until one stitch remains, cut the yarn leaving a tail, and pull it through the last loop.
- Finishing Touches: Weave in any loose ends using a tapestry needle. Block your scarf if necessary by gently wetting and reshaping it to improve its drape and appearance.
Customizing Your Scarf
- Adding Personal Touches: Get creative! You can personalize your scarf by adding stripes, fringe, or even simple lace patterns. Experiment with different yarn colors and textures to make your scarf uniquely yours.
Tips for Beginners
- Practice Makes Perfect: Don’t worry if your first few rows look uneven or tight. With practice, your tension will become more even, and your stitches will improve.
- Count Your Stitches: It’s easy to accidentally add or drop stitches, especially at the beginning or end of rows. Count your stitches periodically to ensure you have the correct number.
- Use Stitch Markers: If you’re working on a pattern that requires repeating sections or increases/decreases, stitch markers can help you keep track of where these changes occur.
- Read Patterns Carefully: As you progress, you may want to try more complex patterns. Take your time to read and understand the pattern instructions before you begin.
- Fixing Mistakes: Mistakes happen to everyone! Learn how to undo stitches (called “tinking”) and fix mistakes without having to unravel your entire work.
- Relax and Enjoy: Knitting is meant to be enjoyable and relaxing. If you find yourself getting frustrated, take a break and come back to it later.
Advanced Techniques
- Adding Color: Explore colorwork techniques like stripes, fair isle, or intarsia to create more intricate designs in your scarves.
- Different Stitch Patterns: Beyond the basic knit and purl stitches, experiment with ribbing, seed stitch, cables, or lace patterns to add texture and interest to your scarves.
- Blocking: Blocking is the process of shaping your finished piece by gently wetting it and allowing it to dry in the desired shape. This can greatly enhance the appearance and drape of your scarf.
Resources for Learning
- Online Tutorials: Websites like YouTube offer a wealth of video tutorials for beginners and advanced knitters alike. Visual demonstrations can be very helpful when learning new techniques.
- Local Classes or Groups: Check if there are knitting classes or groups in your area where you can learn from experienced knitters and share your projects with others.
- Books and Magazines: There are countless knitting books and magazines available that offer patterns, techniques, and inspiration for all skill levels.
Conclusion
By following this step-by-step guide, you’ll master the basics of knitting and create your first scarf—a testament to your newfound skills and creativity. Knitting is a relaxing and rewarding hobby that allows you to express yourself while producing practical and beautiful handmade items. Enjoy the process, embrace the learning curve, and soon you’ll be knitting scarves for yourself and loved ones with confidence and joy.
