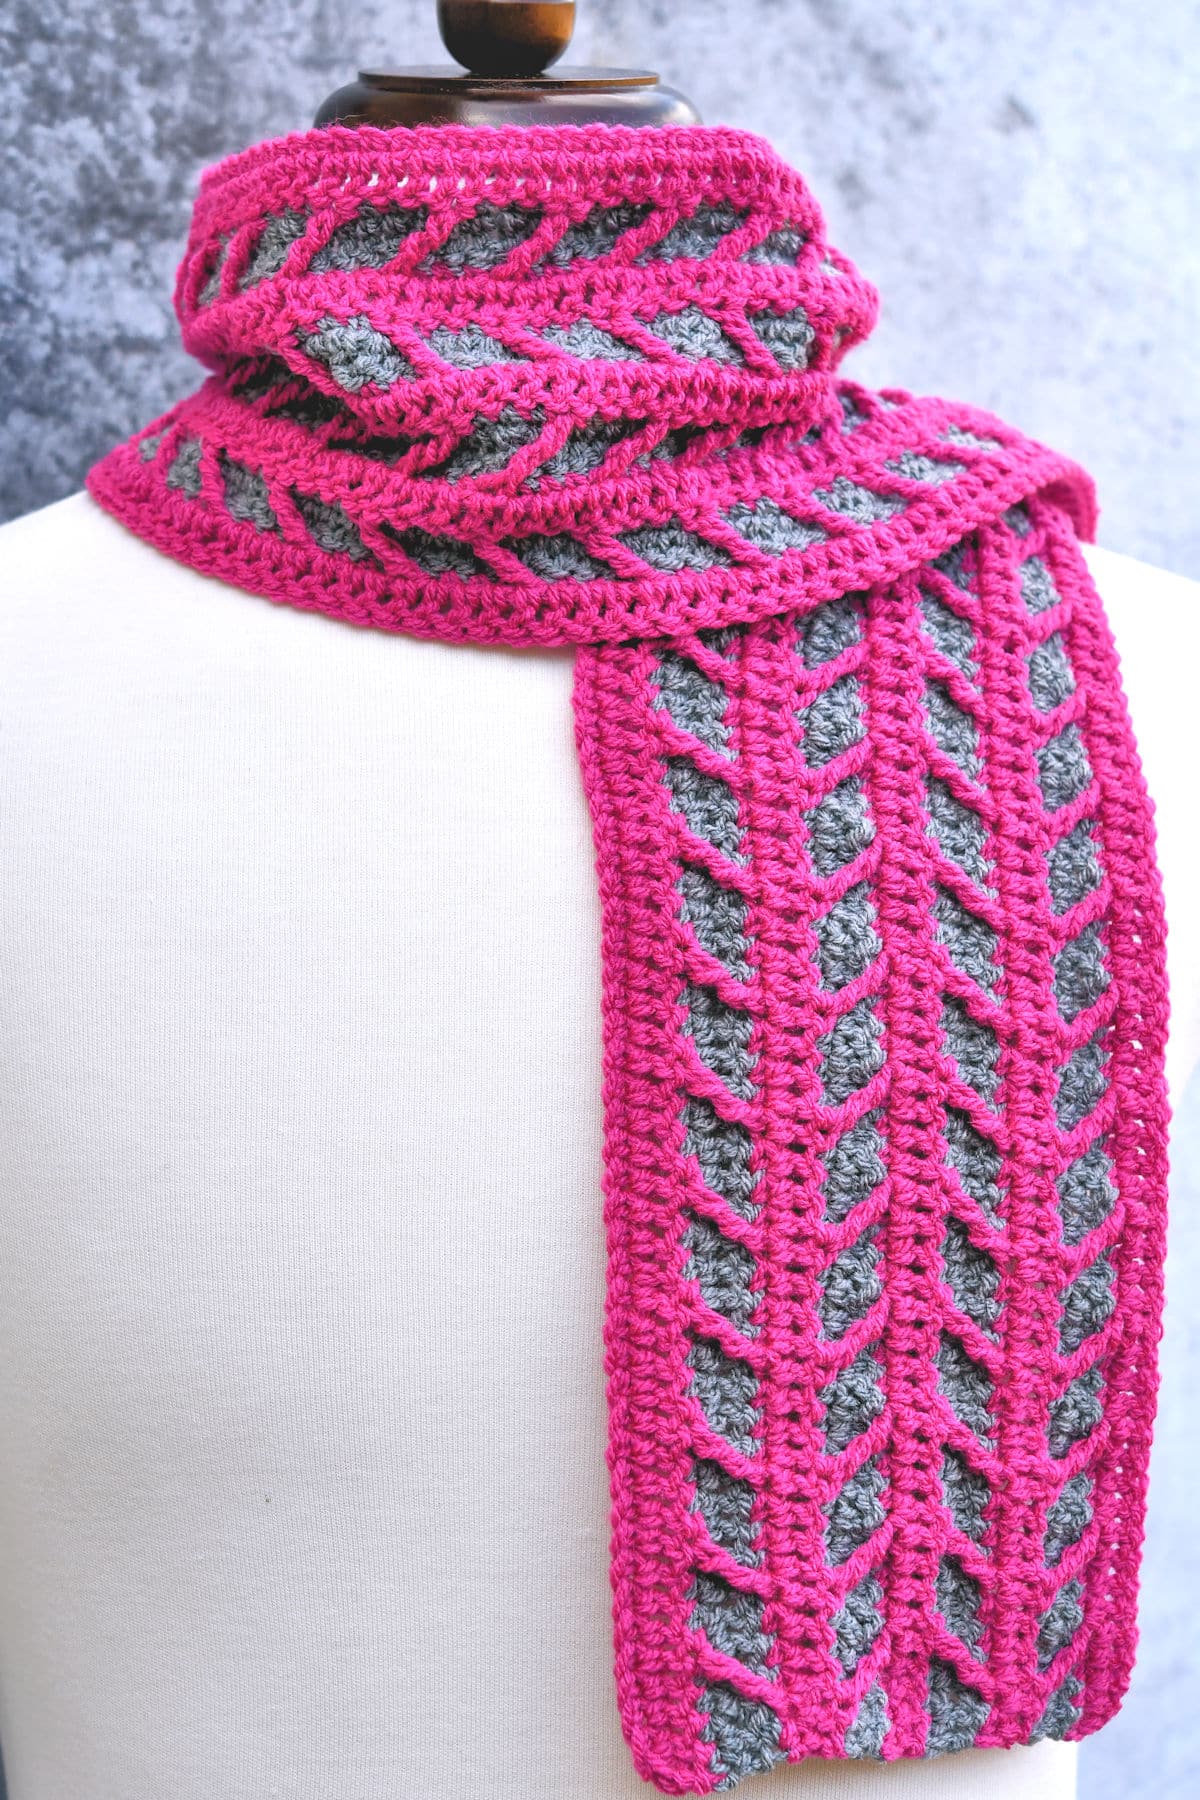
Introduction
Crocheting is a delightful and therapeutic hobby that allows you to create beautiful and practical items with just a hook and some yarn. If you’re new to crocheting, starting with a scarf is a fantastic choice. Scarves are straightforward, versatile, and provide an excellent opportunity to practice your skills. This beginner-friendly free crochet scarf pattern will guide you through the process step-by-step, resulting in a cozy and stylish accessory that you’ll be proud to wear or gift.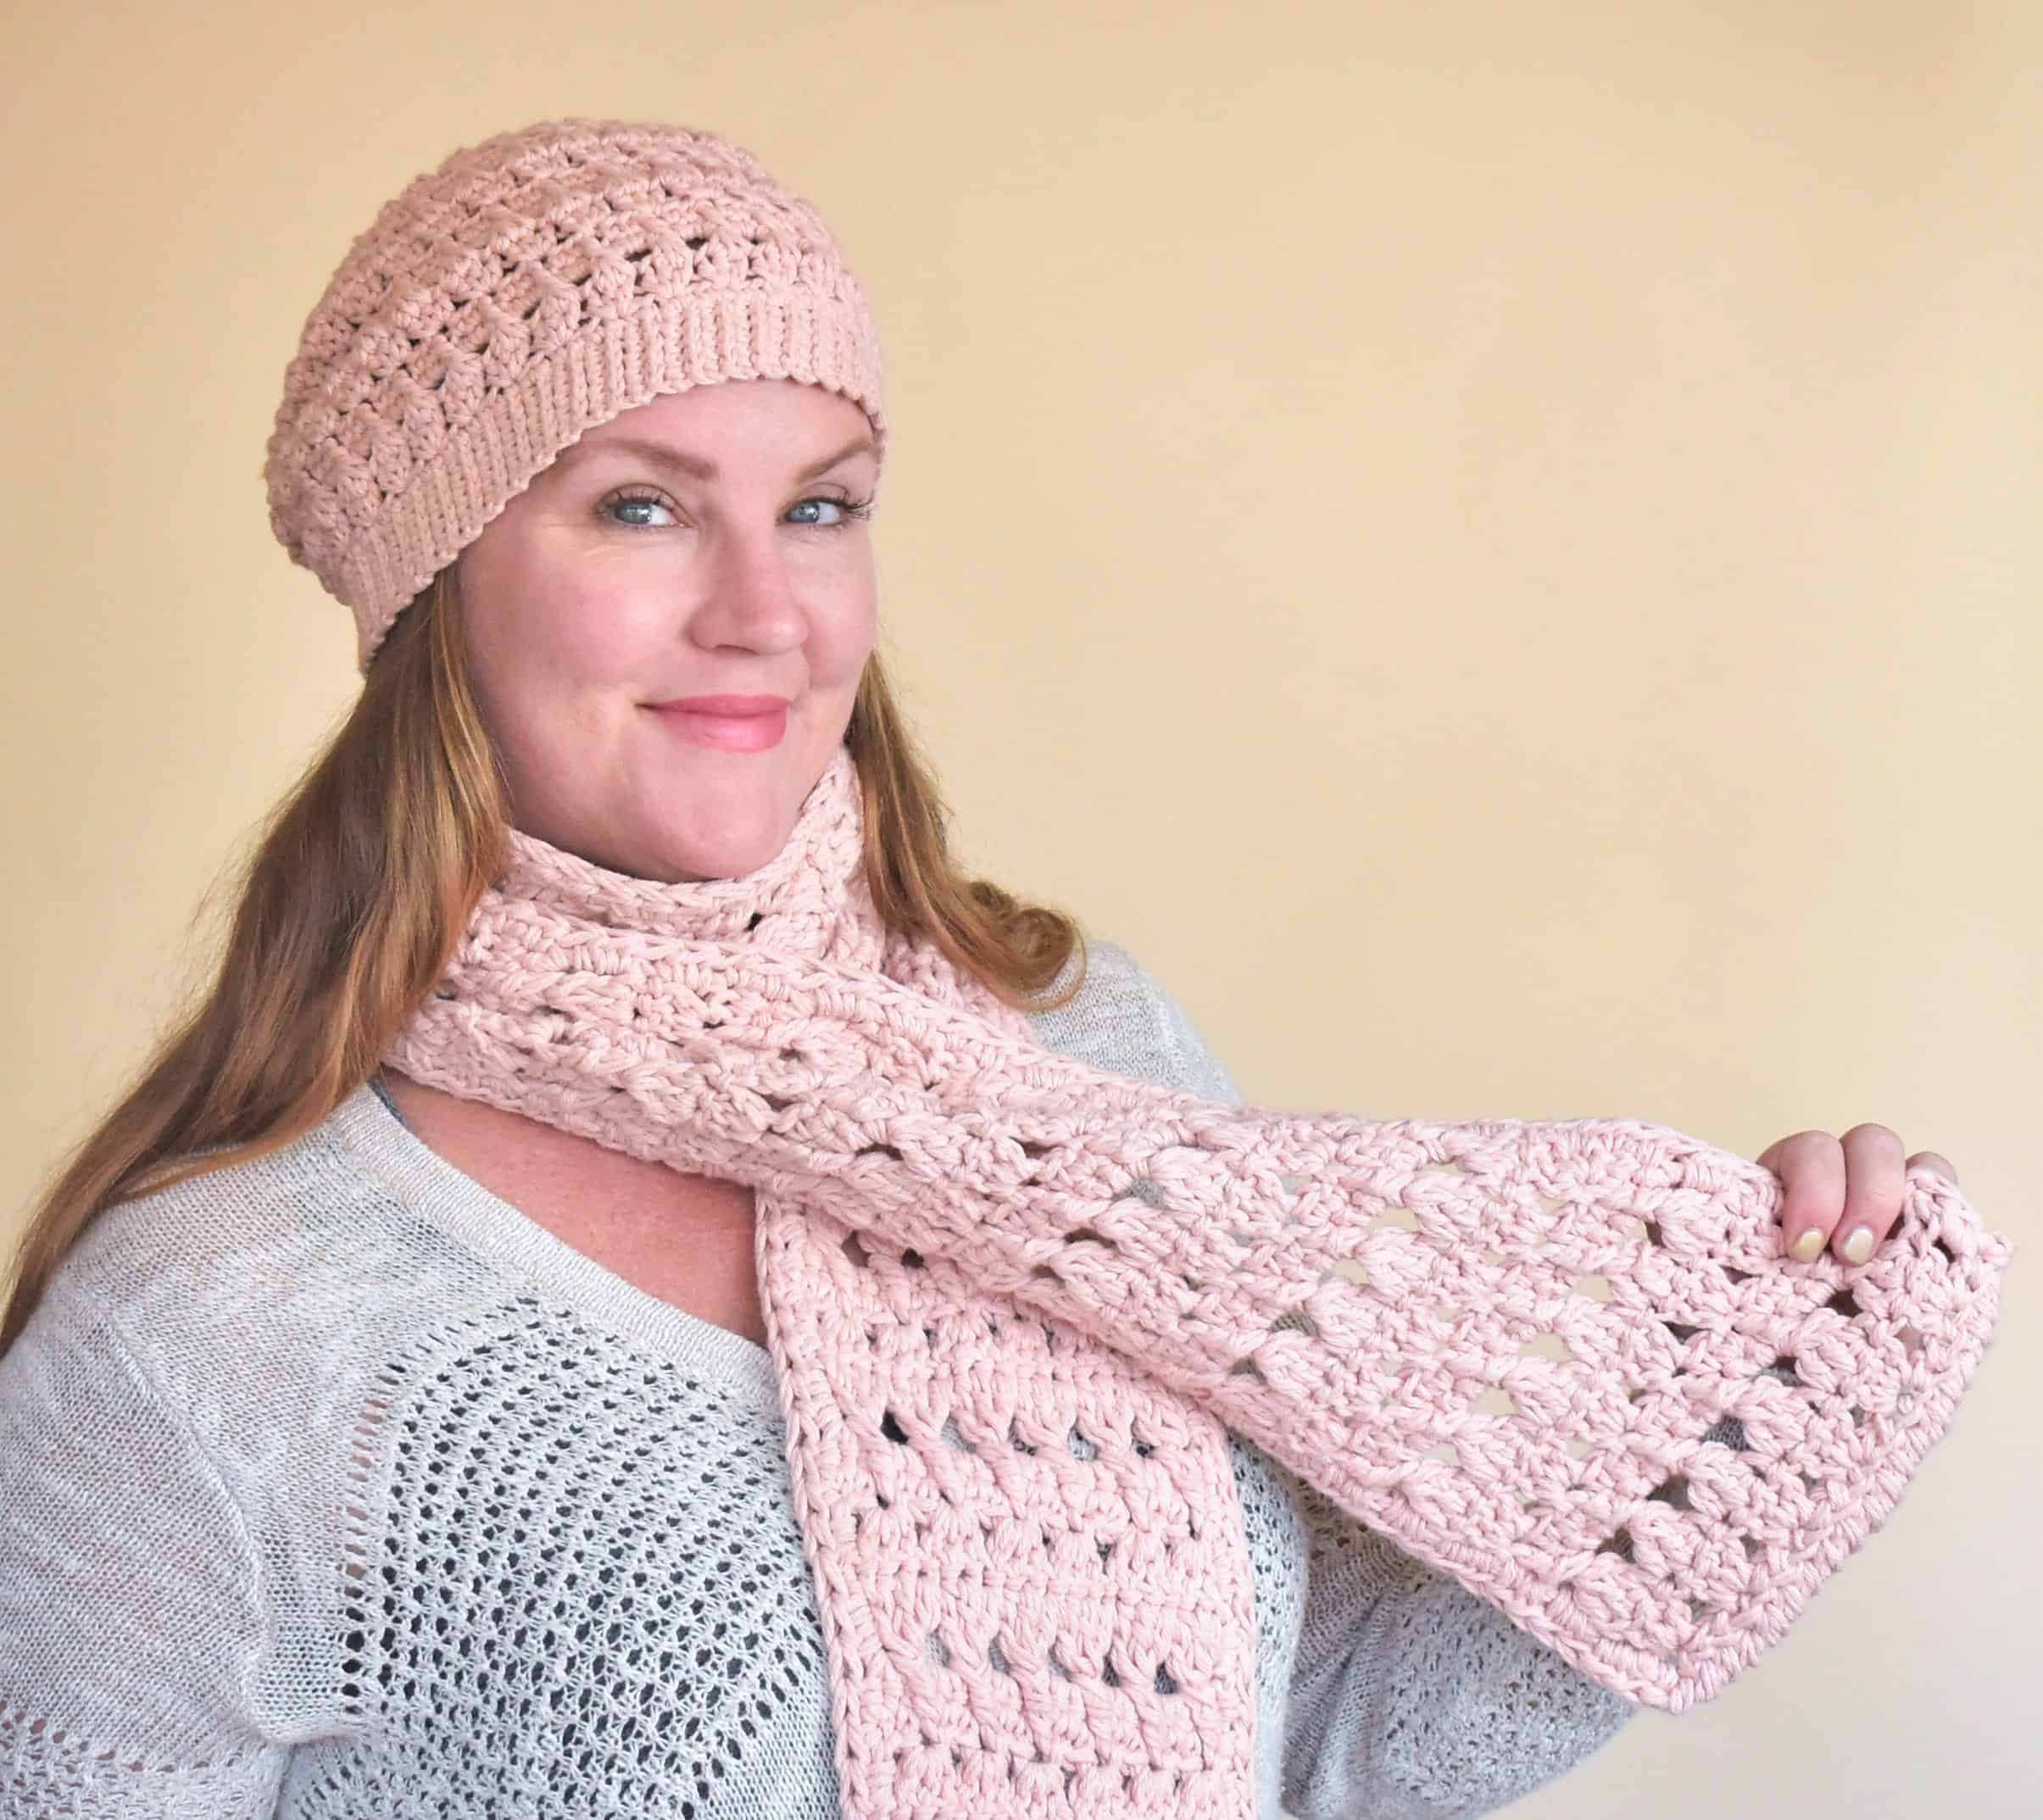
Materials Needed
- Yarn: Choose a medium-weight yarn (also known as worsted weight or size 4 yarn). Acrylic or wool blends are great for scarves due to their warmth and durability. Select a color you love!
- Crochet Hook: Use a size H/8 (5.0 mm) crochet hook, which pairs well with medium-weight yarn.
- Scissors: For cutting the yarn.
- Yarn Needle: To weave in the ends and finish your scarf neatly.
Abbreviations
- ch: Chain
- sc: Single crochet
- dc: Double crochet
- st(s): Stitch(es)
- sl st: Slip stitch
Gauge
For this pattern, the gauge isn’t critical. However, if you want to check, try to achieve approximately 14 stitches and 8 rows in a 4×4 inch square using double crochet.
Pattern Instructions
Step 1: Foundation Chain
Begin by making a slip knot and chaining 200. This will make a scarf approximately 60 inches long. You can adjust the number of chains if you prefer a shorter or longer scarf.
Step 2: First Row
Row 1: Starting from the second chain from the hook, work 1 single crochet (sc) into each chain across the row. You should have 199 single crochets at the end of this row. Turn your work.
Step 3: Second Row
Row 2: Chain 3 (this will count as your first double crochet (dc) throughout the pattern). Work 1 double crochet (dc) into the next stitch and each stitch across the row. Turn your work.
Step 4: Third Row
Row 3: Chain 1. Work 1 single crochet (sc) into each stitch across the row. Turn your work.
Step 5: Repeat
Continue repeating Rows 2 and 3 until your scarf reaches your desired width. For a standard scarf, aim for about 6-8 inches wide. The alternation between single crochet and double crochet rows creates a simple yet visually appealing texture.
Step 6: Finishing
Once you’ve reached your desired width, finish off your last row by cutting the yarn, leaving a tail of about 6 inches. Pull the tail through the last loop on your hook to secure it. Use the yarn needle to weave in any loose ends carefully and securely.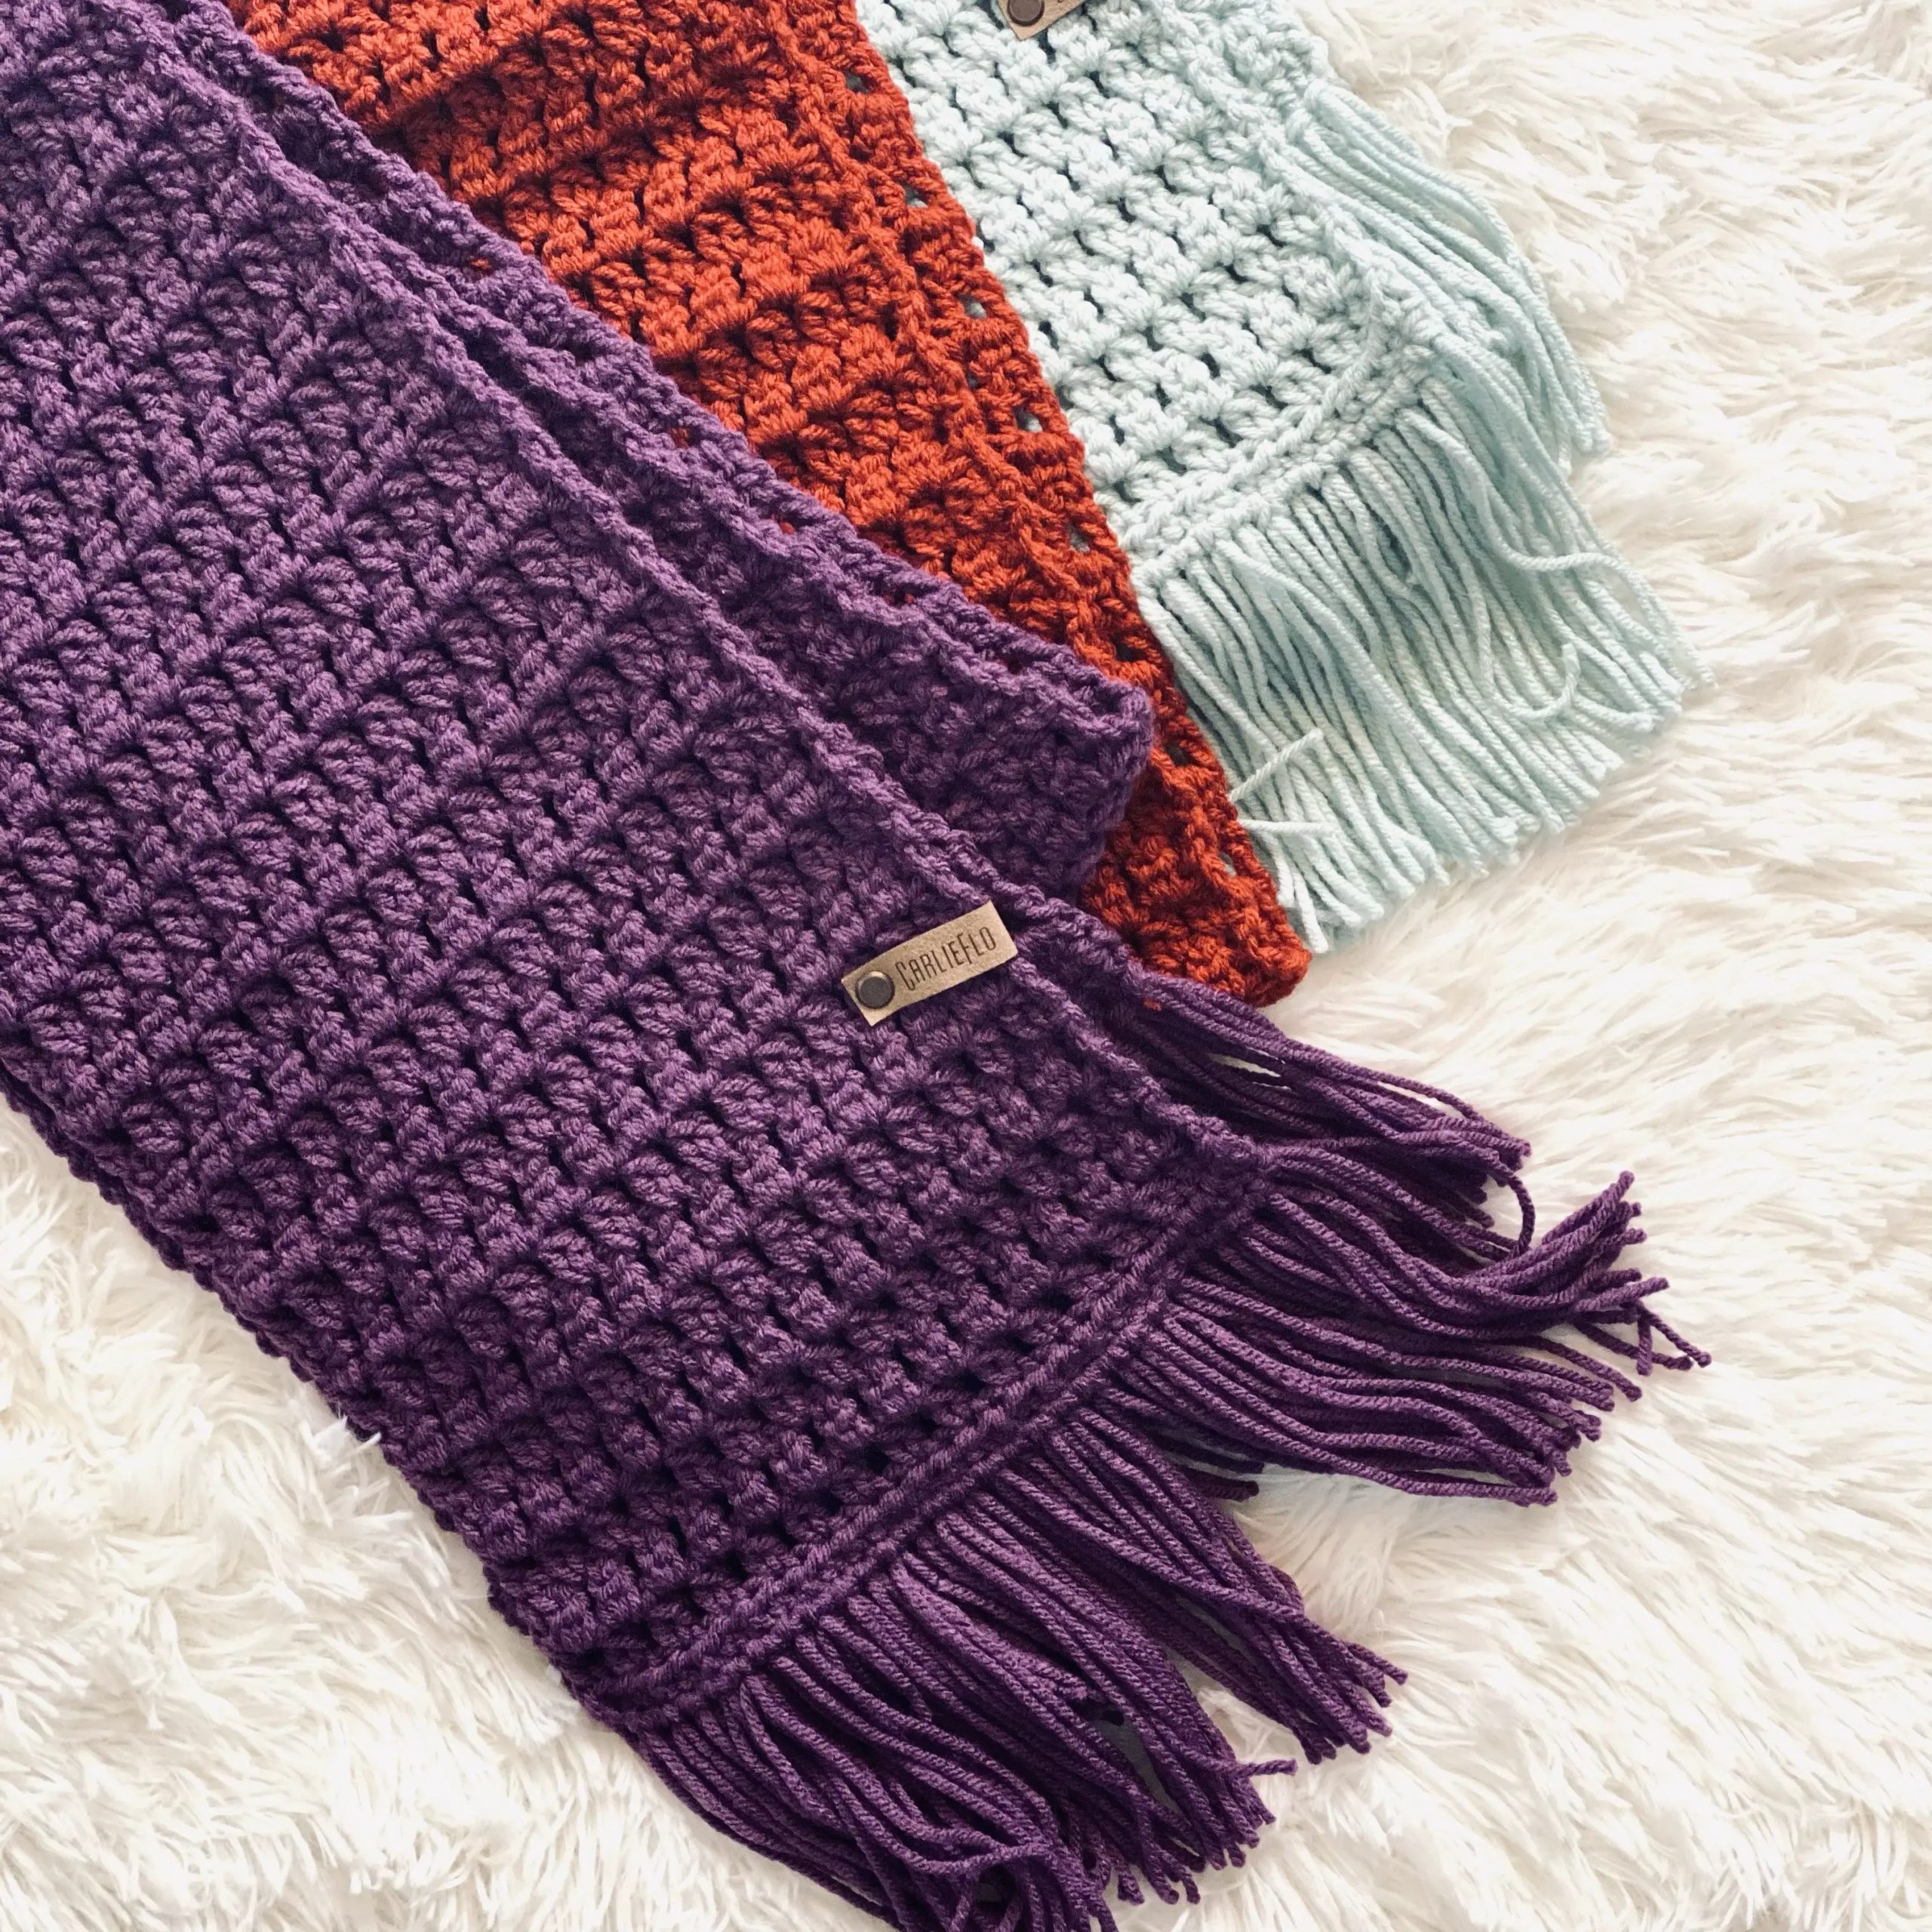
Optional: Adding Fringe
For an added touch, you can add fringe to the ends of your scarf. Cut several strands of yarn about 10 inches long. Take a few strands together, fold them in half, and use your crochet hook to pull the folded end through the edge of the scarf, creating a loop. Pull the loose ends through the loop and tighten to secure. Repeat this along both ends of the scarf.
Tips for Beginners
- Consistent Tension: Keep your tension consistent throughout the project to ensure even stitches and a uniform scarf.
- Practice Stitches: Before starting, practice your single and double crochet stitches on a small swatch until you feel comfortable and confident.
- Take Breaks: Crocheting can be repetitive and strain your hands and wrists. Take breaks to stretch and relax your muscles.
- Experiment with Colors: Feel free to use different colors or variegated yarn to add visual interest to your scarf.
Additional Tips for Beginners
- Choosing Yarn: When selecting yarn, consider its texture and weight. For beginners, a smooth, medium-weight yarn is ideal as it’s easier to work with and see your stitches.
- Hook Grip: Find a comfortable way to hold your hook. There are two common grips: the pencil grip and the knife grip. Experiment with both to see which feels more natural.
- Counting Stitches: Keep track of your stitches to ensure even rows and avoid unintentional increases or decreases. Using stitch markers can help mark the beginning or end of rows.
- Resting Your Hands: Crocheting can be hard on your hands. Take regular breaks, stretch your fingers, and maintain good posture to avoid strain.
Pattern Variations
To add variety and personal flair to your scarf, consider experimenting with different patterns and techniques:
Variation 1: Stripes
Instructions:
- To create stripes, use two or more colors of yarn. Change colors at the end of each row or every few rows to create your desired stripe pattern.
- To change colors, finish the last stitch of the row with the new color. Cut the old color, leaving a tail to weave in later.
Variation 2: Ribbed Texture
Instructions:
- For a ribbed texture, alternate front post double crochet (fpdc) and back post double crochet (bpdc) stitches.
- Row 1: Chain 3, (this counts as the first dc), fpdc around the next stitch, bpdc around the next stitch; repeat from * to * across the row. Turn your work.
- Row 2: Chain 3, fpdc around the fpdc from the previous row, bpdc around the bpdc from the previous row; repeat from * to * across the row. Turn your work.
- Repeat Row 2 until the scarf reaches your desired width.
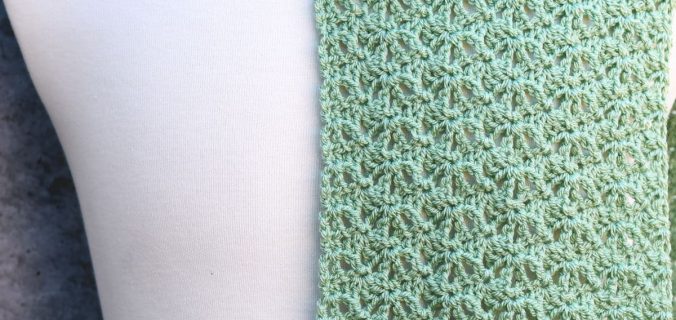
Variation 3: Shell Stitch
Instructions:
- The shell stitch creates a lacy, elegant texture.
- Row 1: Chain 3, double crochet into the same stitch, skip 2 stitches, 5 double crochets into the next stitch (shell stitch), skip 2 stitches, double crochet into the next stitch; repeat from * to * across the row. Turn your work.
- Row 2: Chain 3, double crochet into the same stitch, 5 double crochets into the center of the shell stitch from the previous row, double crochet into the top of the next double crochet; repeat from * to * across the row. Turn your work.
- Repeat Row 2 until the scarf reaches your desired width.
Advanced Techniques
As you become more comfortable with basic stitches, you might want to explore more advanced techniques to create intricate and unique designs.
Technique 1: Crochet Cables
Instructions:
- Crochet cables are similar to knitted cables and add a beautiful, complex texture.
- Use front post treble crochets (fptr) to create the crossing effect typical of cables.
- Follow a specific cable pattern chart or instructions to create the desired cable design.
Technique 2: Tunisian Crochet
Instructions:
- Tunisian crochet uses a longer hook and combines elements of knitting and crochet.
- Start with a foundation chain and pick up loops across the row like knitting, then work them off the hook like crochet.
- Various Tunisian stitches, such as the simple stitch (TSS) or knit stitch (TKS), can create dense and warm fabrics perfect for scarves.
Technique 3: Lacework
Instructions:
- Lacework involves creating open, airy patterns using chain spaces and various stitches.
- Patterns typically consist of repeating motifs, such as flowers or geometric shapes.
- Follow a lace pattern to create an elegant and sophisticated scarf.
Finishing Touches
- Blocking: Blocking your scarf helps even out stitches and enhances the overall appearance. Wet block by soaking the scarf in water, gently squeezing out excess water (do not wring), and pinning it to shape on a flat surface. Let it dry completely.
- Edging: Add a decorative edge to your scarf, such as a picot, shell, or scallop edging. This adds a polished look to your finished piece.
- Personalization: Incorporate beads, buttons, or embroidery to personalize your scarf and make it truly unique.
Conclusion
Congratulations! You’ve completed your first crochet scarf. This beginner-friendly pattern not only introduces you to basic crochet stitches but also results in a warm and stylish accessory. Enjoy wearing your handmade creation or gifting it to someone special. As you continue to practice, you’ll discover endless possibilities in the world of crochet. Happy crocheting!