Introduction
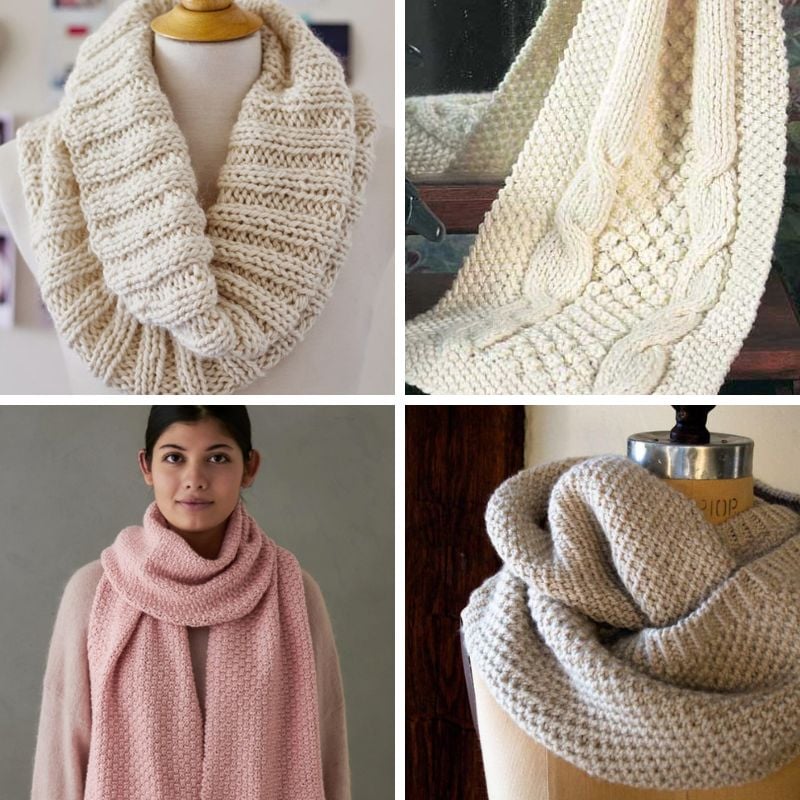
Scarf pattern knitting – As the seasons shift and temperatures begin to drop, cozy scarves emerge as the ultimate accessory to not only keep you warm but also elevate your style. Knitting your own scarves allows for creativity, customization, and the satisfaction of creating something unique. In this guide, we’ll explore a variety of trendy scarf patterns that will not only enhance your wardrobe but also make for delightful projects to undertake, regardless of your skill level. Whether you’re a seasoned knitter or a beginner, the following patterns will inspire you to pick up those needles and start crafting!
The Classic Ribbed Scarf
Skill Level: Beginner
Materials Needed:
- Worsted weight yarn
- Size 8 (5mm) knitting needles
- Scissors
- Tapestry needle
Pattern:
- Cast On: 30 stitches (or adjust for desired width).
- Knit the First Row: K1, P1 across the row to create a ribbed texture.
- Repeat: Continue this pattern for the desired length (typically 60-70 inches).
- Bind Off: Use a stretchy bind-off to ensure the end matches the beginning.
The Classic Ribbed Scarf is an evergreen choice. Its simplicity in design makes it a versatile accessory, pairing well with almost any outfit, whether you’re headed to the office or out on a weekend adventure.
The Infinity Scarf
Skill Level: Intermediate
Materials Needed:
- Bulky weight yarn
- Size 11 (8mm) knitting needles
- Scissors
- Tapestry needle
Pattern:
- Cast On: 80 stitches in a stretchy cast-on.
- Knit in the Round: Join to work in the round, K2, P2 to create a textured pattern.
- Continue: Knit until the scarf measures about 12 inches in height.
- Bind Off: Use a loose bind-off to maintain elasticity.
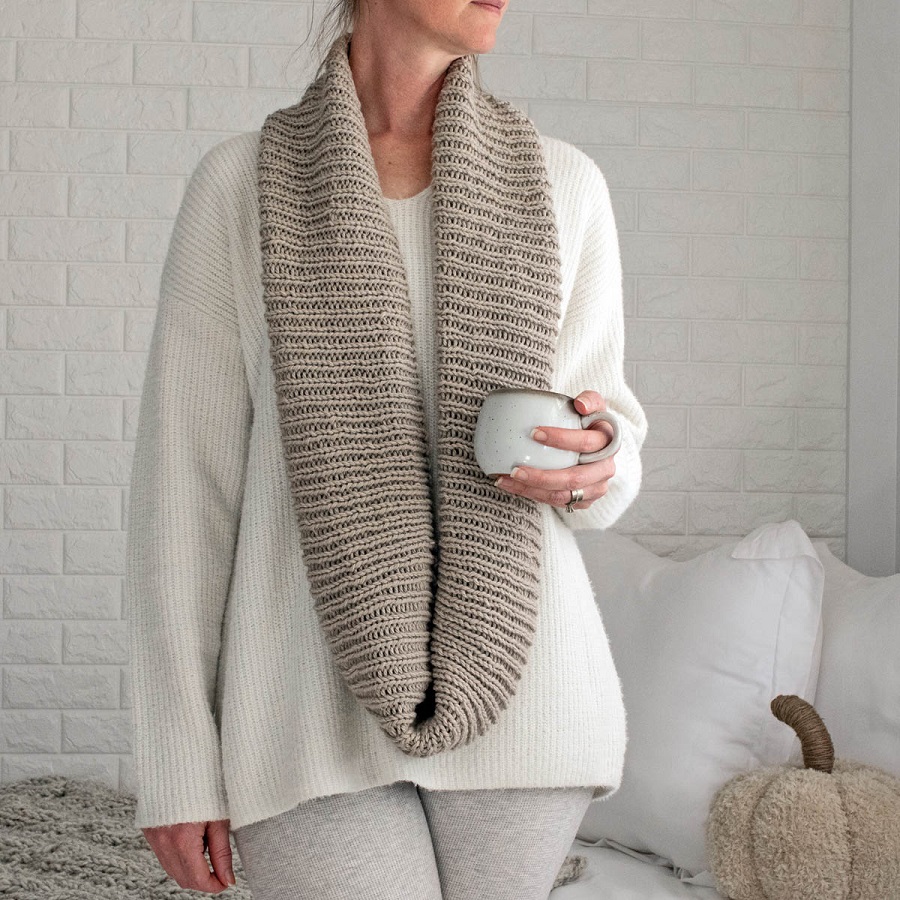
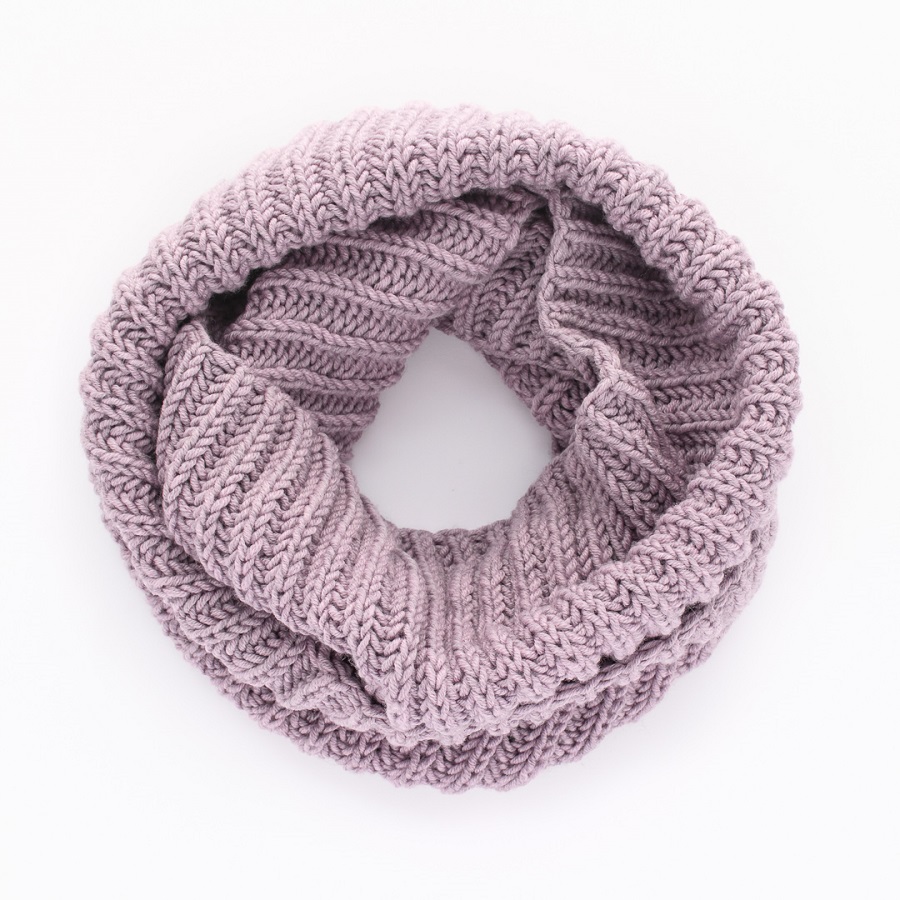
The Infinity Scarf is perfect for those who prefer snuggling into a cozy circle of warmth. Its chic look is incredibly on-trend and effortlessly stylish, making it a must-have accessory.
The Chevron Scarf
Skill Level: Intermediate
Materials Needed:
- DK weight yarn in two contrasting colors
- Size 7 (4.5mm) knitting needles
- Scissors
- Tapestry needle
Pattern:
- Cast On: 37 stitches.
- Row 1: Knit the first row with color A.
- Row 2: With color B, K1, P1, K3 to form the first chevron, and then repeat to the end of the row.
- Continue Alternating Colors: Each subsequent row will change colors and follow a pattern of increasing and decreasing to create the chevron effect.
- Bind Off when the scarf is your desired length.
The Chevron Scarf stands out with its eye-catching zigzag pattern, making it a trendy choice. By using contrasting colors, you can create a bold statement piece or a subtle one depending on your yarn selections.
The Textured Basketweave Scarf
Skill Level: Advanced
Materials Needed:
- Aran weight yarn
- Size 9 (5.5mm) knitting needles
- Scissors
- Tapestry needle
Pattern:
- Cast On: 36 stitches.
- Work in Basketweave: For every 4 rows of knit, switch to 4 rows of purl, repeating this pattern throughout.
- Continue for Length: Knit until the scarf reaches your desired length (approximately 70 inches).
- Bind Off loosely.
The textured basketweave design captures the essence of warmth and coziness, making it perfect for extra chilly days. The unique texture adds depth and sophistication to your ensemble.
The Lace-Edged Scarf
Skill Level: Advanced
Materials Needed:
- Fingering weight yarn
- Size 6 (4mm) knitting needles
- Scissors
- Tapestry needle
Pattern:
- Cast On: 55 stitches.
- Establish the Lace Pattern: Use a simple lace chart to create scallops or other delicate designs at both ends of the scarf.
- Knit Main Body: Alternate lace with garter stitch for a beautiful contrast.
- Continue until Desired Length: Wrap it up after achieving around 60 inches in length.
- Bind Off gently to keep the edges fluid.
With its delicate lace details, the Lace-Edged Scarf adds a touch of elegance to any outfit. It’s perfect for dressing up a simple ensemble or as a sophisticated accessory for evenings out.
Styling Tips for Your Handmade Scarves
Once you’ve completed your trendy scarf, the fun doesn’t stop there! Here are some styling tips to help you incorporate your handmade piece into your wardrobe:
- Layering: Drape your scarf over a long cardigan or a chic trench coat for a polished look.
- Play with Color: Select scarves in colors that complement or contrast your outerwear to create visual interest.
- Knot It Up: Experiment with different ways of tying your scarf—loose knots, draped ends, or tucked into a belt can provide different vibes.
- Accessorize: Pair your scarf with matching accessories like gloves or a knitted hat to complete the look.

Understanding Yarn
A. Types of Yarn
The first step in any knitting project is to choose the right yarn. Yarn comes in various fibers and weights, each with its unique characteristics. Familiarize yourself with the following types:
- Acrylic Yarn: Affordable, durable, and widely available. It’s an excellent choice for beginners as it’s easy to care for and comes in many vibrant colors.
- Wool: A natural fiber known for its warmth and elasticity. Merino wool is especially soft and luxurious, making it ideal for scarves worn against the skin.
- Cotton: Soft and breathable, cotton yarn is perfect for lightweight scarves, especially in warmer climates. It doesn’t have the stretch that wool has, so consider this when choosing your stitch patterns.
- Blends: Many yarns are made from a blend of different fibers, like wool and acrylic or cotton and silk. These blends can provide the best of both worlds in terms of texture and warmth.
B. Yarn Weight
Yarn weight refers to the thickness of the yarn. It ranges from lace weight to super bulky and affects how quickly you can knit. For scarves, common weights include:
- Light Worsted (DK): Suitable for delicate and lightweight scarves.
- Worsted: A versatile choice for thicker scarves that will provide warmth.
- Bulky: Perfect for quick, cozy projects; ideal if you want to make a scarf in a short time.
C. Color and Texture
When selecting yarn, consider not only the color but also the texture. Variegated yarns, which change color as you knit, can create beautiful gradients and patterns. Textured yarns, such as those with a boucle or chenille finish, can add dimension to your scarf.
Tools and Equipment
Before diving into your project, ensure you have the right tools:
- Knitting Needles: The size of your needles will depend on the yarn weight. For instance, if you’re using worsted weight yarn, size 8 (5 mm) needles are a common choice. Circular needles can be advantageous for larger projects as they hold more stitches comfortably.
- Tape Measure: Essential for measuring your scarf length as you work.
- Scissors: For cutting yarn at the end of your project.
- Yarn Needle: A large-eyed needle is necessary for weaving in ends and sewing pieces together, if applicable.
Choosing a Pattern
Scarf patterns range from simple garter stitches to intricate lace designs. Here are a few popular options:
A. Garter Stitch
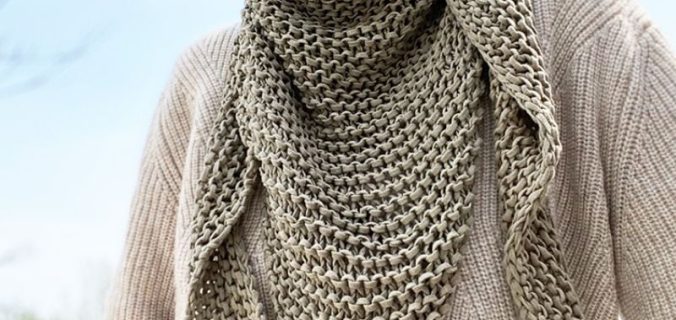
This is the most basic stitch and is perfect if you’re just starting. You knit every row to create a squishy and textured fabric.
B. Ribbing
A ribbed pattern alternates knit and purl stitches, creating a stretchy fabric that lays flat. It’s a great option for scarves that will be wrapped around the neck multiple times.
C. Cable Knit
For those looking to step up their knitting game, adding cables can elevate the design. Cables create beautiful, raised patterns that add depth and visual interest.
D. Lace Patterns
Lace scarves are delicate and intricate. If you’re comfortable with yarn overs and decreasing stitches, a lace pattern can create breathtaking results, perfect for layering in cooler months.
Knitting Your Scarf
Now that you’re equipped with your yarn, needles, and pattern, it’s time to start knitting!
A. Cast On
Start by casting on the number of stitches specified in your pattern. Make sure your cast-on is loose enough to allow for stretch without being so loose that it distorts the edge.
B. Follow the Pattern
Begin working the pattern, taking care to count your stitches and rows as you go. Keep your tension consistent and check in on it periodically to ensure your stitches are even. If you’re knitting a ribbed or cabled scarf, pay extra attention to your stitch count to avoid mistakes.
C. Take Breaks
Knitting can be meditative, but it’s important to take breaks, especially for longer projects. This will help prevent fatigue and maintain your enthusiasm.
Finishing Touches
Once you’ve reached the desired length, it’s time to finish your scarf.
A. Bind Off
Secure your stitches by binding off, allowing the final row to remain flexible yet tidy.
B. Weave in Ends
Using a yarn needle, weave in any loose ends from your yarn, ensuring they’re secure and hidden to achieve a polished look.
C. Block Your Scarf
Blocking is the process of wetting and shaping your finished scarf. This helps to even out stitches and enhances the texture, especially if you’ve used lace patterns. Simply dampen your scarf, lay it flat on a clean surface, and pin it in shape. Allow it to dry completely before wearing.
Customization Ideas
Now that you know how to make a basic scarf, consider personalizing it:
- Colorwork: Incorporate different colors in sections or use techniques like fair isle to create patterns.
- Beading: Add beads for a touch of sparkle; they can be woven in as you knit or sewn on afterward.
- Fringe: Create a playful finish on the ends of your scarf with tassels or fringe.

Conclusion
Knitting your own scarves not only allows you to create beautiful and personalized pieces but also gives you the opportunity to explore various techniques and styles. From classic designs to trendy patterns, each scarf presents a new project to undertake that will keep your hands busy and your wardrobe fresh.
Embrace the joy of knitting and the satisfaction of wearing a piece that you’ve crafted with love. You’ll not only stay warm but also turn heads with your unique style! So grab your yarn, pick up those needles, and let’s get knitting!
