Essential Materials and Tools Needed to Start Knitting
Starting a new knitting project is exciting. But, before you dive into your first row, you need the right materials. Here is a list of essential items for knitting a scarf:
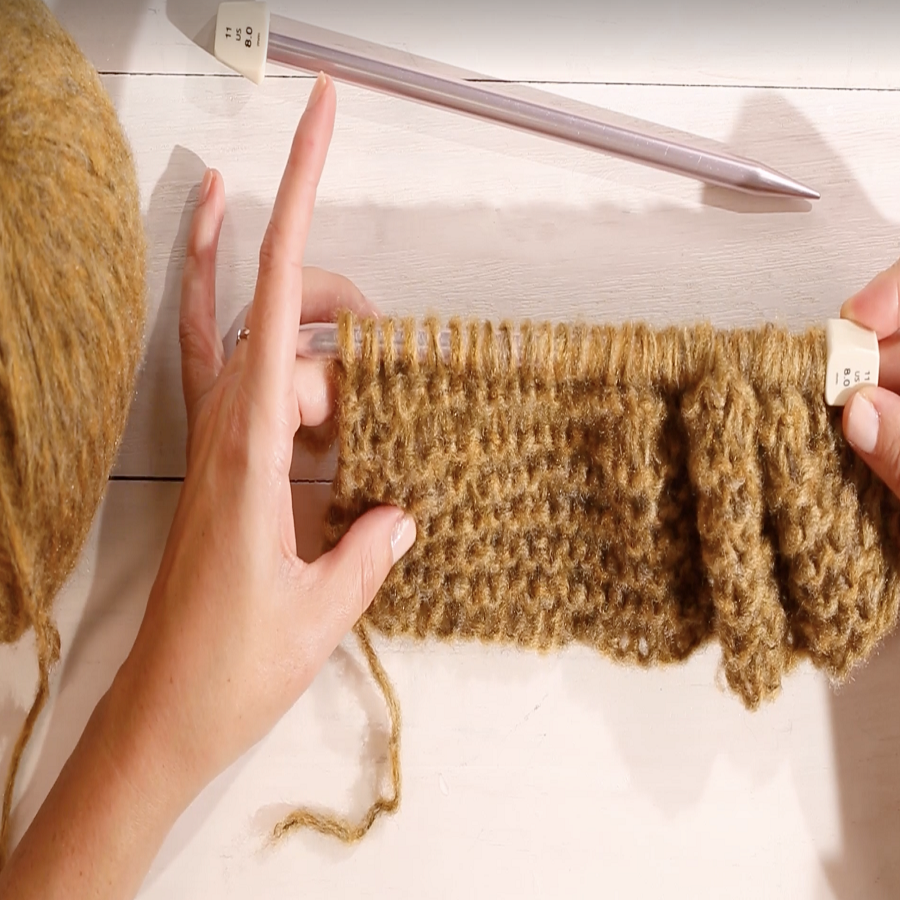
- Knitting Needles: Choosing the right size is vital. For beginners, larger needles make the work easier. Size 8 to 10 is a good start.
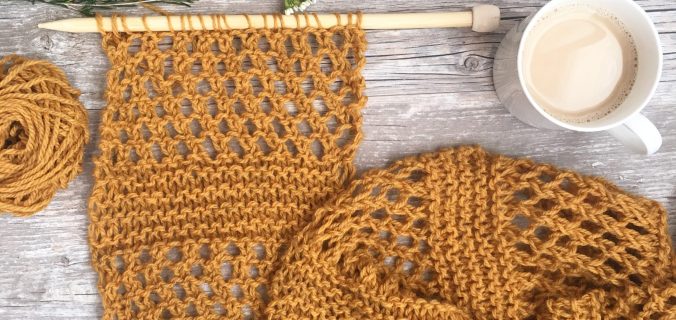
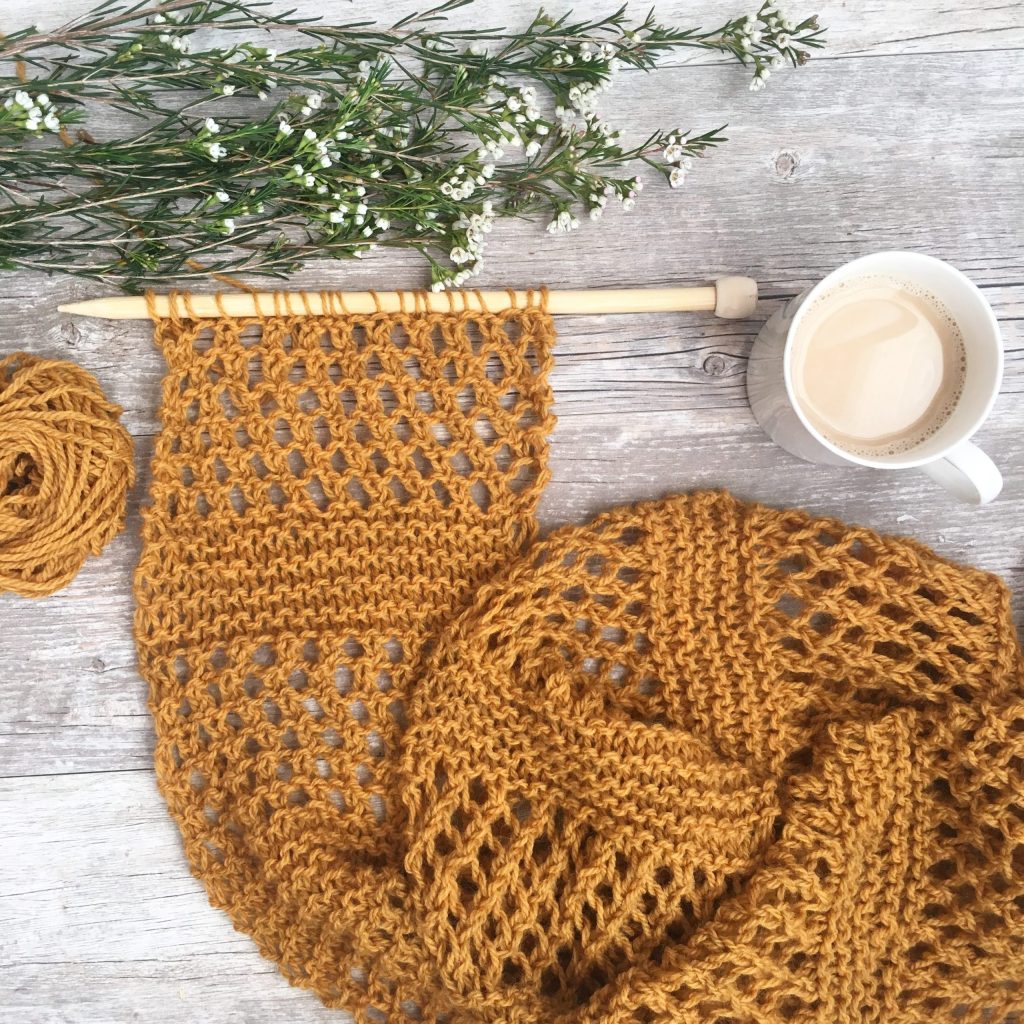
- Yarn: Select a yarn that feels good in your hands. Acrylic, wool, or cotton are great for scarves. They are soft and easy to work with.
- Scissors: A small pair of sharp scissors will help you cut your yarn cleanly.
- Tape Measure: To check the length of your scarf as you go, a tape measure is handy.
- Yarn Needle: For weaving in ends once you finish knitting.
- Stitch Markers: They help you keep track of your knitting, especially if the pattern is complex.
- Row Counter (optional): This can be useful for keeping track of your rows if your pattern requires it.
- Notebook and Pen: Keep notes on your progress or any adjustments you make to the pattern.
Gather these items and clear a comfortable workspace. With these tools, learning how to start knitting a scarf will be much more manageable. Keep the materials within reach, and you’ll be knitting rows in no time!
 Understanding the Basics of Knitting Before You Start
Before you start knitting a scarf, it’s important to grasp the basic stitches and techniques. Knitting involves two fundamental stitches: the knit stitch and the purl stitch. Together, these form the foundation of nearly all knitting patterns.
Learn the Knit Stitch
The knit stitch is the most basic and commonly used stitch in knitting. To execute a knit stitch, insert the right needle from left to right through the front of the loop on the left needle. Wrap the yarn around the right needle and pull it through to create a new loop.
Master the Purl Stitch
The purl stitch is essentially the opposite of the knit stitch. To purl, insert the right needle into the front of the loop from right to left. Then, wrap the yarn under and around the right needle and pull through the loop.
Practice Consistent Tension
Maintaining an even tension as you knit is crucial for a uniform scarf. If your stitches are too tight or too loose, your scarf may not drape properly. Practice knitting rows consistently to get the feel of the yarn and needles in your hands.
Knitting Gauge: A Key Concept
Understanding knitting gauge is important before starting your scarf. Gauge refers to the number of stitches per inch. A proper gauge ensures that your scarf will be the desired size and that the yarn will be sufficient for the project.
Arm yourself with these knitting basics, and you’ll be well on your way to starting your scarf. Remember, practice makes perfect, and soon ‘how to start knitting a scarf’ won’t seem like such a mystery after all. Keep your tools close, and enjoy the simple pleasure of creating something with your own hands.
Step-by-Step Knitting a Scarf for Beginners
Embarking on your first scarf project can be thrilling. Let’s break down the steps:
Choosing Your First Stitch Pattern
Stick to a simple stitch pattern. Beginners often start with a garter stitch. It involves knitting every row.
Casting On
The foundation of your scarf begins with casting on. Create a slip knot and place it on your needle. Continue adding stitches until you have the desired width.
The First Row
After casting on, start your first row. For a garter stitch, you simply knit every stitch.
Building the Scarf Length
Continue knitting each row until the scarf reaches your preferred length. Remember to keep a steady rhythm for even stitches.
Checking Length and Width
Use your tape measure regularly to check the dimensions of your scarf. Adjust as necessary to stay consistent.
Casting Off
Once you get to the desired length, it’s time to cast off. This secures the stitches so your scarf won’t unravel.
Weaving in Ends
With a yarn needle, weave in the tail ends of your scarf for a neat finish.
Follow these steps, and you have a scarf made by your own hands. With practice, ‘how to start knitting a scarf’ becomes a comfortable and rewarding process.
Tips for Choosing the Right Yarn and Needles
Choosing the right yarn and needles is key for your knitting success. Here are some tips to guide you:
Consider the Yarn Weight
Pick a yarn weight that’s easy for beginners. Bulky or worsted yarns are good choices. They are thick and easy to see and hold, which helps you learn.
Think About Yarn Texture
Select a smooth yarn. It’s easier to work with than a textured one. Avoid yarns that split easily too.
Look at Yarn Fiber
Go for a fiber that’s soft and comfortable. Acrylic, wool, or cotton are great for starters. They are forgiving and good for practice.
Choose the Right Needle Size
Match your needle size to your yarn. Larger needles with heavier yarns make for easier handling. Try a size 8 to 10 if you’re a beginner.
Opt for Comfortable Needles
Use needles that feel good in your hands. Some prefer wooden needles for their warmth and grip. Others may like metal or plastic for their smoothness.
Color Matters As Well
Choose a light-colored yarn to see your stitches clearly. It helps you notice mistakes and learn the stitch shapes.
Remember, the yarn and needles you choose will affect your knitting experience. Take the time to pick what works best for you. Happy knitting!
Common Knitting Mistakes to Avoid When Making a Scarf
As beginners in knitting, knowing what to avoid can be as important as learning new techniques. Here are some common errors to watch out for:
Choosing the Wrong Yarn Weight
Picking yarn that’s too thin or too bulky can make knitting a scarf hard. Stick to recommended weights.
Ignoring Gauge
Not checking your gauge can result in a scarf that’s too big or small. Always make a gauge swatch first.
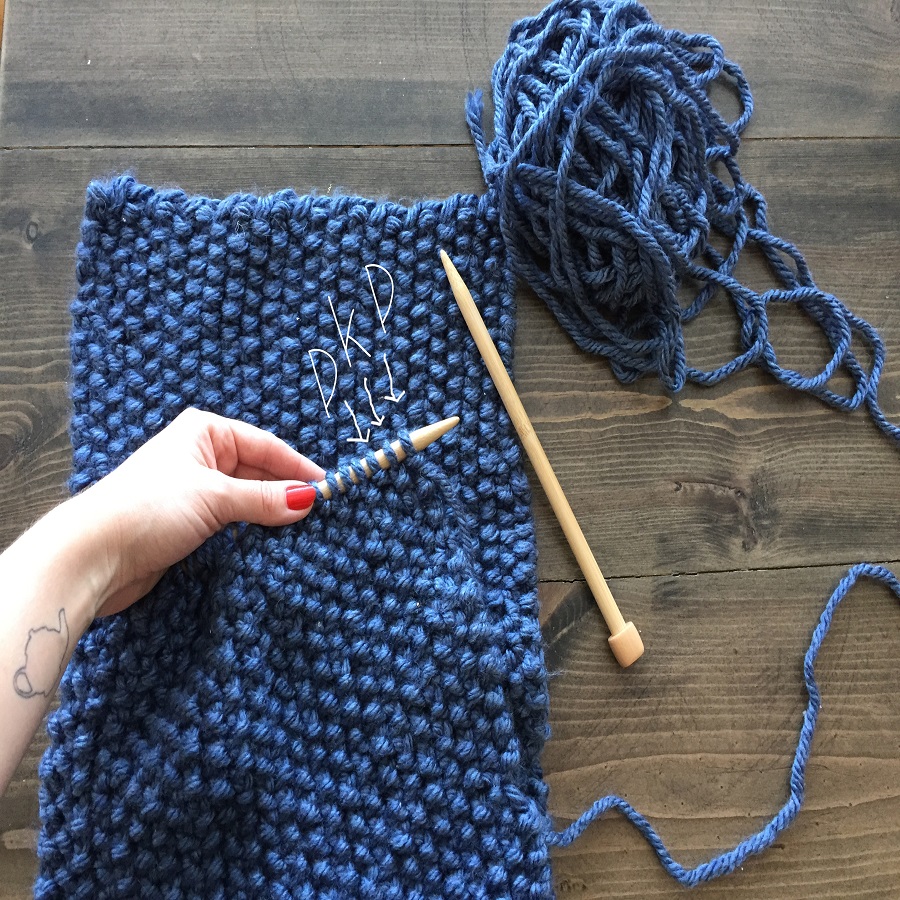
Inconsistent Tension
Uneven tension can cause your scarf to warp. Aim for uniform tightness in your stitches.
Dropping Stitches
Stitches falling off the needle can make holes in your scarf. Stay alert and pick up dropped stitches quickly.
Not Counting Rows
Losing track of your rows can lead to an uneven scarf. Use a row counter or keep a tally.
Rushing the Process
Rushing can lead to mistakes. Take your time, especially with difficult stitches or patterns.
Being too Hard on Yourself
Everyone makes mistakes. Stay patient and practice. You’ll improve with each stitch.
Avoid these common mistakes, and your journey on how to start knitting a scarf will be smoother and more enjoyable.
How to Read Knitting Patterns and Charts
As you progress from a beginner to a more practiced knitter, interpreting knitting patterns and charts becomes crucial. Here’s a straightforward guide to boost your confidence:
Get Familiar with Knitting Abbreviations
Knitting patterns often use abbreviations to save space. Common ones include ‘k’ for knit, ‘p’ for purl, and ‘st’ for stitch. Learn these basics to understand pattern directions.
Understand Pattern Instructions
Patterns give step-by-step guides for each row or round. They tell you what stitches to use and how many. Follow the sequence as written to ensure your scarf looks as intended.
Deciphering Knitting Charts
Charts show patterns visually and use symbols to represent stitches. Each square on the chart equals one stitch. Read these charts from right to left, bottom to top, just like how you knit.
Recognize Repetition in Patterns
Look for asterisks (*) or other markers that indicate repeat sections. This helps you know when to do the same sequence of stitches multiple times.
Keep Track of Your Place
Use a row counter, stitch markers, or a written note to keep your spot. It’s easy to lose your place, so mark it after each row or round.
Practice Reading with a Simple Pattern
Start with a basic pattern that uses simple stitches. This lets you get used to reading instructions without being overwhelmed.
By mastering how to read patterns and charts, you unlock the joy of attempting various scarf designs. It also prepares you for more challenging projects in the future. So, take the time to learn this vital skill, and watch as your knitting abilities grow!
Finishing Touches: Casting Off and Adding Fringes to Your Scarf
Congratulations on reaching the final steps of your scarf! It’s time to give your creation those finishing touches that make it truly shine. The last actions – casting off and adding fringes – are what stand between you and the proud moment of wearing or gifting your hand-knitted scarf. Let’s go through them one by one.
Casting Off to Secure Your Stitches
Casting off, also known as binding off, is how you get the stitches off the needle in a way that they won’t unravel. Here’s a simple way to do it:
- Knit two stitches as normal.
- Use the left needle to lift the first stitch over the second and off the needle.
- You now have one stitch left on the right needle. Knit another stitch.
- Repeat the process until you have one stitch left.
- Cut the yarn, leaving a tail.
- Pull the tail through the last stitch and tighten.
By now, your knitting should have a neat, finished edge and your work won’t come undone.
Add Personality with Fringes
Fringes can add a playful touch or elegant flair to your scarf. To add them, follow these steps:
- Cut strands of yarn twice the length of your desired fringe.
- Fold a strand in half and use a crochet hook to pull the loop through an edge stitch.
- Pull the ends through the loop and tighten to secure.
- Repeat along the edge, spacing your fringes evenly.
- Trim the fringes if necessary to make them even.
With the fringes in place, your scarf now has more character and charm. Give yourself a pat on the back! You now know how to start knitting a scarf and bring it to completion. The more you knit, the better you’ll get. Keep practicing and enjoy the endless possibilities that knitting brings!