Introduction to Crochet and Scarf Making
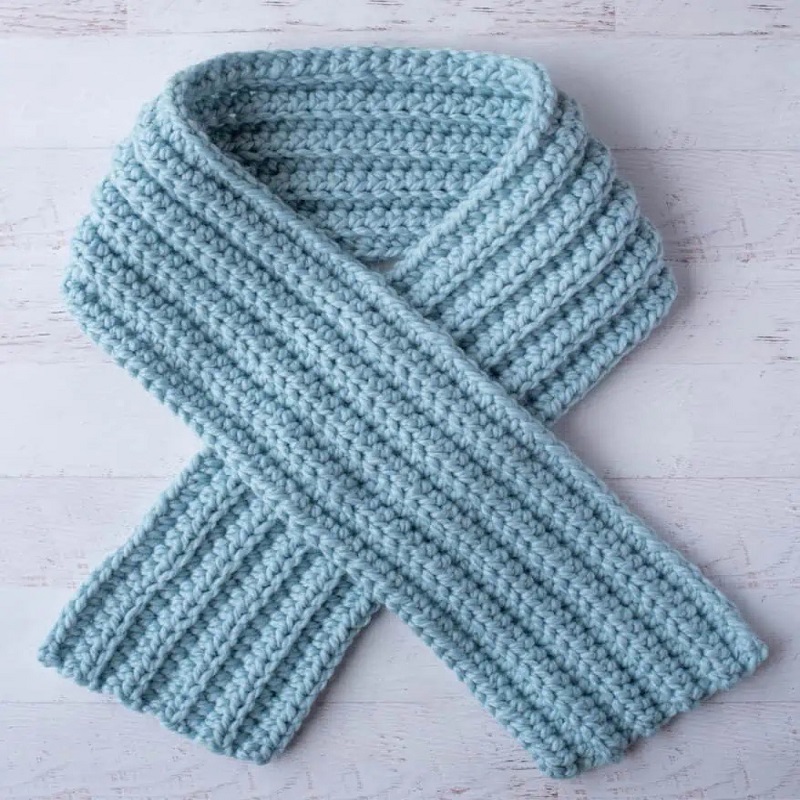
Welcome to the world of crochet, a craft that allows you to create beautiful and functional pieces with just yarn and a hook. In this guide, we’ll focus on making a cozy half double crochet scarf, an ideal project for beginners looking to delve into the art of crochet. Scarf making is a great starting point because it requires mastering just a few basic stitches and techniques, yet the end result is both rewarding and practical. A handmade scarf not only keeps you warm but also adds a touch of personal style to your wardrobe.
Embarking on your first crochet project can be both exciting and a bit daunting. But, fear not! With step-by-step instructions and a little patience, you’ll soon find yourself wrapping up in your own custom-made creation. Before we dive into the actual crocheting process, we’ll cover the essential tools and materials needed, as well as some foundational stitches such as the slip knot, chain stitch, and of course, the half double crochet stitch which forms the basis of our scarf pattern.
Stay tuned as we guide you through each step, ensuring you have the know-how to tackle this project with confidence. Ready your hooks and yarn, and let’s get started on the path to becoming a proficient crocheter!
 Tools and Materials Needed
Before diving into the crafting process, gathering the right supplies is crucial. You’ll need specific tools and materials to crochet a half double crochet scarf.
Choosing the Right Yarn
Yarn selection can greatly influence your scarf’s look and feel. Opt for a medium-weight yarn, often labeled as worsted or aran, to achieve a soft and cozy scarf. The Reference Blog1 suggests using Yarnspirations Caron Big Donut O’Go for its ample yardage and pleasant texture.
Selecting the Proper Hook
The hook size matters when it comes to achieving the correct scarf dimensions. For a half double crochet scarf, an H-8 (5 mm) hook typically works well and helps create a nice drape. Ensure your hook pairs with your chosen yarn by checking the yarn’s label for recommendations.
Other Accessories for Crochet
A successful crochet project involves more than just yarn and a hook. Keep a pair of scissors handy for snipping yarn ends. A yarn needle will assist in weaving those ends into your finished scarf. Don’t forget a measuring tape for sizing and a book or similar tool for crafting the fringe. Each accessory aids in the creation of a beautiful, polished piece.
Crochet Basics for Beginners
Embarking on your journey to crochet a half double crochet scarf begins with mastering basic crochet stitches. These foundational stitches will be the building blocks of your handcrafted scarf.
Starting with a Slip Knot
The slip knot is the starting point of your crochet adventure. Create a loop with your yarn, insert your hook through the loop, and tighten it by pulling on the yarn ends. This establishes the initial loop on your hook for the foundation chain.
Learning the Chain Stitch
After the slip knot, learning the chain stitch is next. To make a chain stitch, you’ll yarn over (wrap the yarn over your hook) and pull through the loop on the hook. Repeat this step to build a chain that serves as the backbone for your scarf’s rows.
Mastering the Half Double Crochet Stitch
The half double crochet stitch provides texture and warmth to your scarf. To execute this stitch, yarn over, insert the hook into the third chain from your hook, yarn over again, pull through the chain. You’ll have three loops on your hook. Yarn over once more and pull through all three loops. Continue this process across the chain to complete your first row, and you’ll be well on your way to creating a beautiful scarf.
Starting Your Scarf
Making the Foundation Chain
Beginning your half double crochet scarf starts with making the foundation chain. Using the Yarnspirations Caron Big Donut O’Go or your selected medium-weight yarn, create a slip knot. Place it on your H-8 hook. Now, chain the number of stitches needed for the width of your scarf. Remember that the length of your foundation chain determines the scarf width. Each chain represents a stitch that will be worked on in the next row.
Working on the First Row
With your foundation chain ready, start your first row of half double crochet stitches. Yarn over, insert the hook into the third chain from the hook, yarn over again, and pull up a loop. There will be three loops on the hook. Yarn over once more and draw through all three loops. This completes your first half double crochet stitch. Continue this pattern across the entire foundation chain. Be sure to work your stitches evenly for a smooth edge.
Continuing with Subsequent Rows
To build the length of your scarf, you’ll need to crochet subsequent rows. At the end of the first row, turn your work and chain two. This serves as your turning chain and does not count as a stitch. Work one half double crochet into each stitch across the row. Consistently using the two-chain turning technique, as advised in Reference Blog1, ensures even edges. After completing each row, count your stitches to maintain a uniform width. Repeat these steps until your scarf reaches your desired length. Remember that the beauty of making your own scarf is the ability to customize the size.
Creating and Attaching Fringe
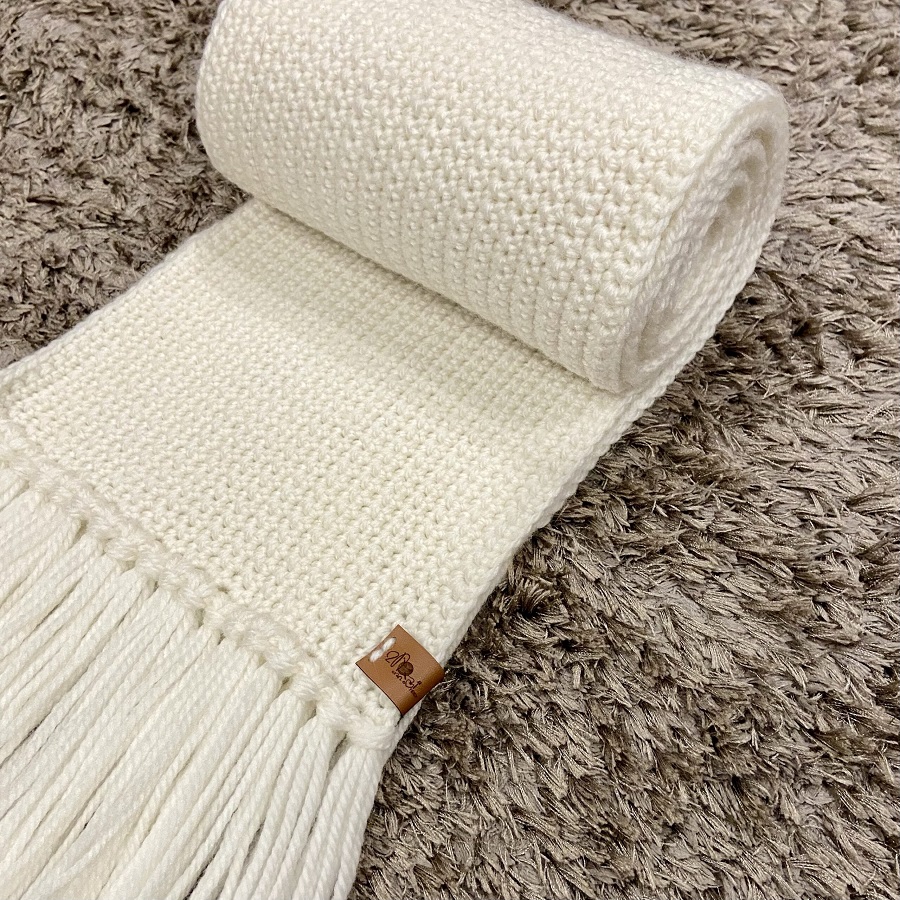
Adding fringe to your half double crochet scarf gives it a finished and stylish look. Fringe can also add a playful movement to the scarf’s edges and is fairly simple to create and attach.
Cutting the Fringe Strands
To prepare your fringe, you need to cut strands of yarn. Reference Blog1 suggests a handy method using a book to measure the yarn for fringe, ensuring they are all the same length. Select a book that is about the width of the desired fringe, which for this project is about 6.5 inches. Wrap the yarn around the book multiple times without overlapping. Once you have enough for the fringe, cut the loops along one edge of the book. This process will give you strands of equal length, ready for attachment. For a balanced look, cut a few extra strands than needed.
Attaching Fringe to Your Scarf
Now it’s time to attach the fringe to your scarf. Fold a strand of yarn in half and use a crochet hook or your fingers to pull the loop through the edge of the scarf. Then, pull the ends of the strand through the loop. This will secure the fringe in place. Repeat this step, attaching each strand to the ends of the scarf, with even spacing between them. Attach enough strands to cover the width of the scarf and use the extra strands as backups in case of any mistakes. Once your fringe is attached, your scarf is not only warmer but also has an extra touch of handcrafted charm.
Perfecting Color Changes
Achieving seamless color changes in your half double crochet scarf can elevate its visual appeal and showcase your crocheting skills. Whether you let the colors change organically or plan them strategically, the key is in the details.
Letting Colors Change Naturally
With multicolored yarn like Yarnspirations Caron Big Donut O’Go, random color changes can add an interesting and unique pattern to your scarf. Allowing the color changes to occur as they come, without cutting the yarn, can save you time and create a blended effect. Simply continue crocheting as usual, and the scarf will showcase a spectrum of colors throughout. This method also reduces the number of ends to weave in later.
Planning Strategic Color Changes
If you prefer more control over your color transitions, planning strategic color changes is essential. To ensure color changes occur at the end of a row, watch the yarn as you near a color shift. Finish the last stitch of the row up until the final yarn over. Then, cut the yarn, leaving enough tail to weave in later. Introduce the new color by completing the last step of the stitch with a yarn over in the new hue. This creates a sharp, defined color change.
Chain two with the new color to start the next row. This precise approach gives a clean and professional appearance to your scarf. Remember to leave a tail for the old and new colors to weave in later, securing the ends and maintaining a neat finish.
Finishing Techniques
After all the crocheting is done, it’s vital to apply finishing techniques to your half double crochet scarf. These final steps will ensure your scarf has a polished and enduring quality.
Weaving in the Ends
When your scarf is complete, you’ll have some loose yarn ends. Neatly weaving these in is crucial. Thread a yarn needle with the end of the yarn. Weave in and out of several stitches on the wrong side of the scarf. This hides and secures the yarn so it won’t unravel. Repeat this with all yarn ends. Trim any excess yarn after securing.
Finalizing the Size and Fit
Evaluating the size and fit of your scarf is the last step. Lay it flat and use a measuring tape to check its length and width. If you need it shorter or narrower, undo a few rows or stitches carefully. If it’s too small, you can add more rows or width with additional stitches. Once you’re satisfied with the size, you’ve officially completed your half double crochet scarf.
By accurately weaving in the ends and ensuring your scarf is the right size, you give your project a professional and tidy finish. Now you can wear your scarf with pride, knowing you’ve mastered each step of the process!
Additional Tips and Resources
Once you have grasped the basics and are on the way to finishing your half double crochet scarf, a few additional tips can help perfect your technique and make the process smoother.
Using Stitch Markers
Stitch markers are a beginner’s best friend. They help you keep track of your place, especially when working on longer projects like scarves. Place a stitch marker at the beginning and end of each row. This way, you won’t lose count or miss stitches. For rows with multiple stitches, use stitch markers to indicate special stitch patterns or where to make increases and decreases.
Troubleshooting Common Mistakes
As you work on your scarf, you might encounter common hurdles. If you find your edges are uneven, you are likely adding or skipping stitches. To fix this, count your stitches regularly to ensure there are 20 stitches per row, as mentioned in the Reference Blog1. If your scarf doesn’t lie flat, check your tension. Consistent tension is key to a uniform fabric. If you’re using multicolor yarn and prefer crisp color changes, take your time planning the transition. If a mistake is made, it’s okay! Carefully unravel back to where the error occurred and redo the section.
Embrace each step of the process, and don’t hesitate to seek out more resources if you need additional help. With practice and perseverance, your half double crochet scarf will be a cozy addition to your winter wardrobe and a testament to your newfound crochet skills.

